Desert Broom – New Cultivar Discovered**

There is a desert plant in the Sonoran Desert that has the distinction of being one of the few native plants that is considered invasive. It can become a problem during the very hot, dry summers when fires are a real possibility.

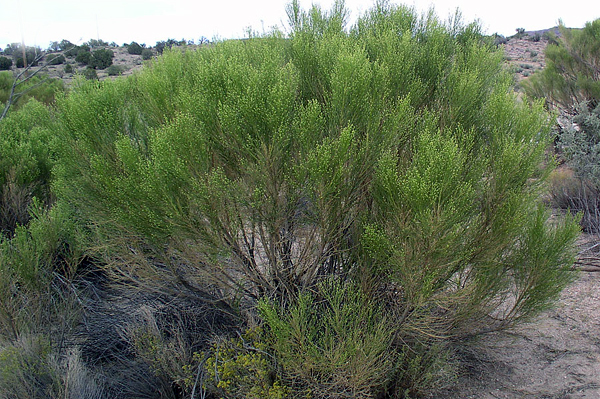
Here is a picture of the native Desert Broom.

Desert Broom Plant

Picture courtesy of Sierra Vista Growers

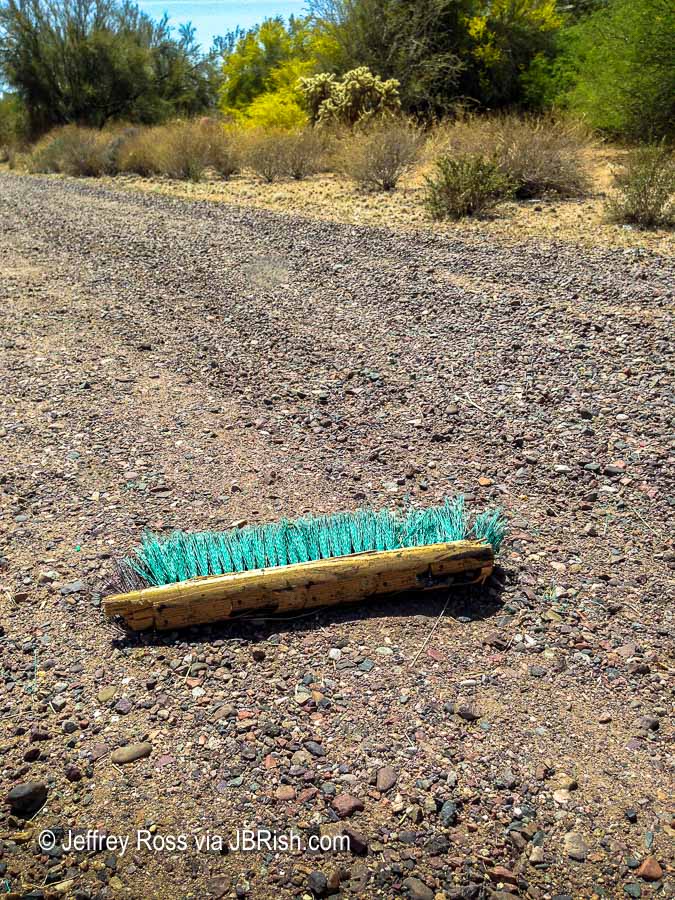
On the way to a shopping mall recently, I noticed what may potentially be a new cultivar or sport of the native desert broom. It was just off to the side of the road. Can you find it in the picture below?

Possible desert broom cultivar or sport closeup

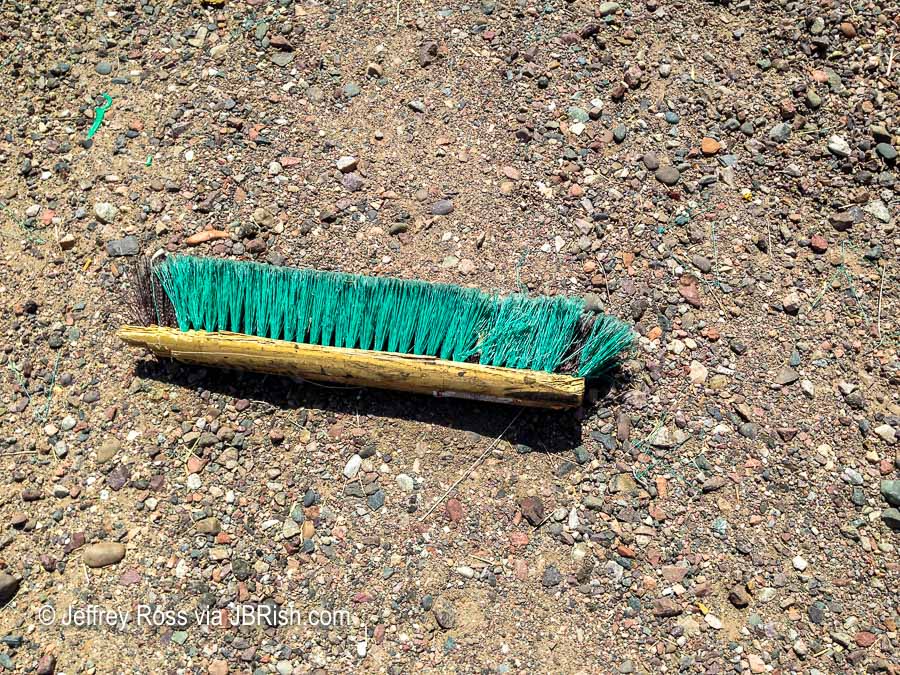
If you are having difficulty, here is a closeup!

Possible desert broom cultivar or sport

What do you think?


**This post is a tongue and cheek bit of humor related to desert gardening! (wink, wink)


Read more gardening posts HERE


**********


All original content on this blog is copyrighted by Jeffrey B. Ross with ALL Rights Reserved. While reference links back to JBRish.com are appreciated and encouraged, please acquire approval for any reproduction of original content from this website.

©Jeffrey B. Ross – 2018 – JBRish.com


Mum is the Word in the Desert Garden

Prior to moving to the Valley of the Sun, north of Phoenix, Arizona, we lived in northwestern New Jersey; Hunterdon County. We normally gardened from May through October and there were times when we started seeds indoor in early April. We could stretch our gardening into the fall and early winter by including Chrysanthemums.

Mums were part of the Halloween-Thanksgiving trimmings in our area. We usually had them placed on our front steps often with thin netting over them to keep the deer from nibbling. There were years when we were able to winter over a mum or two, but much of the time our efforts fell short or the variety we purchased was not as hardy as we thought.


We were surprised to find that mums are available for purchase in our area of Arizona during the same season as in the northeast. It was only natural then that we began to fold some of them into our Halloween-Thanksgiving floral displays.

Because our experience with Chrysanthemums was anchored in the northeast, we figured that once the real hot weather of sustained ninety to one-hundred and above came along, that these familiar plants would wither and die.

Imagine our surprise to find that they, given enough shade and water, fight off the heat to usher forth extended blooms during the late spring and summer and into the following fall. To give these plants the best chance possible for surviving in this less than hospitable climate, we have a routine we follow in the early spring.

This is the mum we selected for what we call revitalizing.
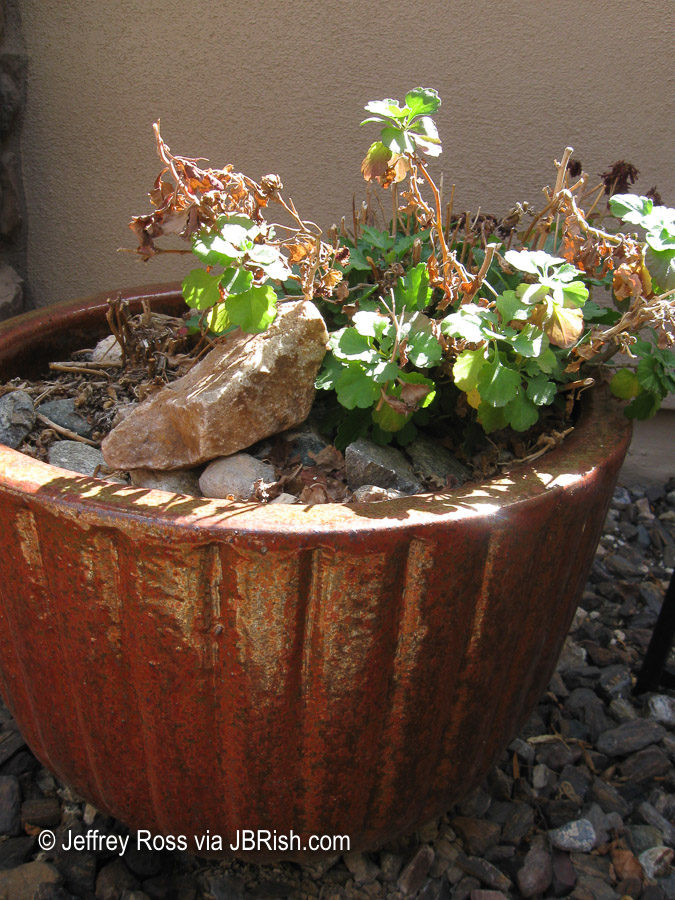


As readers can see, the green leaves make up only about one-half to two-thirds of the plant and there are a lot of brown, dead leaves and stems.
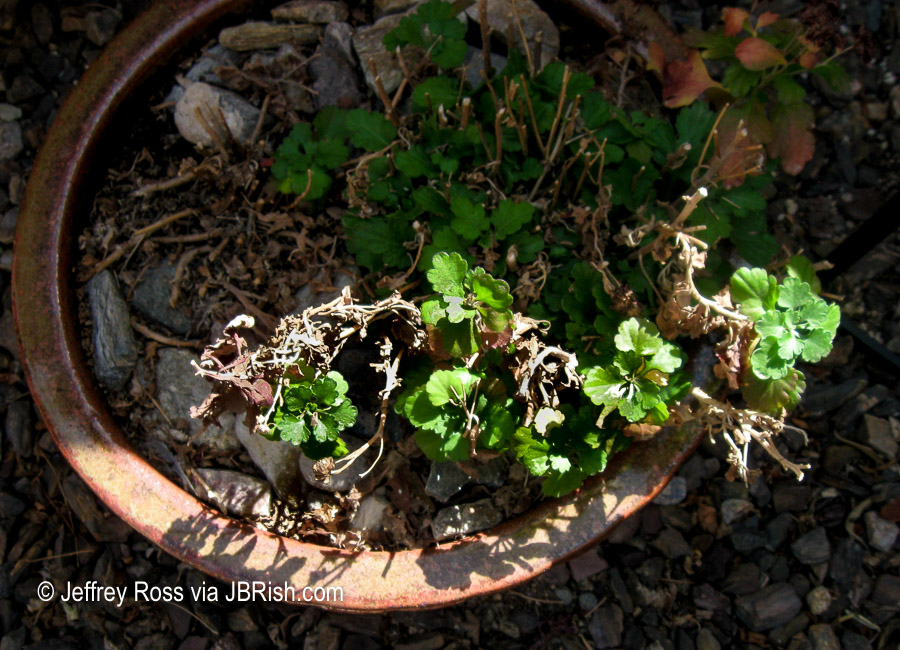


What we normally do if it is warm and the sun is in full flare is bring the plant into the shade of one of the garage bays and work there. We move the plant into the garage and remove the rock mulch that we use in almost every planter.
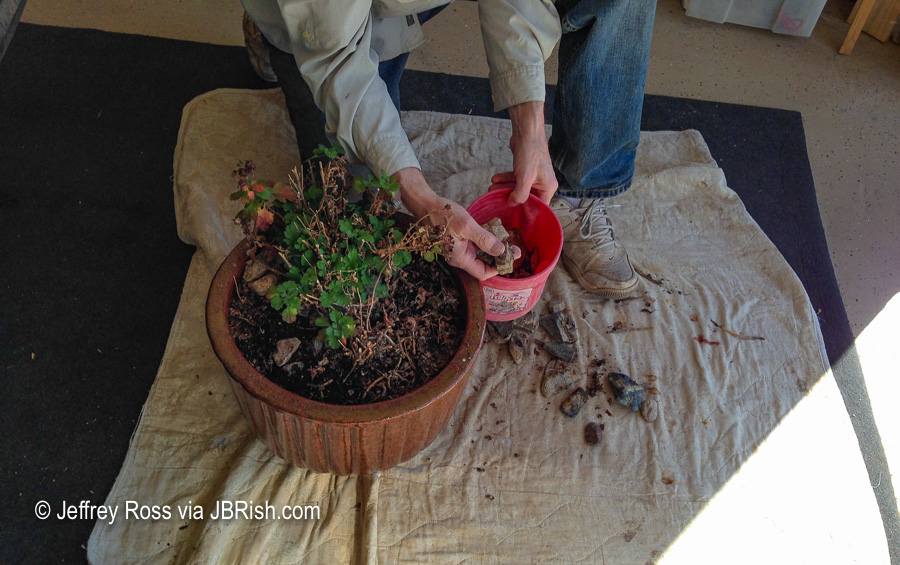


Once the rock mulch is removed, much of the dead parts of the plant are trimmed.
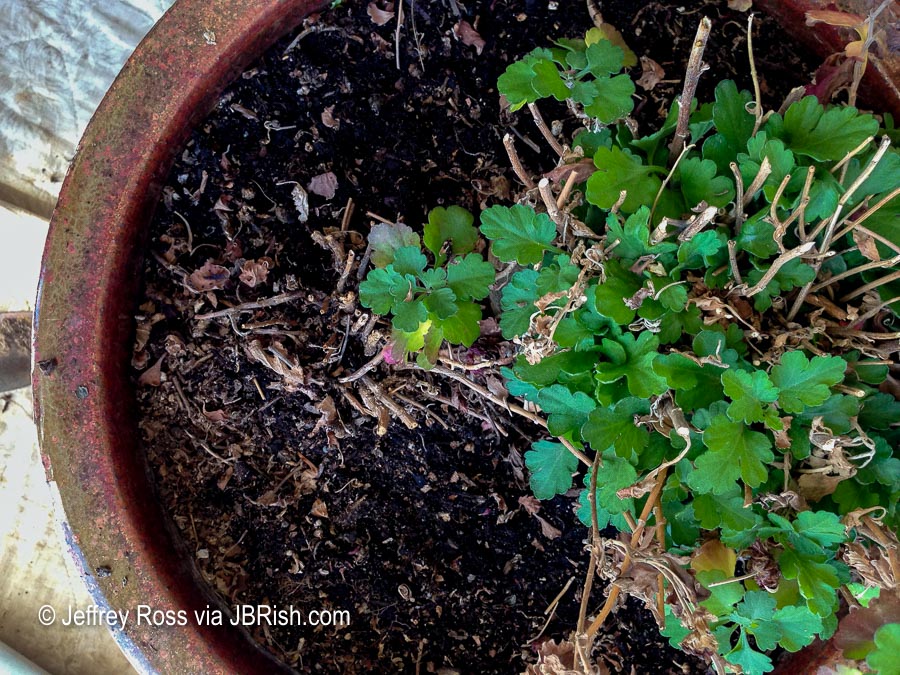


After the initial trimming, we begin to excavate the root ball.
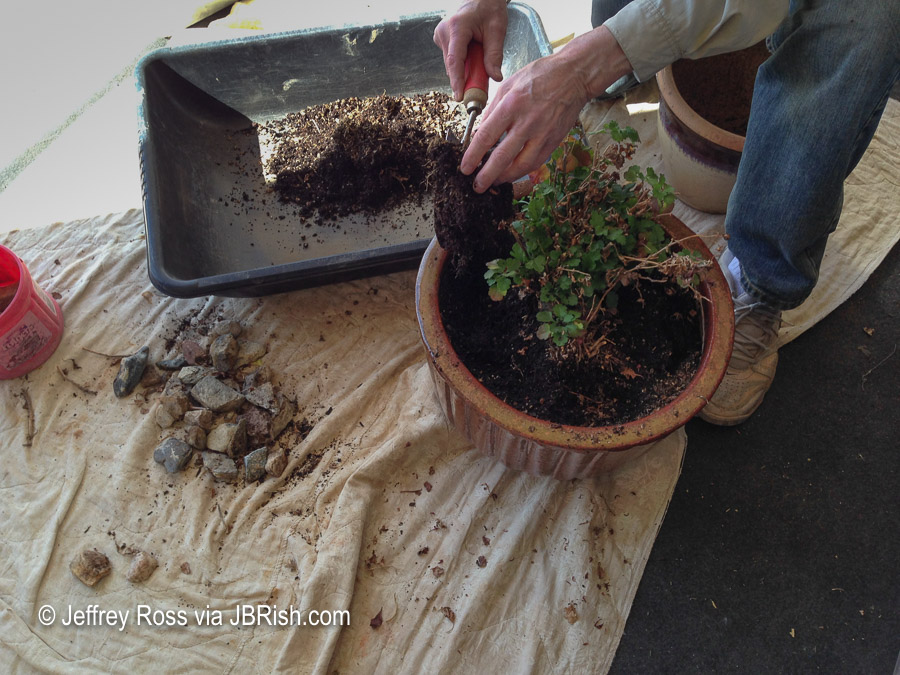


NOTE – Notice that we work mostly on a drop cloth to catch errant dirt, stones and debris. The old dirt is offloaded to a cement mixing bin to dry and save for use in a future rejuvenated mix.

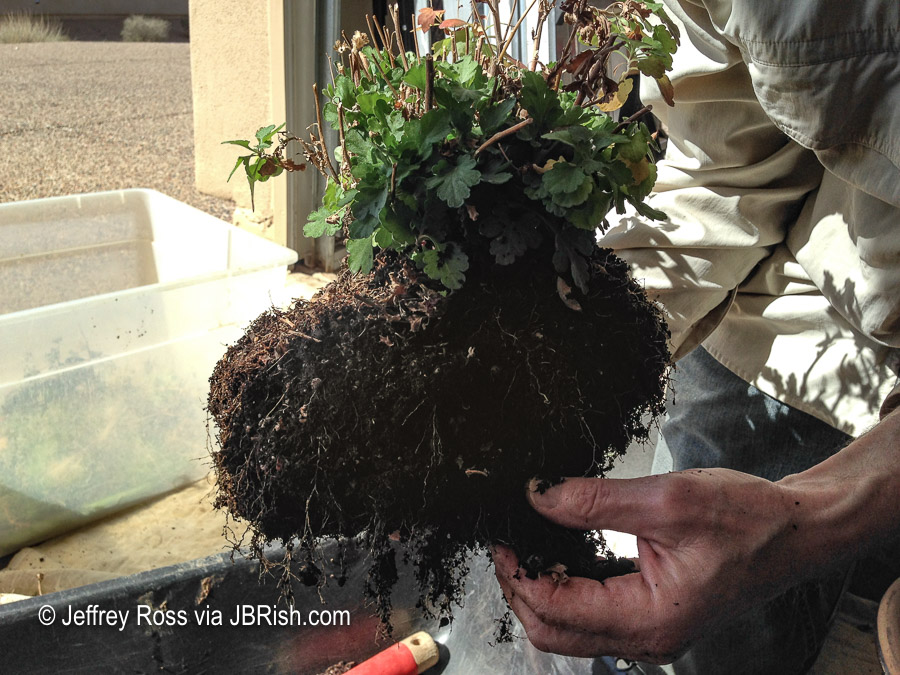
Once the root ball is excavated, it is examined to make sure the roots are white and in good condition and there are no grubs hiding. Then I gently remove more of the dead, hard stems and any dead roots.

NOTE – Be careful to leave most of the rootball intact as the plant will need to recover even from a mild root trimming and tickling.
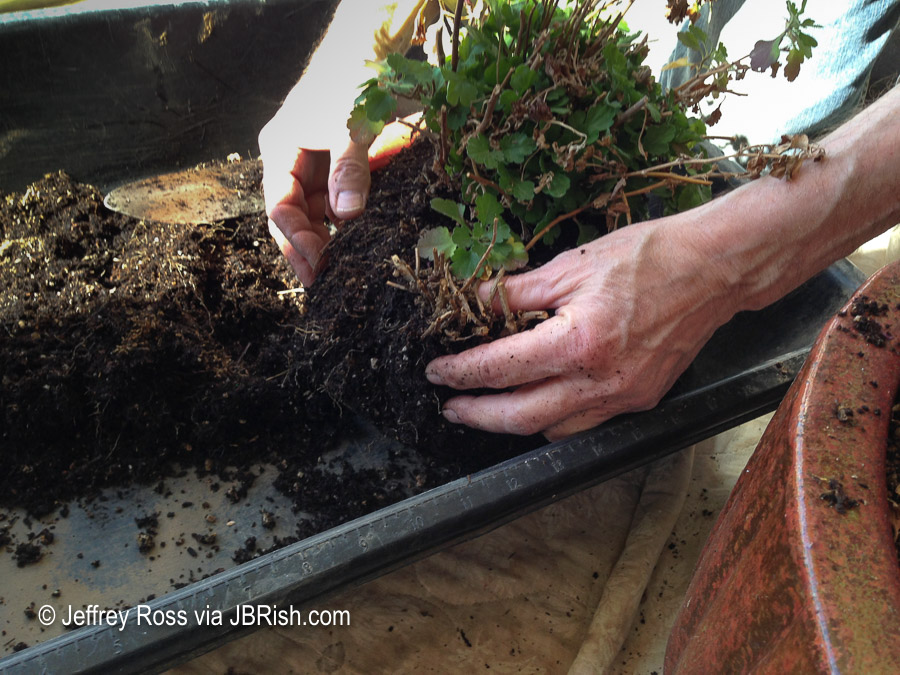


Here is a closer look:
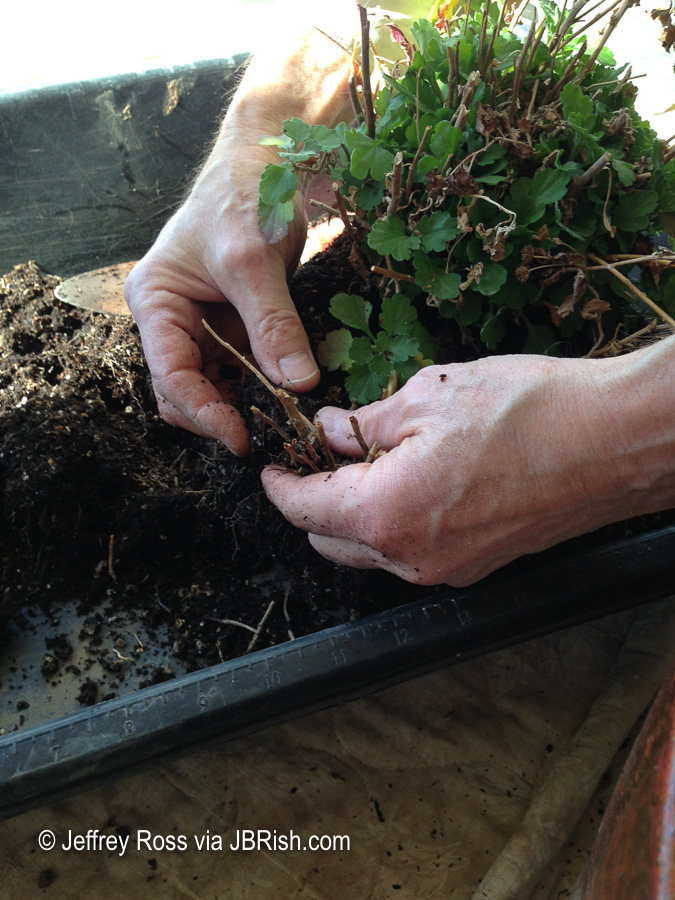


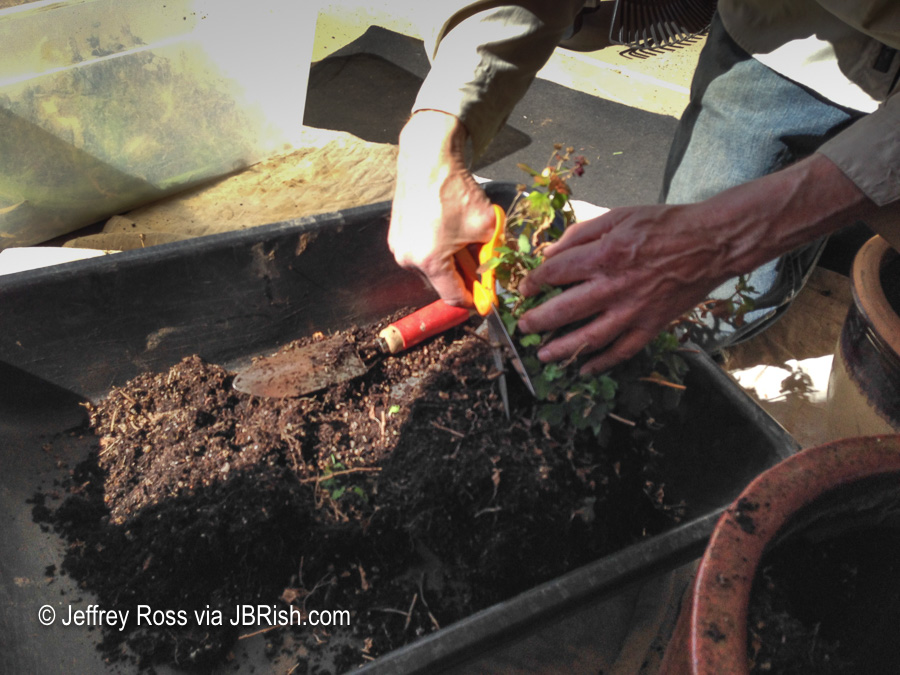
There are some stems so low to the base of the root ball that they have to be cut away with a scissors or garden shear which reduces the chance of disturbing too much of the root ball.


I make one final inspection of the root ball and very gently loosen some of the compacted roots so they are able to spread when they grow anew.


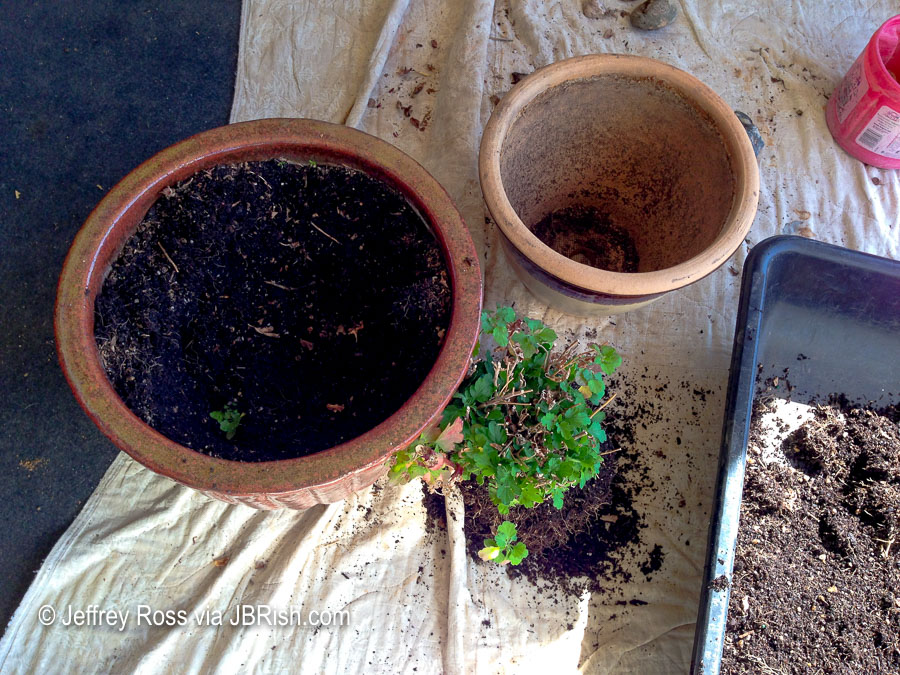
On the left is the old pot with the remaining old dirt. In the upper middle area of the picture is the new, smaller pot that is lighter in color. The new plant will spend much of the summer in this pot, but may need to be transplanted in to a larger pot later.


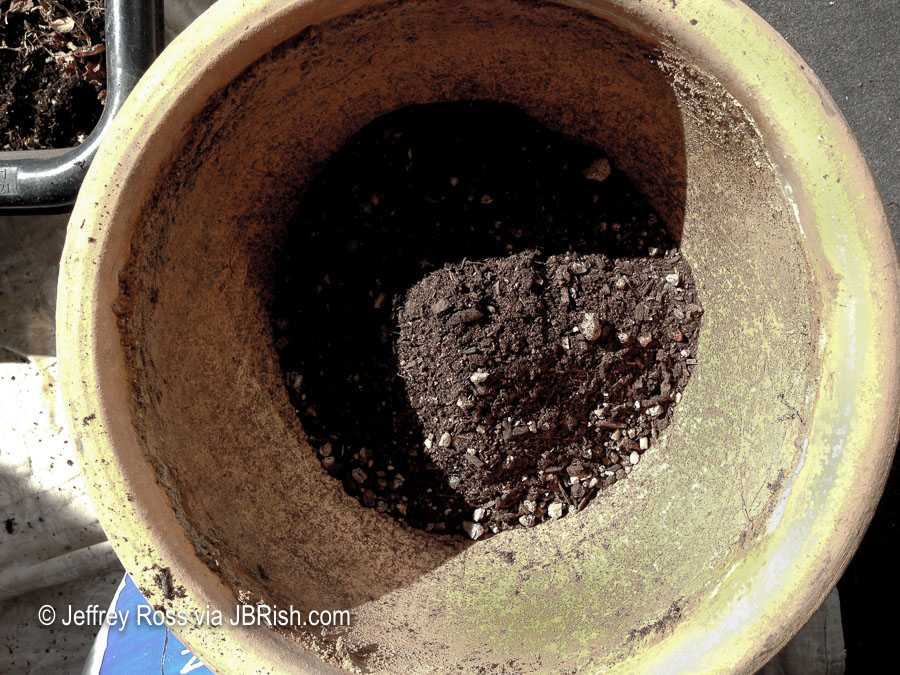
Enough new planting mix is placed in the pot to take up approximately one third. This is the bottom third of the planter.


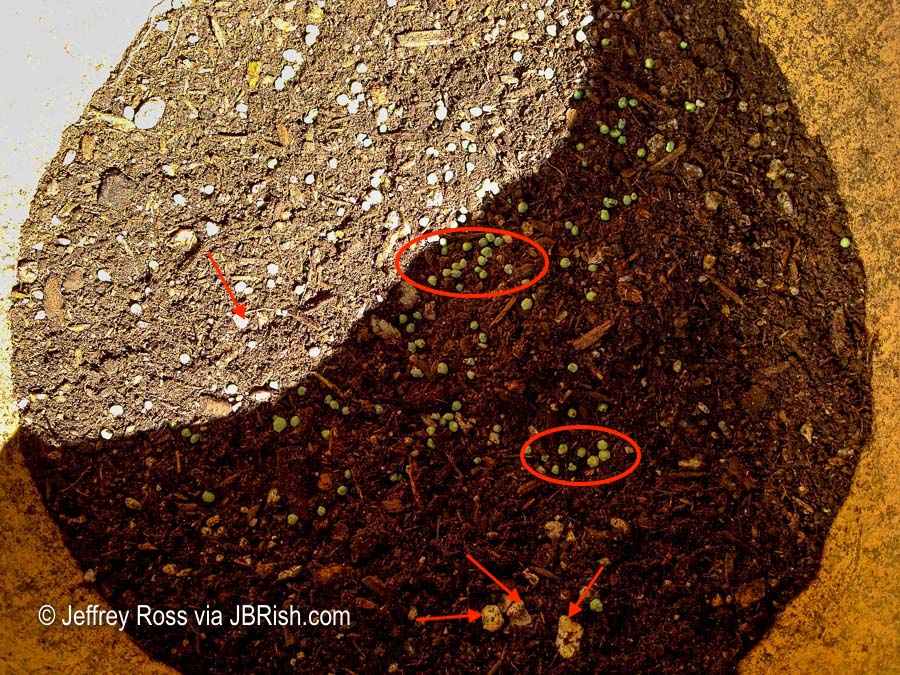
To encourage downward root growth, I place a small amount of fertilizer in the bottom of the pot (notice the green dots in the ovals- BELOW) and then mix them into the top part of the bottom mix. The green dots are hard to discern in this photo and may be confused with gravel which is used in the planting mix. The arrows show the gravel which is much less uniform in shape.


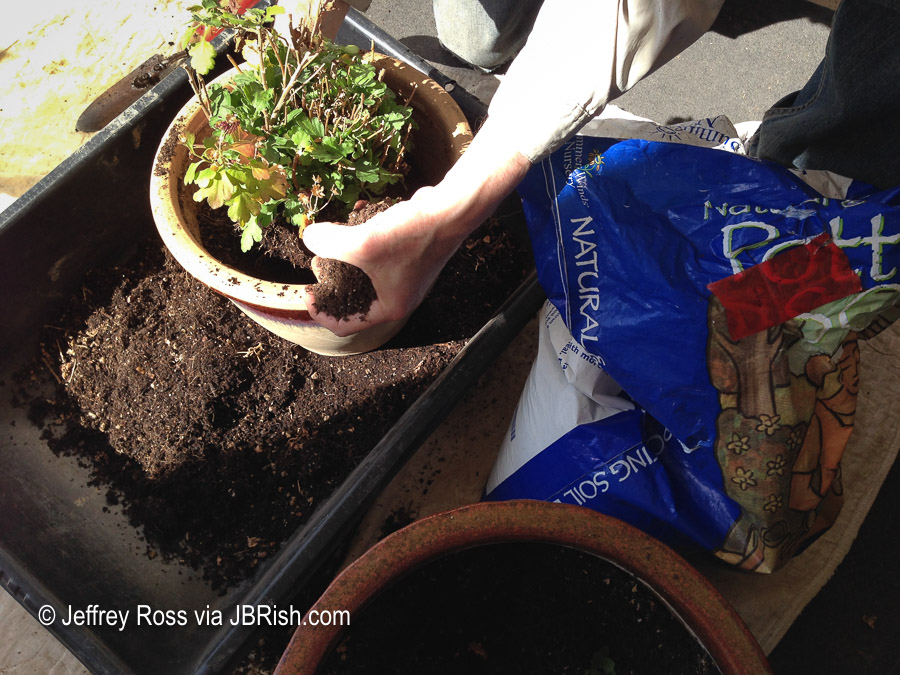
The new planter is placed inside a bin to catch any stray dirt. Dirt is added to the correct depth to bring the crown of the plant to about three-quarters of an inch below the rim of the pot. I usually create a cone in the center and put the newly trimmed rootball in the center. The dirt is then filled in around the rootball as shown above.


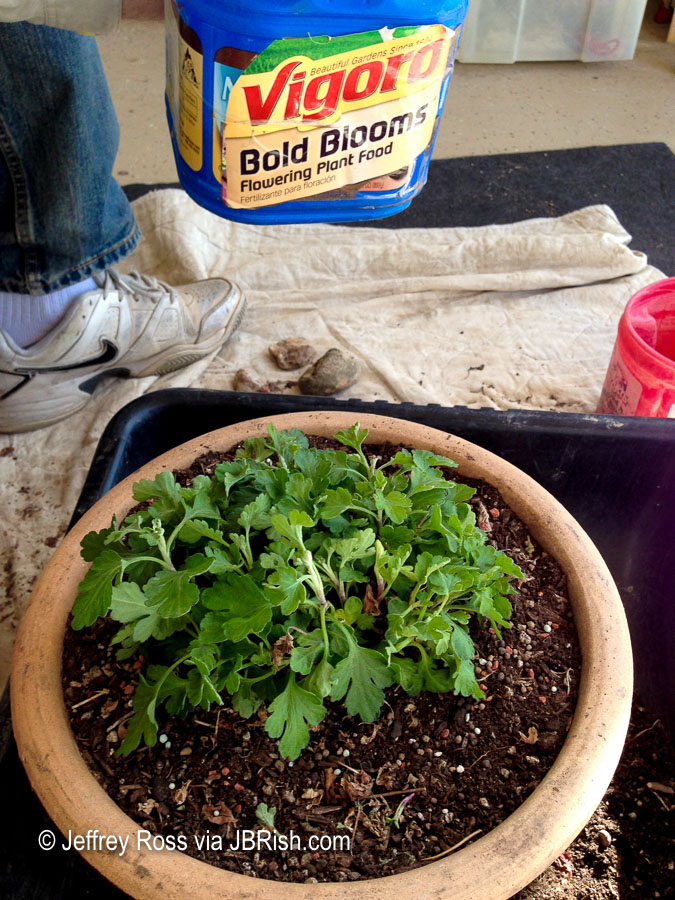
Here is the plant with the dirt filled in and new, different fertilizer added (see the Vigoro in the background).


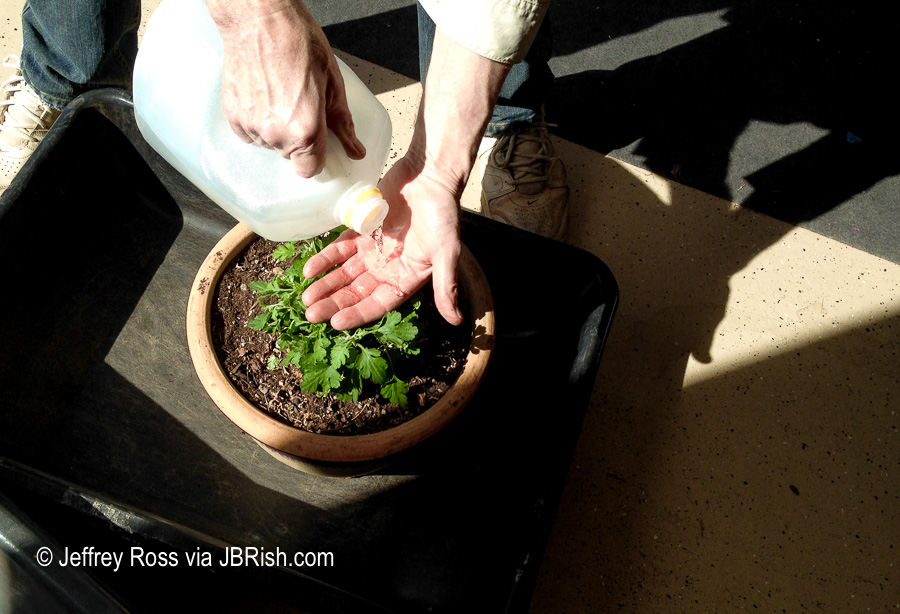
After the planting is complete, water is gently added. I use my hand to break the flow and spread the water around the rootball of the plant. Once the plant has been watered so that water runs freely through the bottom of the pot, I gently press the dirt down to remove any potential air pockets.

NOTE – Don’t press down too hard which may compact the roots; just gently.


Now it is time to move the plant to its place in the courtyard. We picked an area that will receive mostly shade with a bit of sun during the day. This will protect the mum from the blazing heat. Notice that a two gallon per-hour emitter (red) has been anchored to the side of the plant.
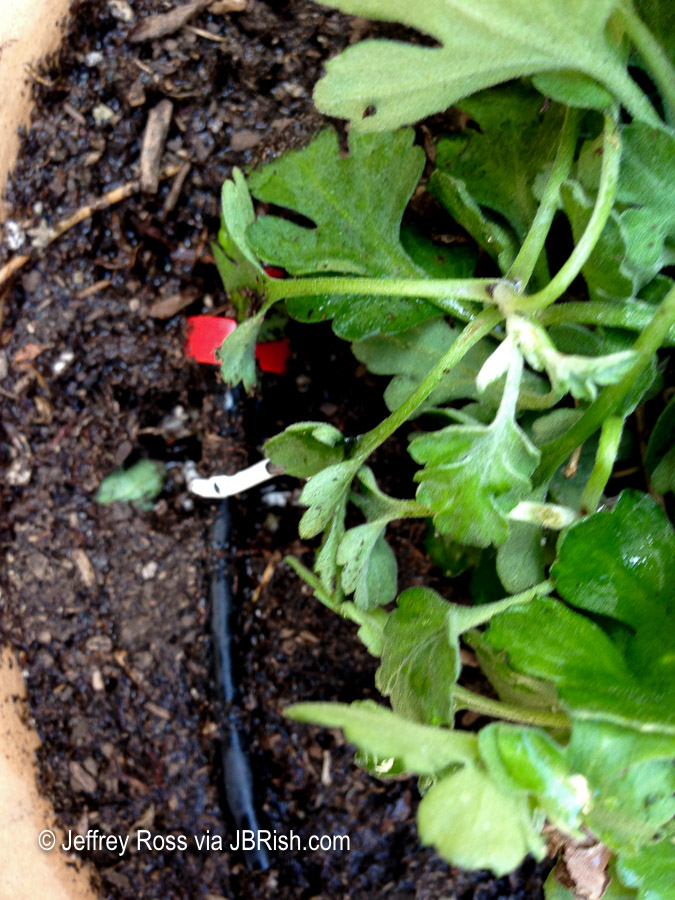


Another emitter is added to the other side of the plant to provide even coverage when watered.
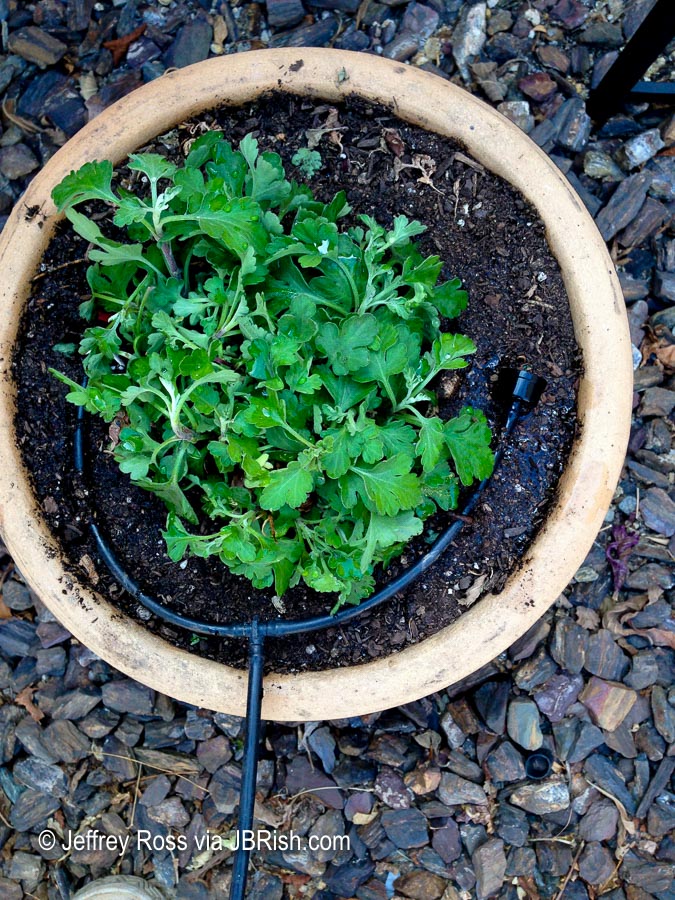


We place the rock mulch on top of the plant, which also helps to hold the emitters in place and give one final watering. A protective cover is placed over the pot for a couple of days to provide bit of shade. The Dollar Store or Target sells laundry baskets, crates, etc. that serve this purpose. Sometimes we need to drill more holes depending on the configuration.

NOTE – We often put a weight on top of the “covers” to keep them from blowing off in the wind.
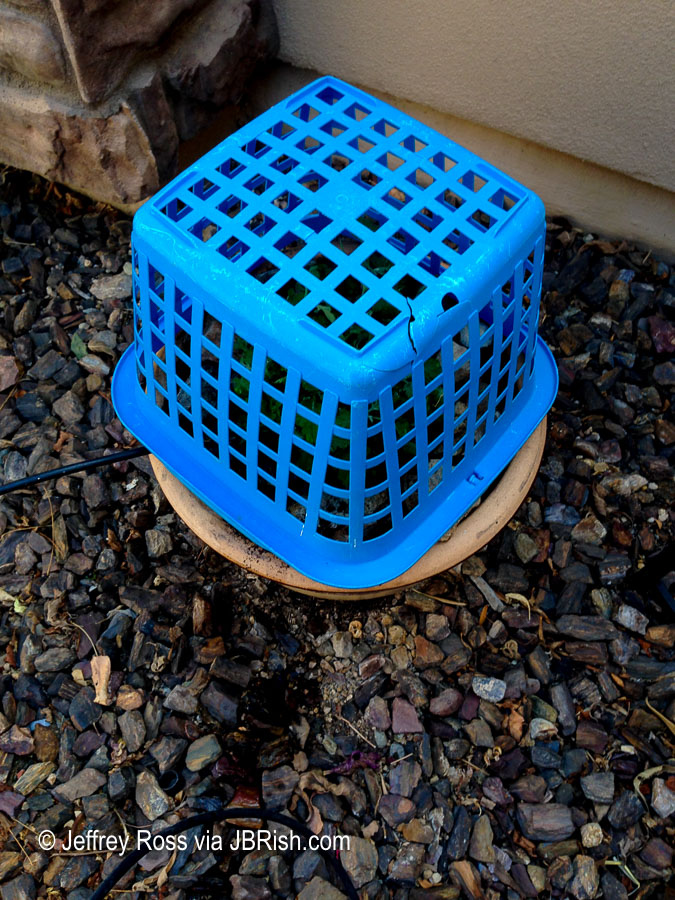


The plant is carefully checked over the next couple of days and after that, the basket or crate used to shield the sun is removed. The plant then needs time to grow and in a few months this is how it looks.
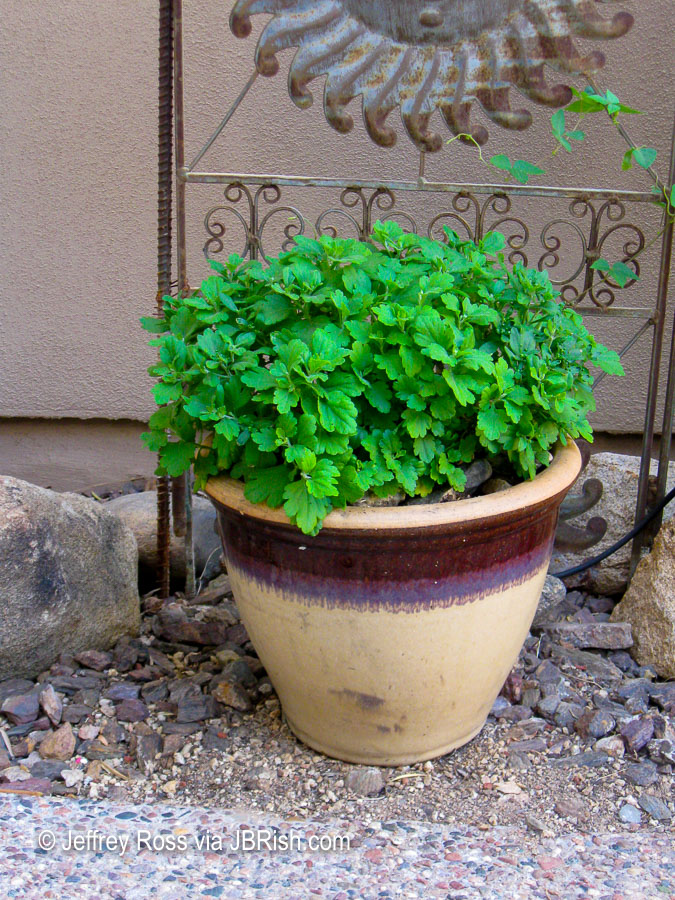


You can see it here (BELOW) on the left. As the summer progresses, the snail vine will grow to cover the sun trellis and offer enough shade to provide an appropriate environment for the plant during the hottest summer days.
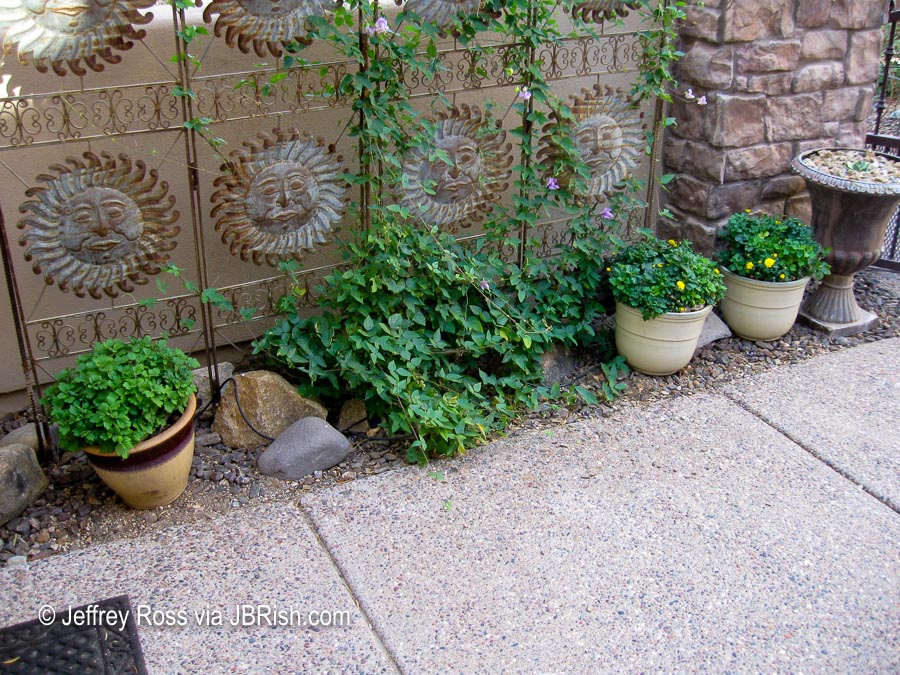


You may also note two other mums on the right that we transplanted in the same fashion .
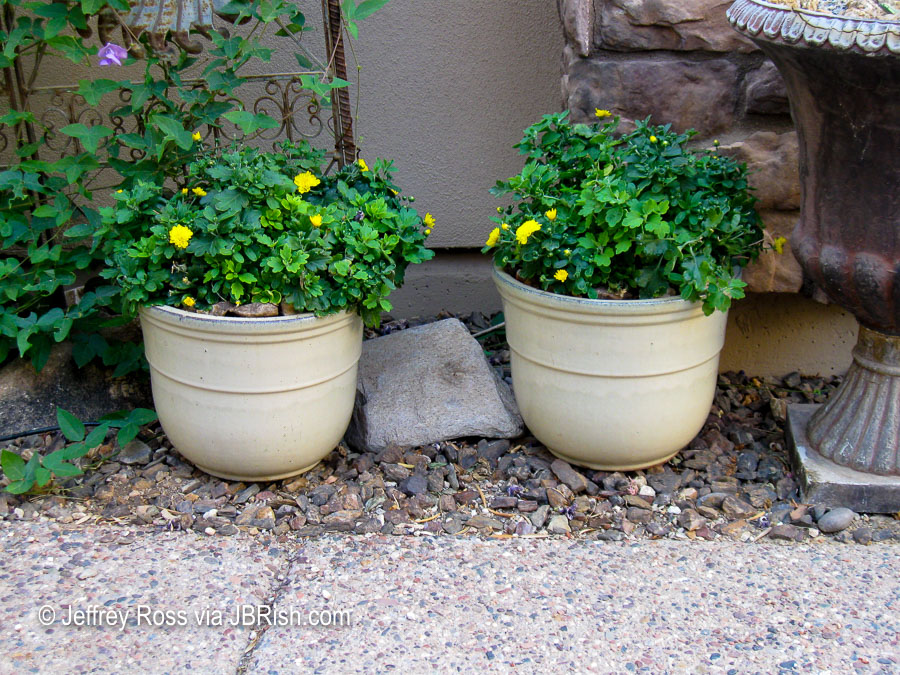


We have followed this procedure for a couple of years now and it has served us well. I wouldn’t have guessed that we would be able to winter-over or perhaps more appropriately, summer-over the mums in our Sonoran Desert environment.


Read more gardening posts HERE


**********


All original content on this blog is copyrighted by Jeffrey B. Ross with ALL Rights Reserved. While reference links back to JBRish.com are appreciated and encouraged, please acquire approval for any reproduction of original content from this website.

©Jeffrey B. Ross – 2018 – JBRish.com


Hassayampa Preserve Bird Walk – 20180203

It was quite a while since we had a good dose of nature and the warmer than usual winter has given us added impetus to “go outside!” An opportunity presented itself which allowed us to combine two of our interests, bird watching and hiking. As I have explained on these pages before, I am an “occasional birder.” I enjoy birds and bird identification, but I am not ardent. I take it as it comes and it adds enjoyment to my wanderings.

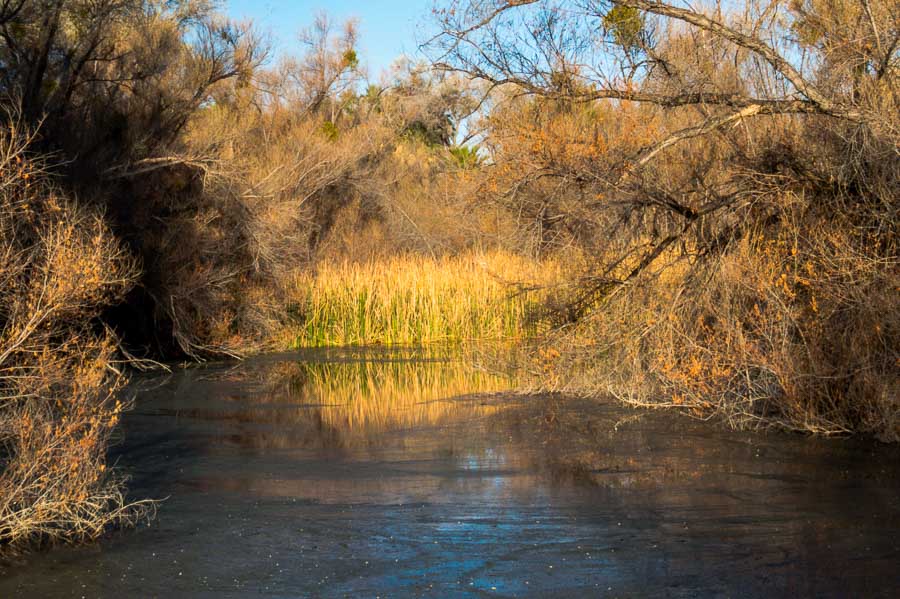
We registered for a guided bird walk at the Hassayampa River Preserve in Wickenburg, AZ. This is riparian zone that has running water all year long; a rarity for the desert. As such, many birds are attracted to this wooded environment. The warmer temperatures have brought featehred visitors that don’t usually come this far south during February.


The inviting ponds at the Hassayampa River Preserve

The inviting ponds at the Hassayampa River Preserve

If you have never done bird watching, then it may be difficult understand the highs and lows of the experience. There will be those in the group who see so many birds while you might be gazing at the leaves and branches and wondering: “What do they see?” or “Where is that bird?”

Below is an example of one of the frustrations. This bird appeared on the top of a nearby Cottonwood tree. It was vey much in view although quite a distance away. Unless an observer knew this bird from previous experience, it would be difficult to identify.


Phainopepla hard to identify from a distance

I had seen this bird several times before so I knew it was a Phainopepla. One distinguishing characteristic is its red eye which, because of the distance and lighting, was not visible. The black tuft on top of the head is also a distinguishing feature. I was able to get my best picture to date of this bird in November. You can see it HERE.

When I attended my first guided bird walk, I was surprised to learn that most birders don’t rely on sightings to identify the bird at first. They identify the call or song and then look for the specific bird. I must admit that this is a skill which mostly eludes me. I do know certain very defined bird calls like the Mourning Dove, Cactus Wren, Curve-billed Thrasher, etc., but all those chip-chip-chips and too-wees just escape my grasp. This is one reason I greatly appreciate having a guide.

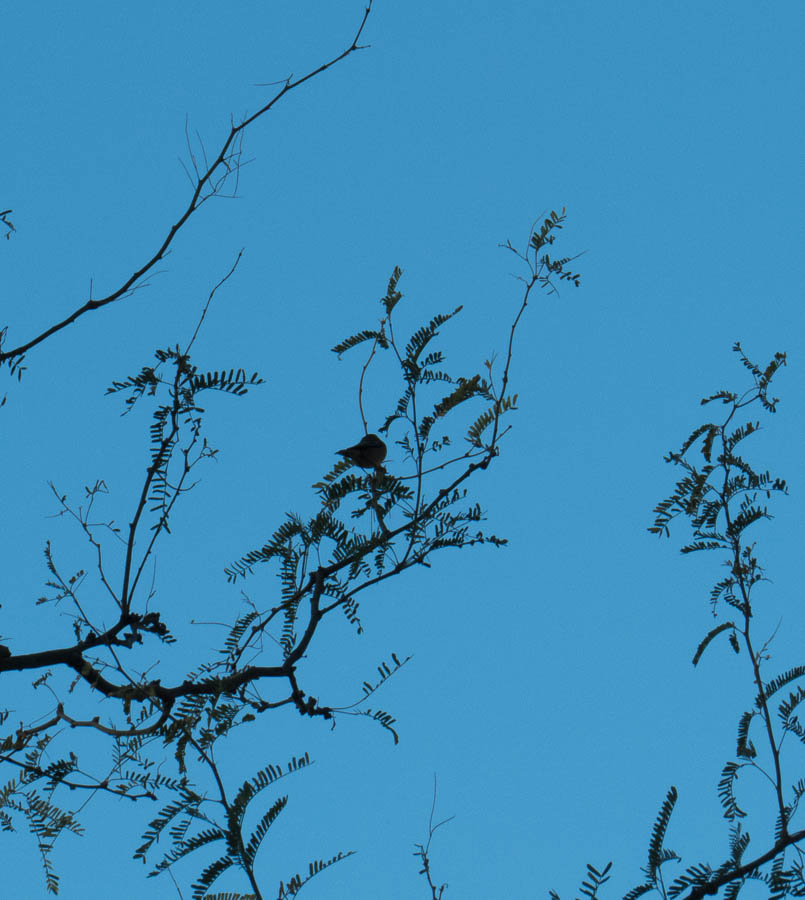
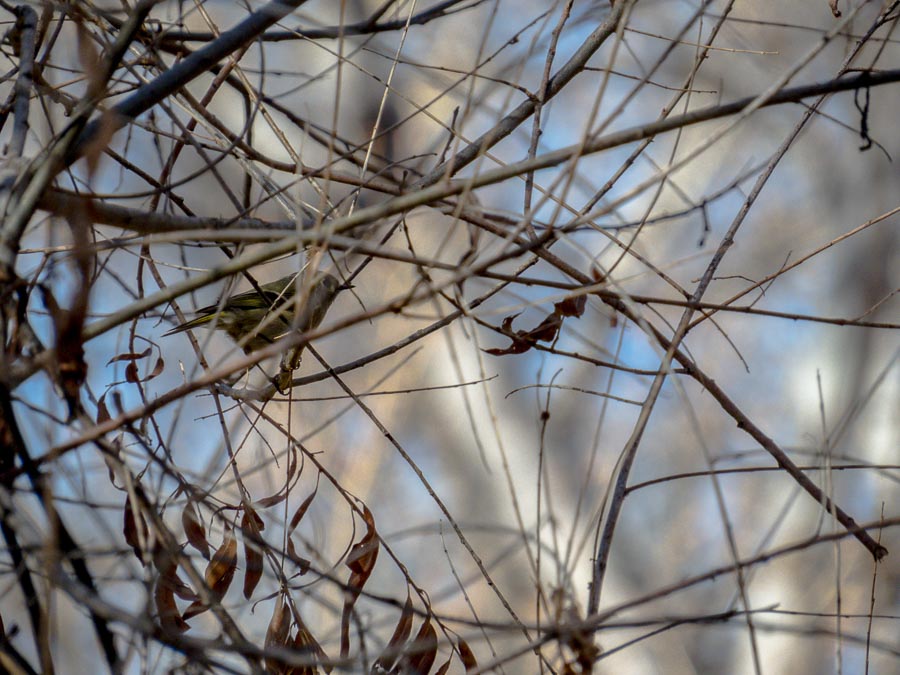
The bird in the picture below, for example, was identified as a Ruby-crowned Kinglet. The birds are particularly difficult to identify and even more so to photograph. They jump around incessantly. Although this bird is totally shaded, the guide followed it from several trees and was able to identify it for us. I take her word for it!


Flitting Ruby-crowned singled silhouette

Another photo of the Ruby-crowned Kinglet. The most distinguishing mark of this bird is a red tuft on the top if the head. The angle, lighting and other factors did not capture this marking.


Better view of the Ruby-crowned Kinglet

You can see much better photos of this bird HERE.

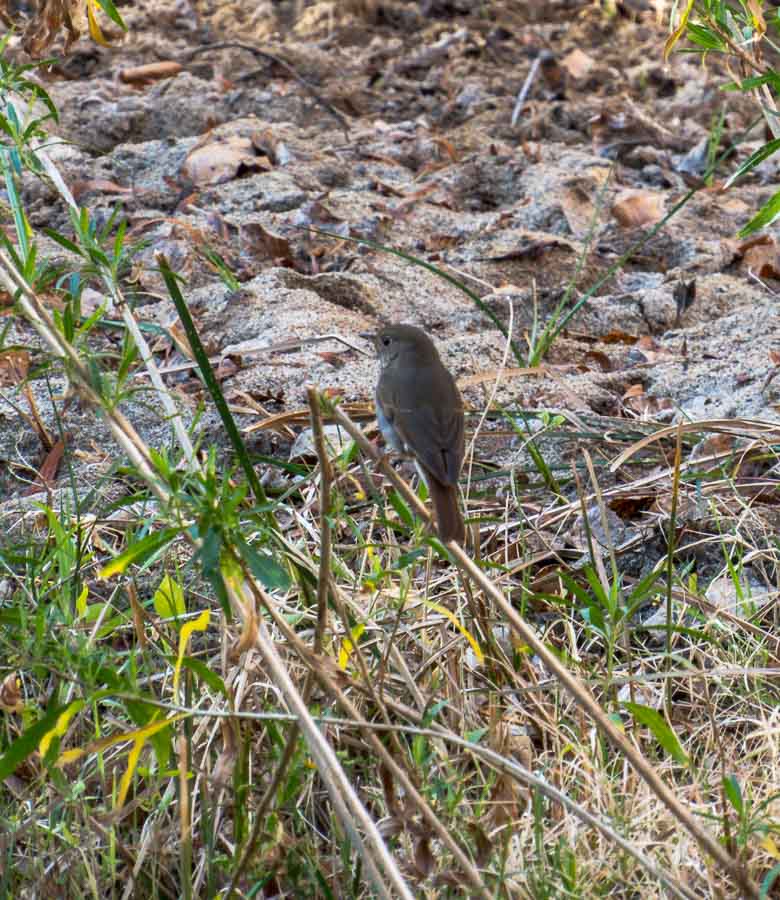
There were some birds that were more conveniently situated and thus more easily identifiable such as this Hermit Thrush. The problem here is that the bird has very distinctive spots on its whiteish underbelly, but as you will note, that characteristic was not clearly visible from the back.


Hermit Thrush

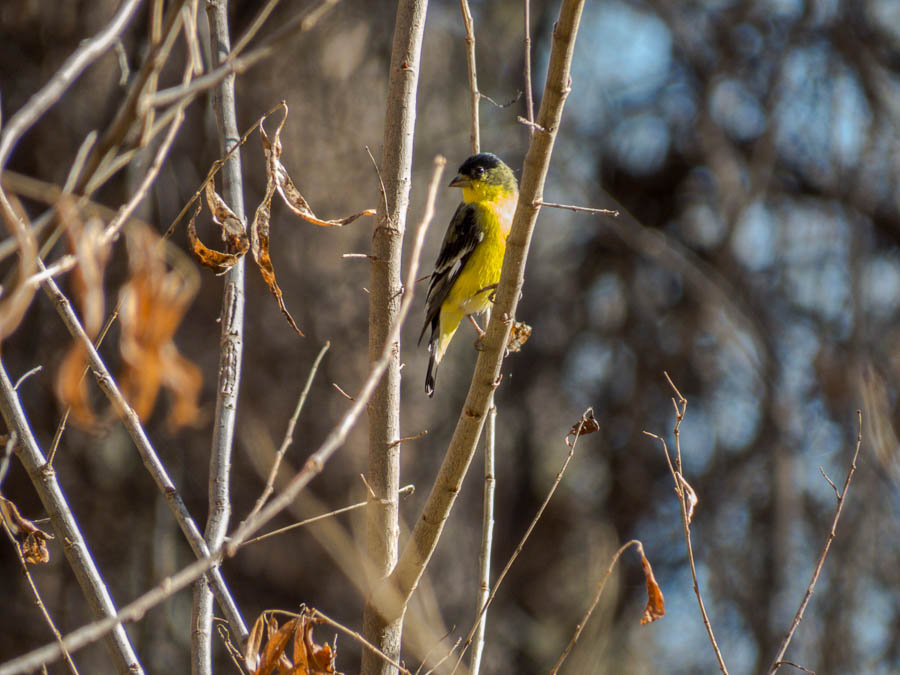
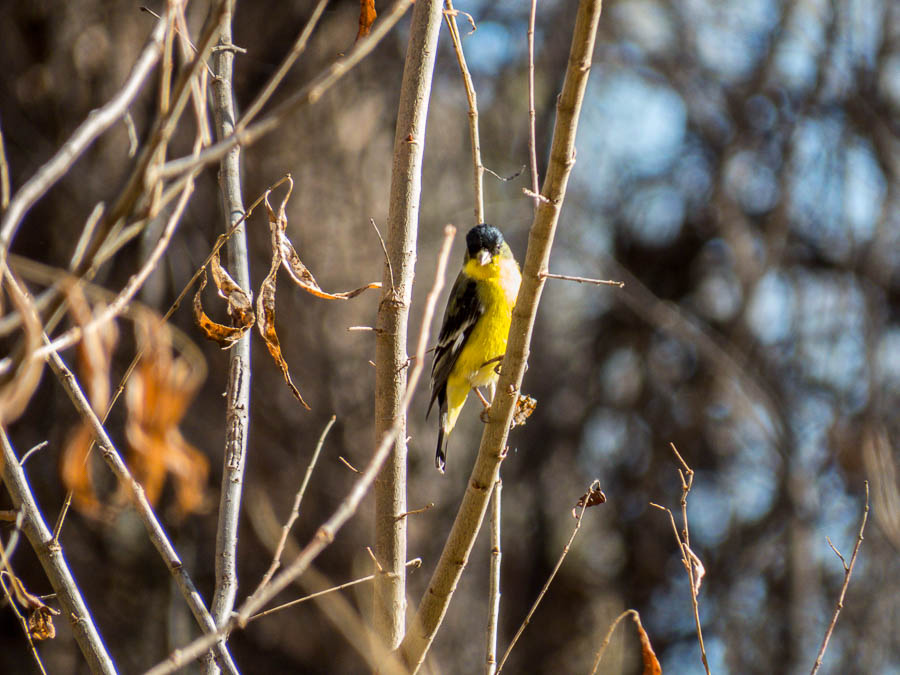
The lesser Goldfinches were a bit more cooperative once the morning warmed a bit. They would cling to the thin branches of a nearby bush and pose for a while. The trick here is to take a number of pictures as the autofocus (which I use for birding*) will sometimes choose to focus on a foreground branch and render the bird out-of-focus.


Lesser Goldfinch


Lesser Goldfinch

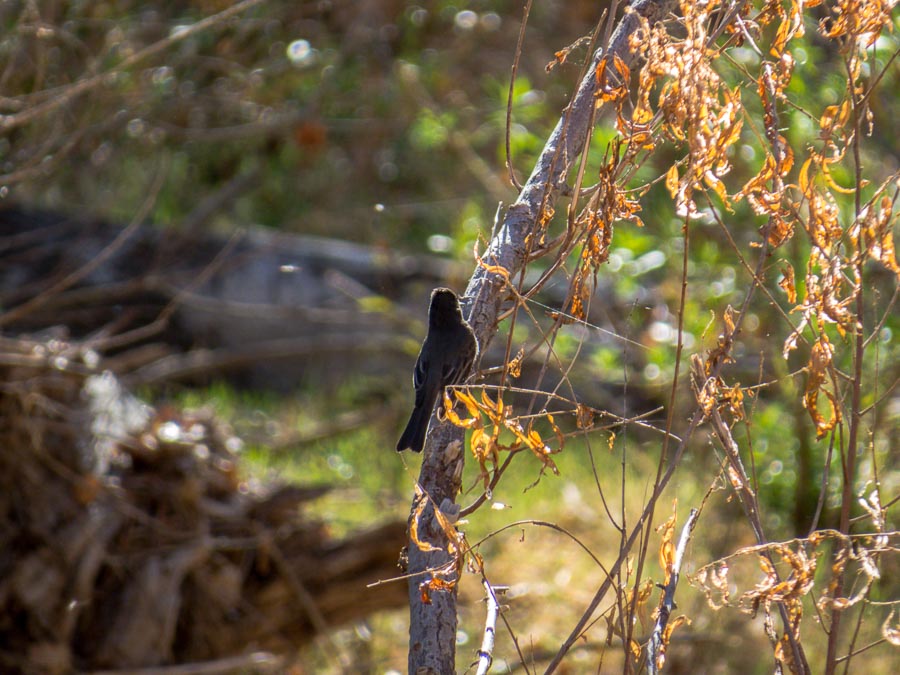
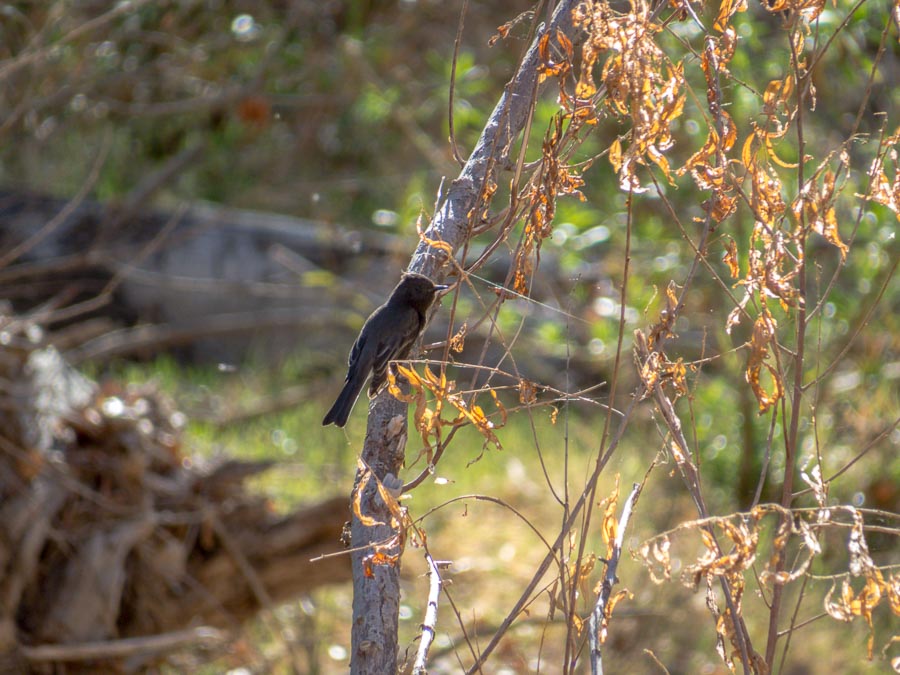
Black Phoebes often will flit away and then return to the same branch from which they flew so it may be easy to wait a moment while gaining focus on the perch and then snap the shot once the bird returns. The first shot has only the back of the bird, but it later turned sideways for a profile shot.


Black Phoebe


Black Phoebe

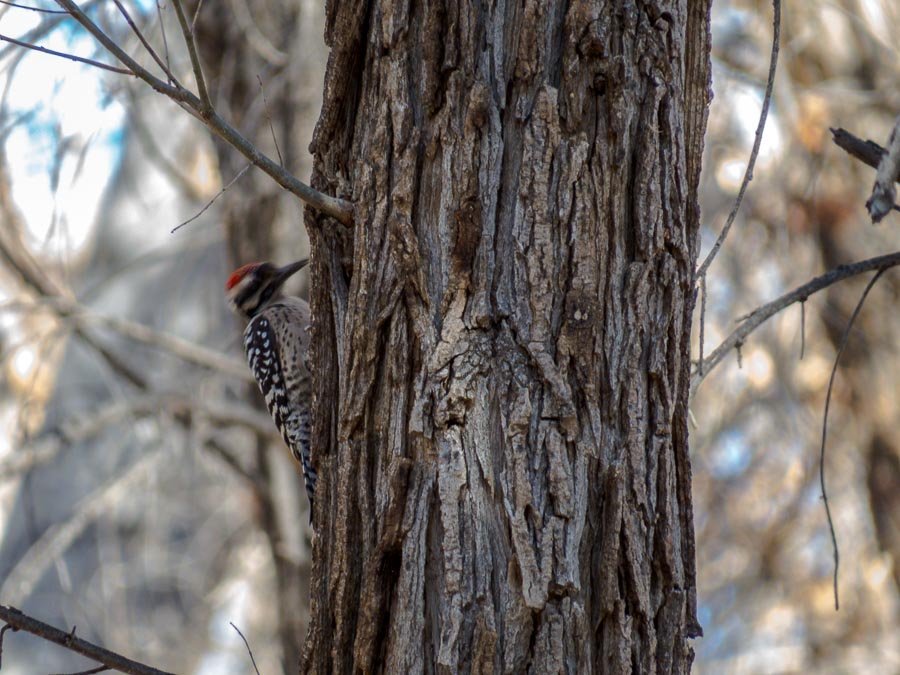
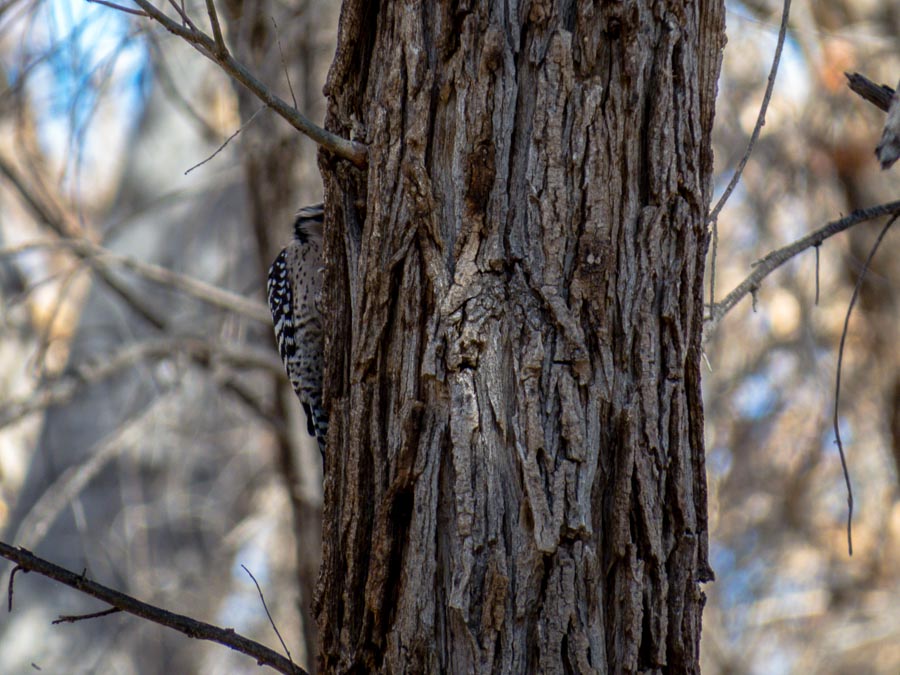
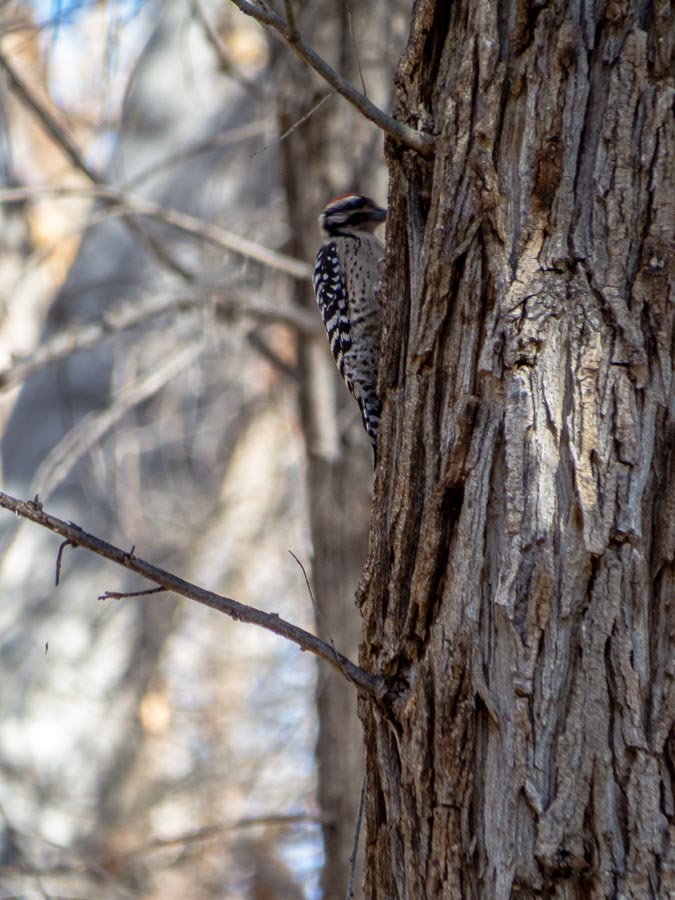
The next series is of a Ladder-backed Woodpecker. Woodpeckers, creepers and other similar birds cling to the side of trees and climb upward. They will then fly to a nearby tree and begin to hop while ascending that tree. It appears to me that they know when they are being watched and they scoot to the side of the tree away from the viewer so they can hide. At least it seems that way!

While the pictures are a bit blurry because the bird was madly pecking away, the distinctive markings are visible.


Ladder-backed Woodpecker


Ladder-backed Woodpecker


Ladder-backed Woodpecker

One last sighting before we left revealed three Western Bluebirds sitting on the same branch. They were catching the mid-morning rays of the sun. The blue of their backs does not show that well, but the rufous color of their underside is clearly visible.


Western Bluebirds

 
Additional sightings by me and others, but not photographed:

  • Abert’s Towhee
  • American Coot
  • Brown Creeper
  • Canyon Wren
  • House Finch
  • Lincoln’s Sparrow
  • Plumbeous Vireo
  • Verdin

* NOTE – The only camera I used during this bird walk was my Canon SX50 HS which is a bridge camera with a telephoto zoom lens. Pictures are best at low ISO (200 and below) which limits the aperture and shutter speed. The aim of these photographs was not to capture beautiful pictures of birds, but to take pictures that would enable identification. Of course it would be wonderful to have an excellent photo along the way!

 
See previous JBRish posts about birds HERE


**********


All original content on this blog is copyrighted by Jeffrey B. Ross with ALL Rights Reserved. While reference links back to JBRish.com are appreciated and encouraged, please acquire approval for any reproduction of original content from this website.
©Jeffrey B. Ross – 2018


Hiking the Peralta Trail, Gold Canyon, AZ – 20160701

The Finale of the Peralta Trail Photo Essay

NOTE – Keep in mind that we took this hike and these pictures represent the trail as we saw it in December, 2009. The trail may have changed a bit since them and some of the flora may no longer be exactly where we are reporting, but this is a good representation of things you may find along the way. Perhaps you will find even more intriguing highlights.

Of course the large rock formations and mountains will remain largely unchanged.


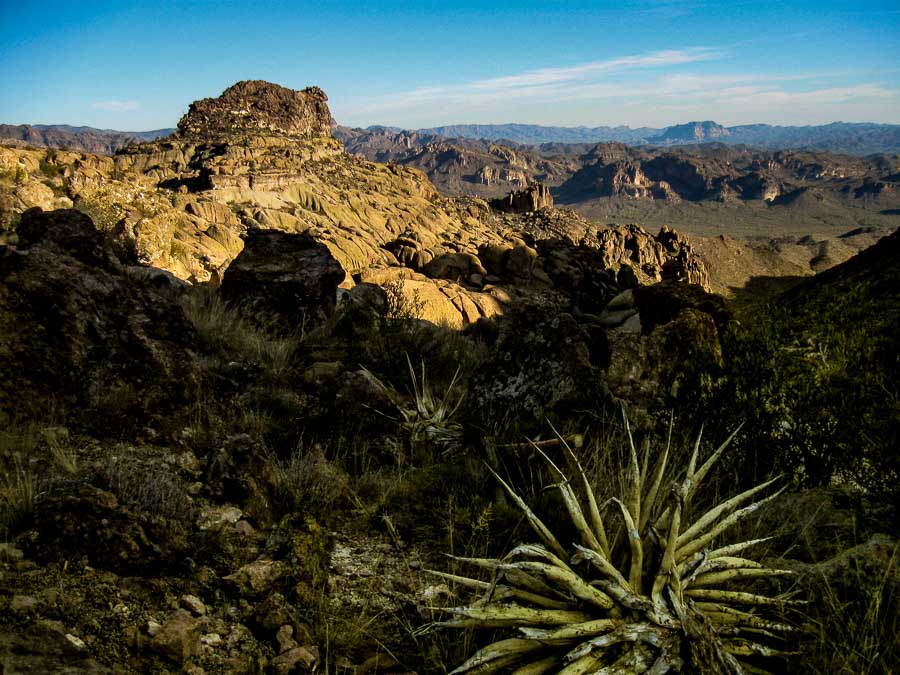
Long shadows, time to head backk
Toward Sunset

After spending some time at the Fremont Saddle and having a snack, we wanted to head back to the trailhead. As you can note from the picture, the shadows were getting longer and with that the cool, soon to be followed by cold, December chill would be setting in.

Even the decaying plants add a beauty to the desert if we take time to notice and appreciate them. Desert life is hard and any plant or animal that can survive gains my immediate and ever-lasting respect.

This is the final post about our experience along the Peralta Trail, Gold Canyon, Arizona. If you like moderate hiking and a walk in a very different and beautiful landscape, I recommend it. Just be prepared, heed all warning signs and read about the hike before you commit.

Read more about the Peralta Trail HERE.

Previous posts and photographs in the Peralta Trail series in chronological order:


**********


All content on this blog is copyrighted by Jeffrey B. Ross with ALL Rights Reserved. While reference links back to JBRish.com are appreciated and encouraged, please acquire approval for any reproduction of original content from this website.

©Jeffrey B. Ross


Hiking the Peralta Trail, Gold Canyon, AZ – 20160630

Hiking the Peralta Trail, Gold Canyon, AZ – 20160630

NOTE – Keep in mind that we took this hike and these pictures represent the trail as we saw it in December, 2009. The trail may have changed a bit since them and some of the flora may no longer be exactly where we are reporting, but this is a good representation of things you may find along the way. Perhaps you will find even more intriguing highlights.

Of course the large rock formations and mountains will remain largely unchanged.


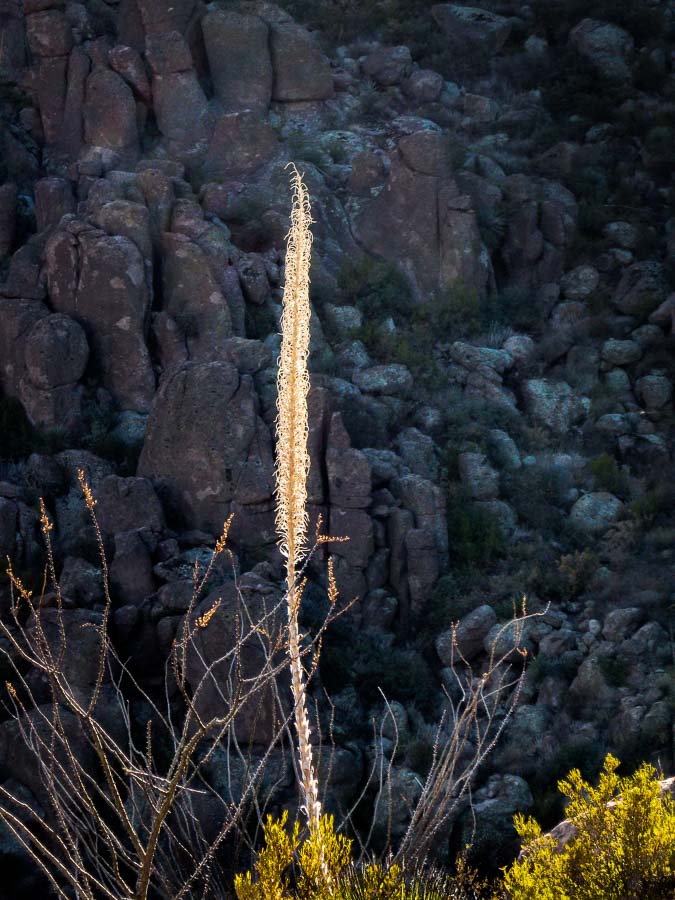
Spent desert flower stalk

As I pointed out in one of the first posts about the Peralata Trail, there is an abundance of desert flora along the trail as far as the eye can see. There is beauty all around during the spring as cacti and desert trees bloom freely.

Once the bloom is over, some of the plants continue to provide aesthetic interest with their dry stalks, etc. I so appreciated this willowy structure highlighted against the dark, shadowy background in the picture above. It was truly striking! The lower group of plants sporting their colors of yellow and orange were supporting cast members.

Read more about the Peralta Trail HERE.

Previous posts and photographs in the Peralta Trail series in chronological order:


**********


JBRish.com originally published this post
*All photographs Copyright by Jeffrey B. Ross with all rights reserved.

Hiking the Peralta Trail, Gold Canyon, AZ – 20160629

NOTE – Keep in mind that we took this hike and these pictures represent the trail as we saw it in December, 2009. The trail may have changed a bit since them and some of the flora may no longer be exactly where we are reporting, but this is a good representation of things you may find along the way. Perhaps you will find even more intriguing highlights.

Of course the large rock formations and mountains will remain largely unchanged.


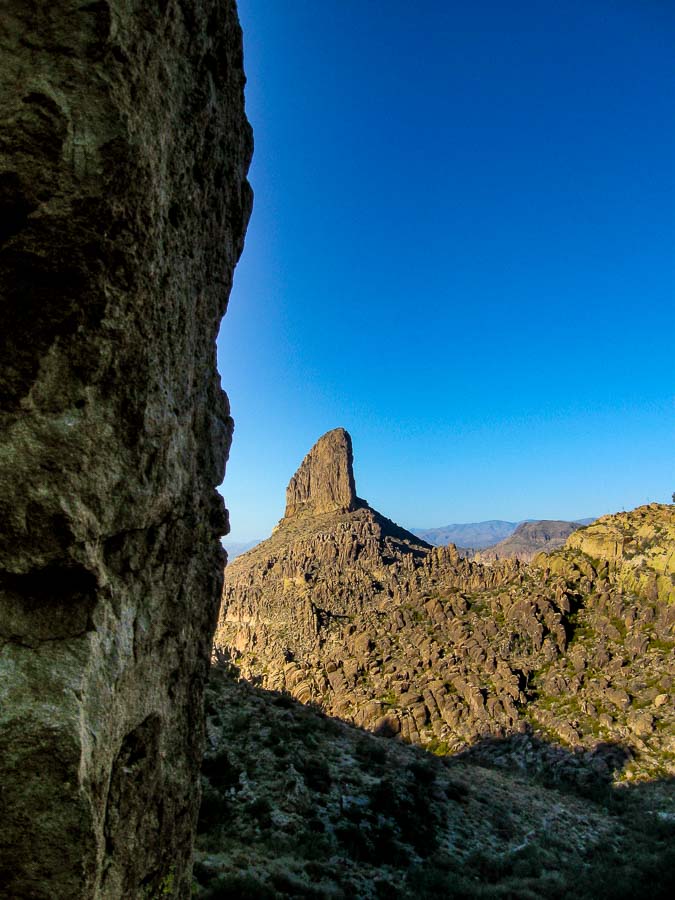
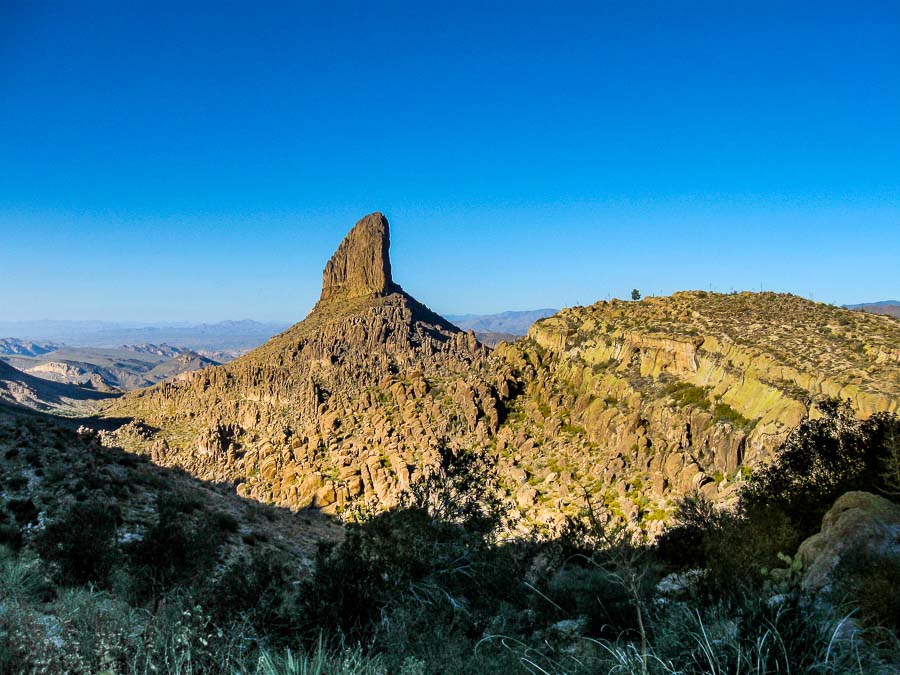
Weavers Needle from the Fremont Saddle - one last shot!
Weavers Needle – one last picture

Once we made it to the saddle and took in the view of Weavers Needle, we realized that it was time to head back down the trail. We started the hike later in the day and we were satisfied to have reached the saddle.

Before we started our journey back to the trailhead, I couldn’t resist taking one last picture of the needle and I am glad I did!

Read more about the Peralta Trail HERE.

Previous posts and photographs in the Peralta Trail series in chronological order:


**********


JBRish.com originally published this post
*All photographs Copyright by Jeffrey B. Ross with all rights reserved.

Hiking the Peralta Trail, Gold Canyon, AZ – 20160628

NOTE – Keep in mind that we took this hike and these pictures represent the trail as we saw it in December, 2009. The trail may have changed a bit since them and some of the flora may no longer be exactly where we are reporting, but this is a good representation of things you may find along the way. Perhaps you will find even more intriguing highlights.

Of course the large rock formations and mountains will remain largely unchanged.


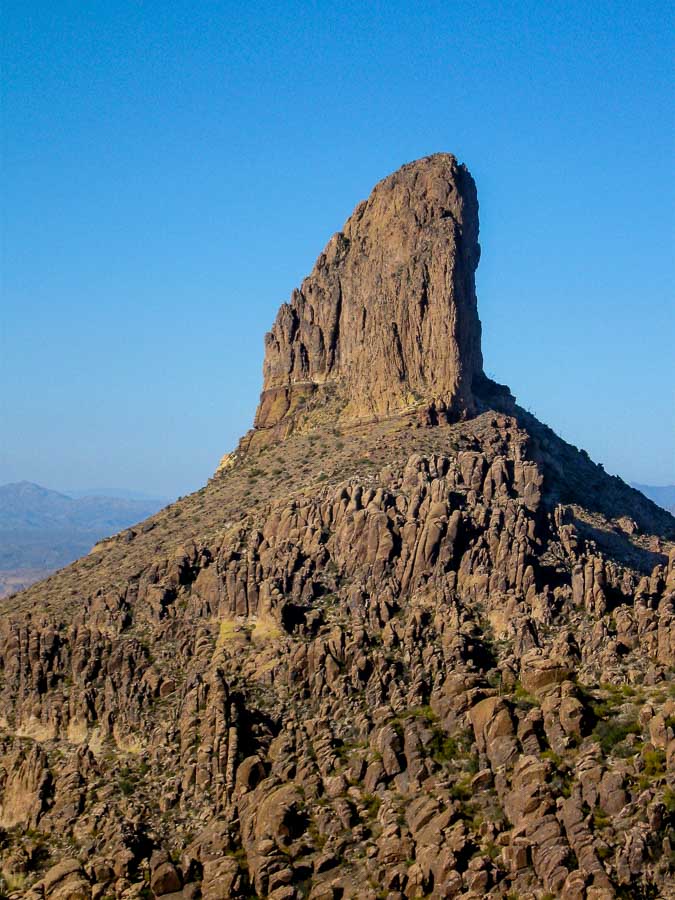
Weavers Needle close up

A closer view of Weavers Needle from the Fremont Saddle on the Peralta Trail. Read more about this particular formation in the post of June 27, 2017 linked at the bottom of this entry.

Read more about the Peralta Trail HERE.

Previous posts and photographs in the Peralta Trail series in chronological order:


**********


JBRish.com originally published this post
*All photographs Copyright by Jeffrey B. Ross with all rights reserved.

Hiking the Peralta Trail, Gold Canyon, AZ – 20160627

NOTE – Keep in mind that we took this hike and these pictures represent the trail as we saw it in December, 2009. The trail may have changed a bit since them and some of the flora may no longer be exactly where we are reporting, but this is a good representation of things you may find along the way. Perhaps you will find even more intriguing highlights.

Of course the large rock formations and mountains will remain largely unchanged.


The Peralta Trail Payoff

This view is what I call the “payoff” for hiking uphill along the Peralta Trail. A bit more than two miles along the trail, hikers will come to the Fremont Saddle. For those who don’t know, a mountain’s saddle is generally a flatter piece of land between two mountains, or two rises of a single mountain, which often provides a wide area for sitting, resting, etc.

The vista from the saddle is a startling view of Weavers Needle. For those who don’t suspect what is coming, it can be awesome as it rises up just over the horizon and comes into view as you push upward onto the saddle.

You can read more specifically about Weaver’s SaddleHERE

Read more about the Peralta Trail HERE.

Previous posts and photographs in the Peralta Trail series in chronological order:


**********


JBRish.com originally published this post
*All photographs Copyright by Jeffrey B. Ross with all rights reserved.

Hiking the Peralta Trail, Gold Canyon, AZ – 20160626

NOTE – Keep in mind that we took this hike and these pictures represent the trail as we saw it in December, 2009. The trail may have changed a bit since them and some of the flora may no longer be exactly where we are reporting, but this is a good representation of things you may find along the way. Perhaps you will find even more intriguing highlights.

Of course the large rock formations and mountains will remain largely unchanged.


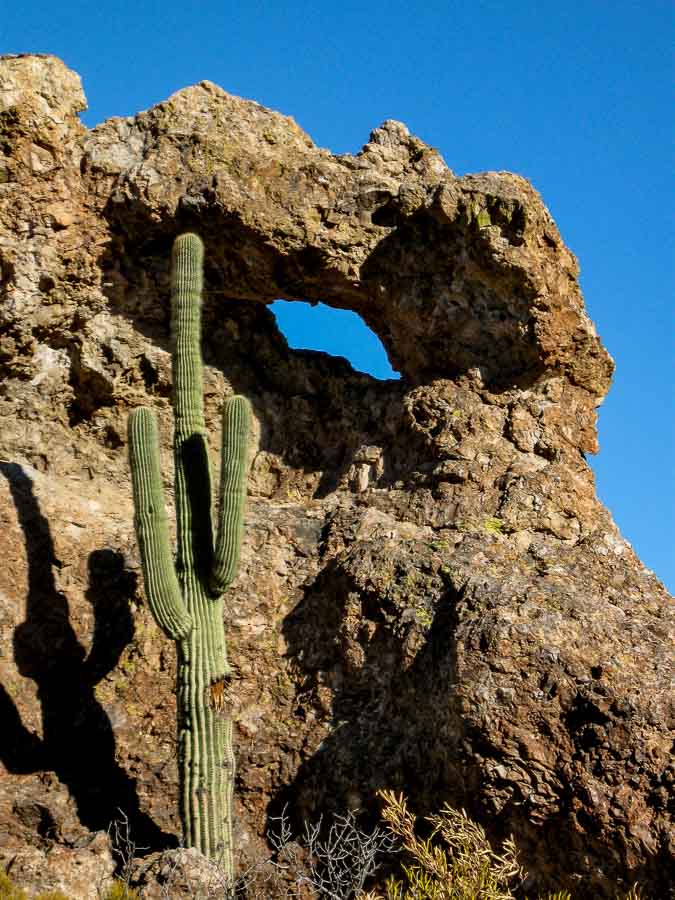
Another window in a rock formation

As we hiked further, we came across another window rock. This is what I enjoy about hiking; there are discoveries along the way most of the time.

Read more about the Peralta Trail HERE.

Previous posts and photographs in the Peralta Trail series in chronological order:


**********


JBRish.com originally published this post
*All photographs Copyright by Jeffrey B. Ross with all rights reserved.

Hiking the Peralta Trail, Gold Canyon, AZ – 20160625

NOTE – Keep in mind that we took this hike and these pictures represent the trail as we saw it in December, 2009. The trail may have changed a bit since them and some of the flora may no longer be exactly where we are reporting, but this is a good representation of things you may find along the way. Perhaps you will find even more intriguing highlights.

Of course the large rock formations and mountains will remain largely unchanged.


Approaching the saddle
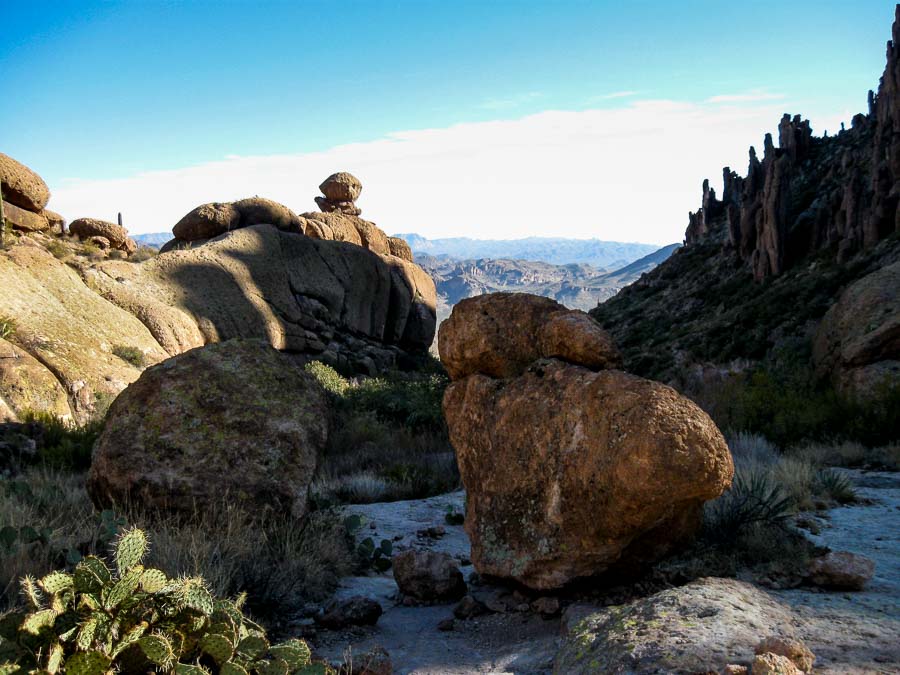
A view from close to the saddle near the top of the Peralta Trail

As hikers continue to climb, it pays to look back “down” the trail. In some cases, hikers may find that the best views are behind them. This photo was taken as we began to approach the part of trail leading to the saddle, but looking back toward the trailhead.

Read more about the Peralta Trail HERE.

Previous posts and photographs in the Peralta Trail series in chronological order:


**********


JBRish.com originally published this post
*All photographs Copyright by Jeffrey B. Ross with all rights reserved.