Hassayampa Preserve Bird Walk – 20180203

It was quite a while since we had a good dose of nature and the warmer than usual winter has given us added impetus to “go outside!” An opportunity presented itself which allowed us to combine two of our interests, bird watching and hiking. As I have explained on these pages before, I am an “occasional birder.” I enjoy birds and bird identification, but I am not ardent. I take it as it comes and it adds enjoyment to my wanderings.

We registered for a guided bird walk at the Hassayampa River Preserve in Wickenburg, AZ. This is riparian zone that has running water all year long; a rarity for the desert. As such, many birds are attracted to this wooded environment. The warmer temperatures have brought featehred visitors that don’t usually come this far south during February.
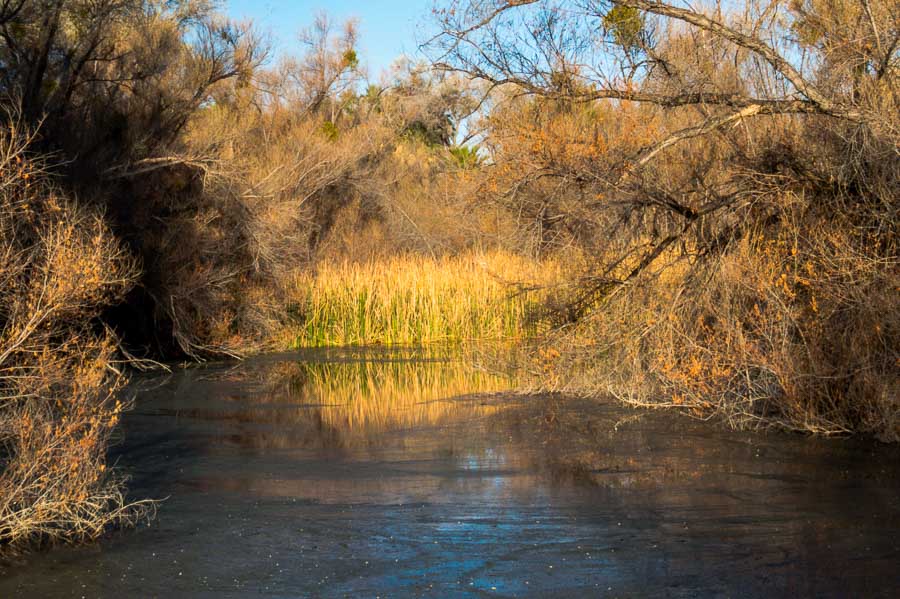

The inviting ponds at the Hassayampa River Preserve

The inviting ponds at the Hassayampa River Preserve

If you have never done bird watching, then it may be difficult understand the highs and lows of the experience. There will be those in the group who see so many birds while you might be gazing at the leaves and branches and wondering: “What do they see?” or “Where is that bird?”

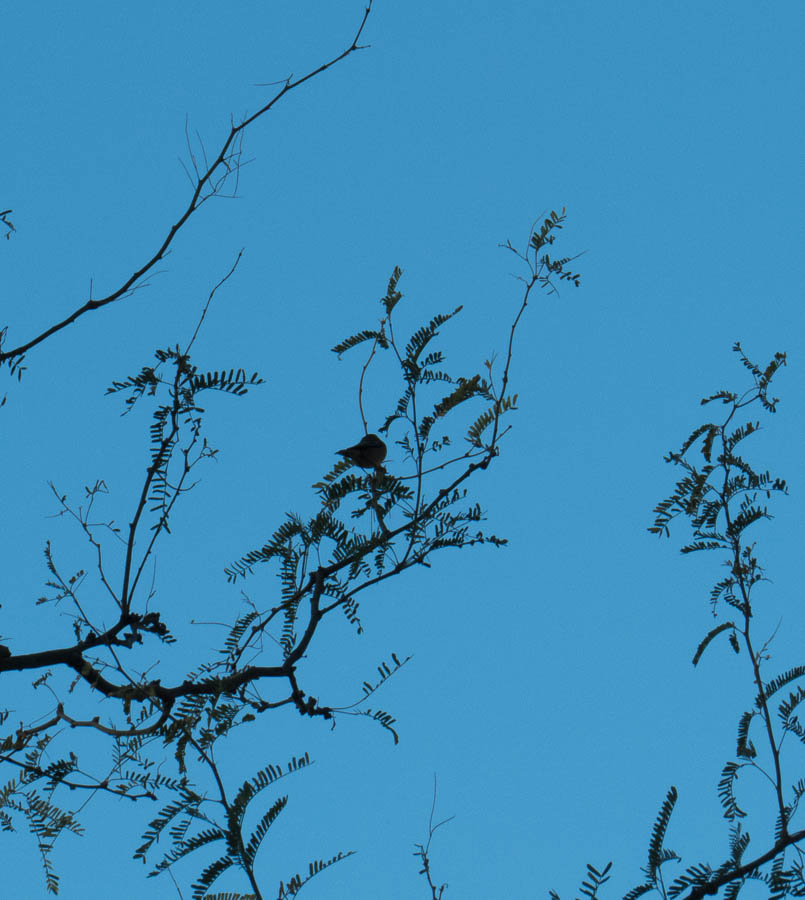
Below is an example of one of the frustrations. This bird appeared on the top of a nearby Cottonwood tree. It was vey much in view although quite a distance away. Unless an observer knew this bird from previous experience, it would be difficult to identify.


Phainopepla hard to identify from a distance

I had seen this bird several times before so I knew it was a Phainopepla. One distinguishing characteristic is its red eye which, because of the distance and lighting, was not visible. The black tuft on top of the head is also a distinguishing feature. I was able to get my best picture to date of this bird in November. You can see it HERE.

When I attended my first guided bird walk, I was surprised to learn that most birders don’t rely on sightings to identify the bird at first. They identify the call or song and then look for the specific bird. I must admit that this is a skill which mostly eludes me. I do know certain very defined bird calls like the Mourning Dove, Cactus Wren, Curve-billed Thrasher, etc., but all those chip-chip-chips and too-wees just escape my grasp. This is one reason I greatly appreciate having a guide.

The bird in the picture below, for example, was identified as a Ruby-crowned Kinglet. The birds are particularly difficult to identify and even more so to photograph. They jump around incessantly. Although this bird is totally shaded, the guide followed it from several trees and was able to identify it for us. I take her word for it!

Flitting Ruby-crowned singled silhouette

Another photo of the Ruby-crowned Kinglet. The most distinguishing mark of this bird is a red tuft on the top if the head. The angle, lighting and other factors did not capture this marking.
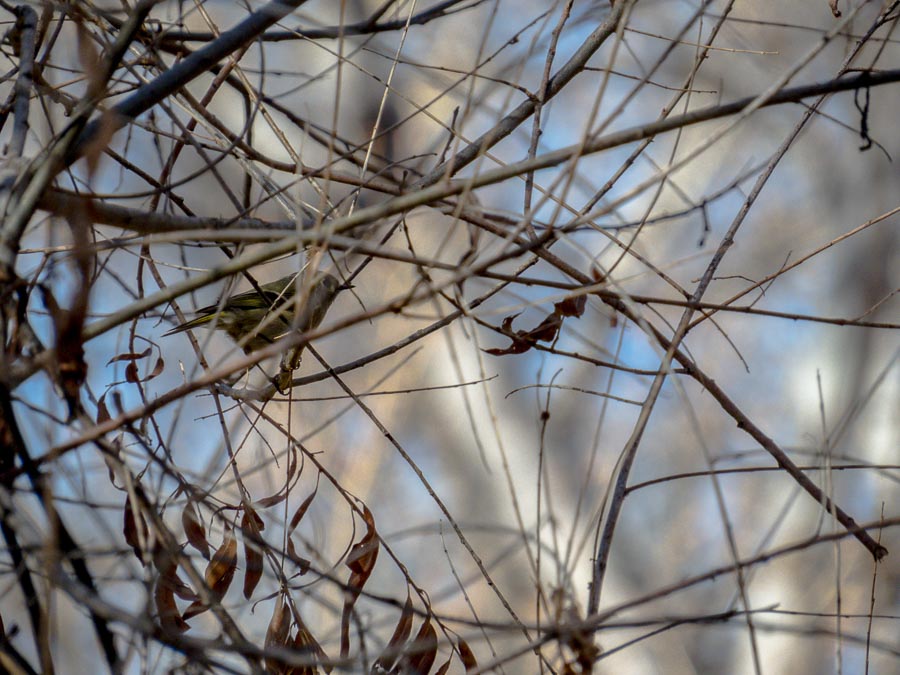

Better view of the Ruby-crowned Kinglet

You can see much better photos of this bird HERE.

There were some birds that were more conveniently situated and thus more easily identifiable such as this Hermit Thrush. The problem here is that the bird has very distinctive spots on its whiteish underbelly, but as you will note, that characteristic was not clearly visible from the back.
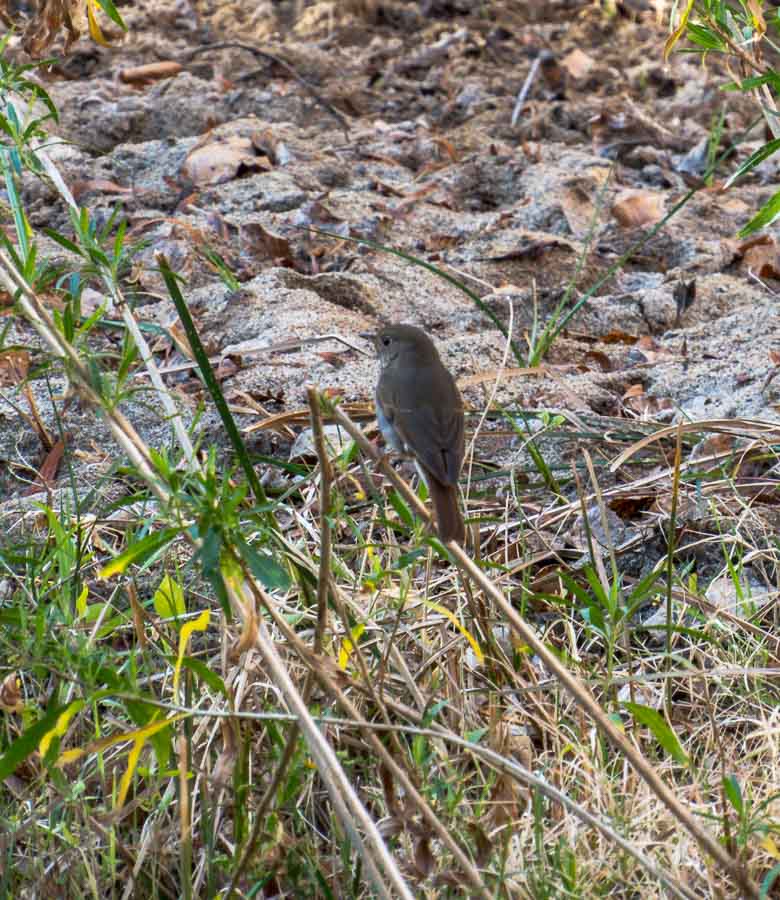

Hermit Thrush

The lesser Goldfinches were a bit more cooperative once the morning warmed a bit. They would cling to the thin branches of a nearby bush and pose for a while. The trick here is to take a number of pictures as the autofocus (which I use for birding*) will sometimes choose to focus on a foreground branch and render the bird out-of-focus.
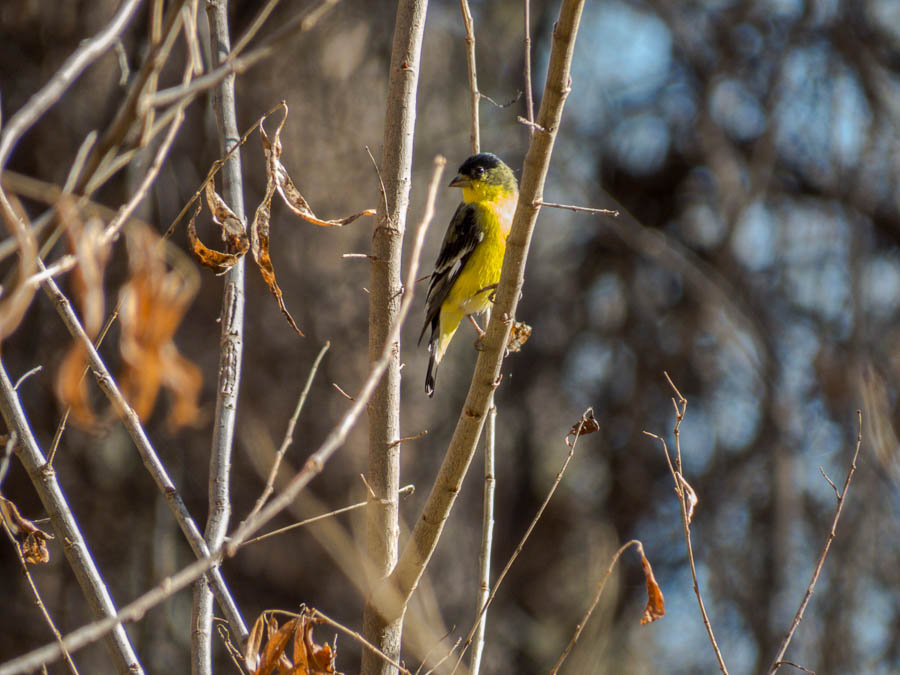
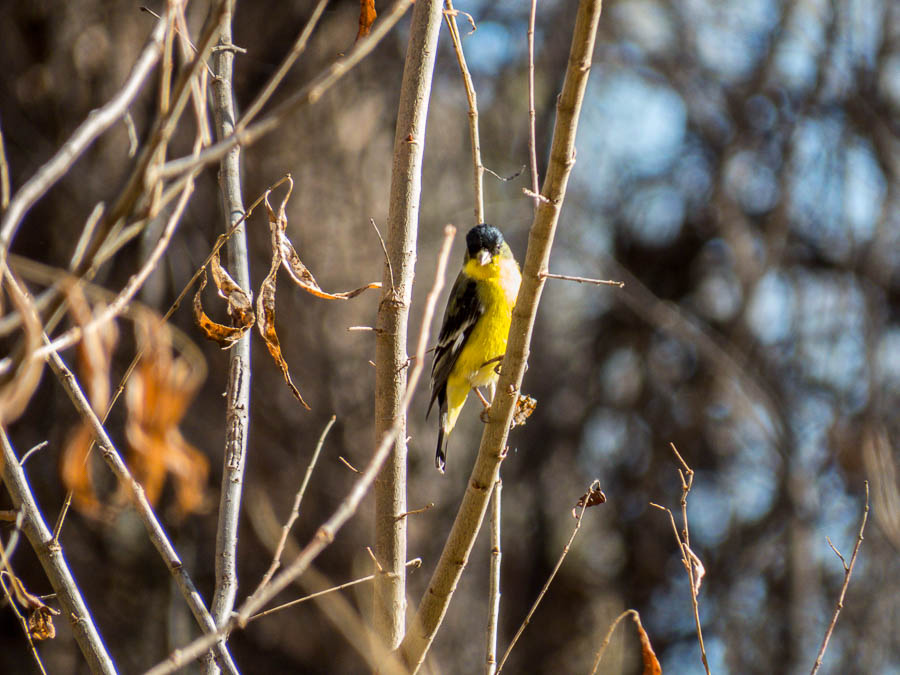
Lesser Goldfinch


Lesser Goldfinch

Black Phoebes often will flit away and then return to the same branch from which they flew so it may be easy to wait a moment while gaining focus on the perch and then snap the shot once the bird returns. The first shot has only the back of the bird, but it later turned sideways for a profile shot.
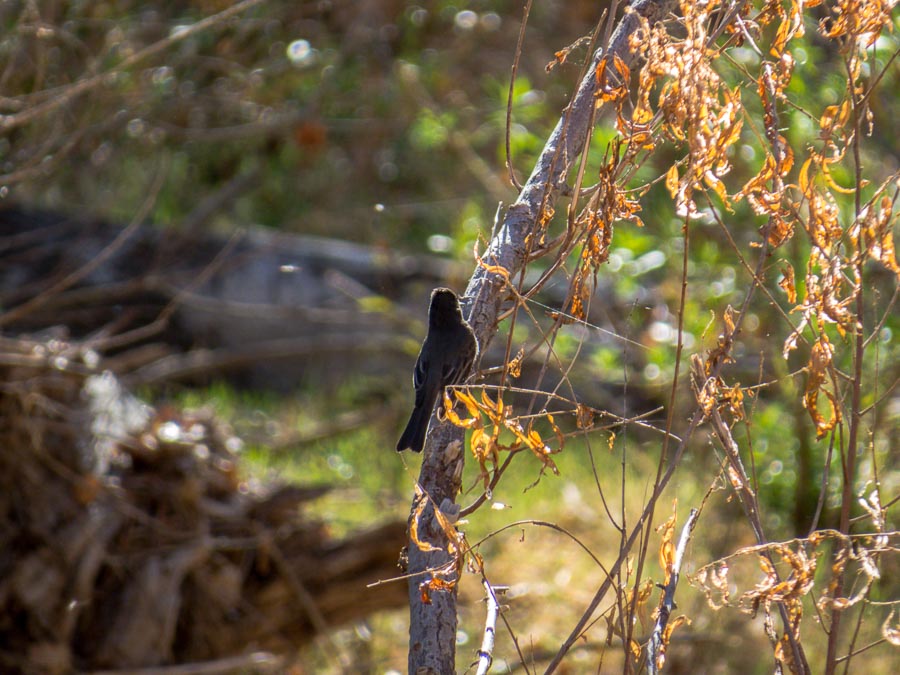
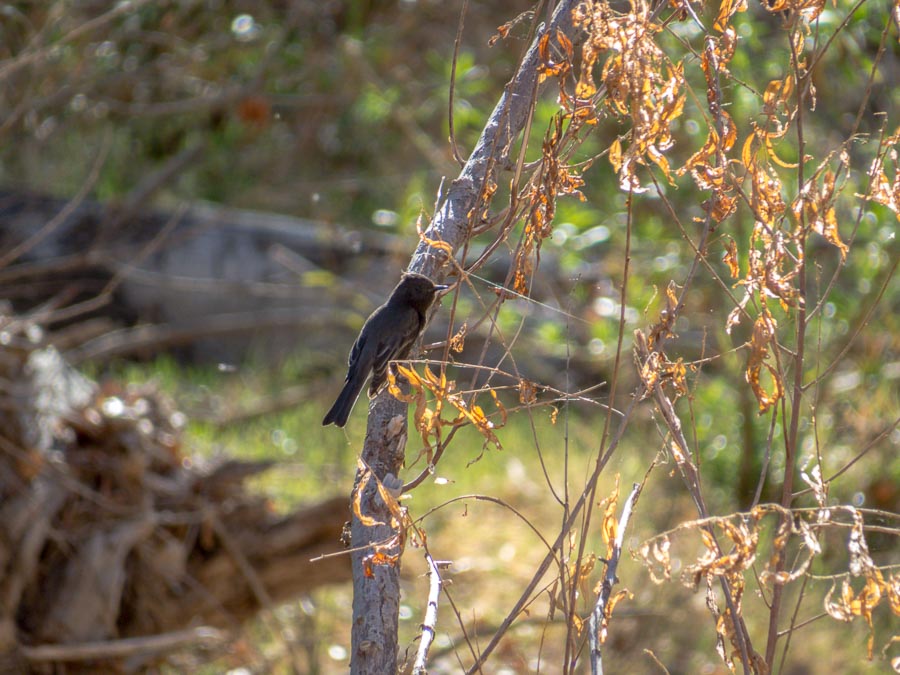
Black Phoebe


Black Phoebe

The next series is of a Ladder-backed Woodpecker. Woodpeckers, creepers and other similar birds cling to the side of trees and climb upward. They will then fly to a nearby tree and begin to hop while ascending that tree. It appears to me that they know when they are being watched and they scoot to the side of the tree away from the viewer so they can hide. At least it seems that way!

While the pictures are a bit blurry because the bird was madly pecking away, the distinctive markings are visible.
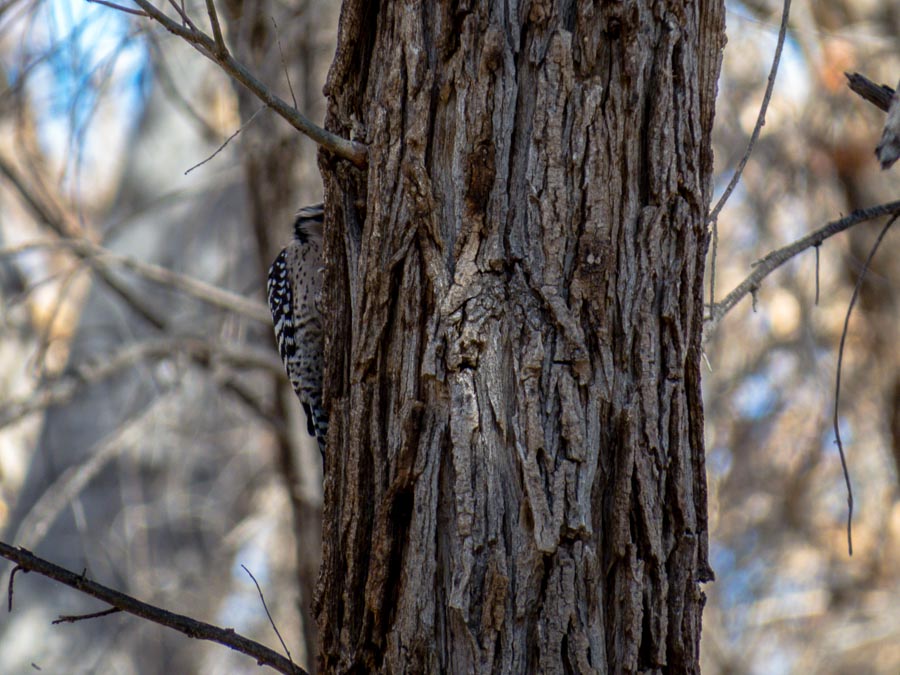
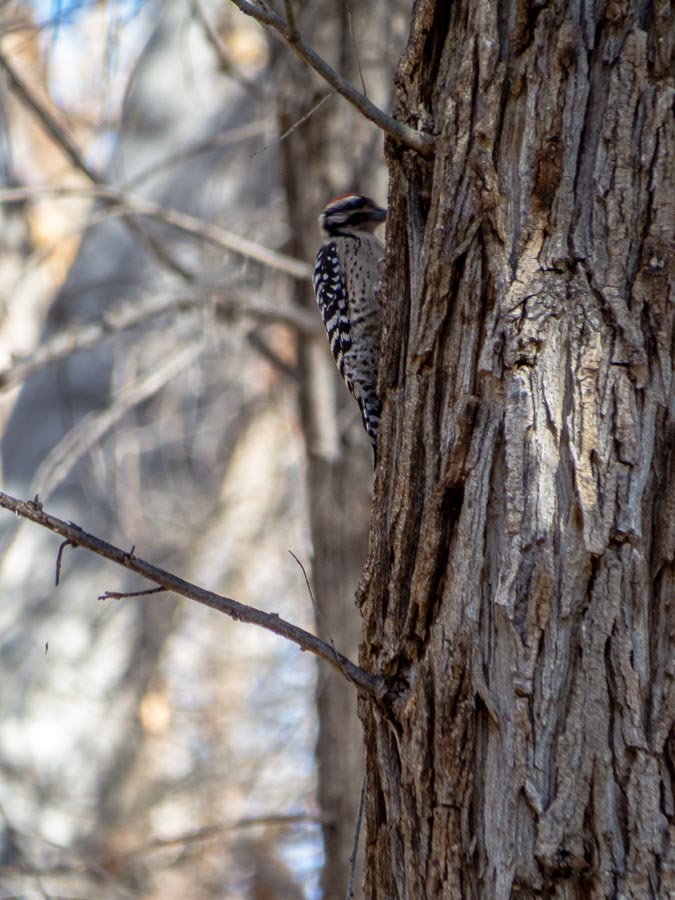
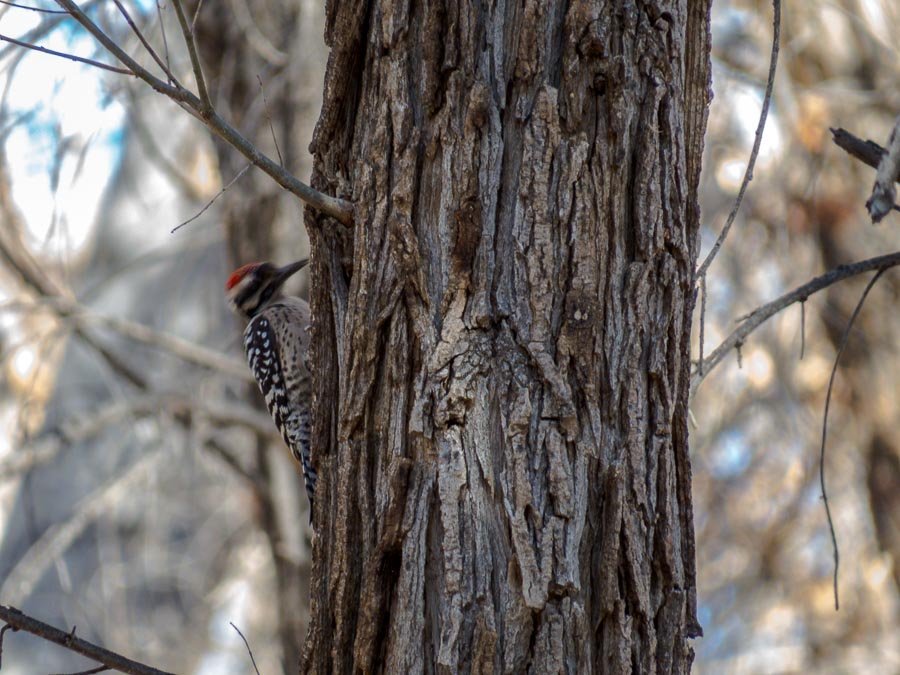
Ladder-backed Woodpecker


Ladder-backed Woodpecker


Ladder-backed Woodpecker

One last sighting before we left revealed three Western Bluebirds sitting on the same branch. They were catching the mid-morning rays of the sun. The blue of their backs does not show that well, but the rufous color of their underside is clearly visible.


Western Bluebirds

 
Additional sightings by me and others, but not photographed:

  • Abert’s Towhee
  • American Coot
  • Brown Creeper
  • Canyon Wren
  • House Finch
  • Lincoln’s Sparrow
  • Plumbeous Vireo
  • Verdin

* NOTE – The only camera I used during this bird walk was my Canon SX50 HS which is a bridge camera with a telephoto zoom lens. Pictures are best at low ISO (200 and below) which limits the aperture and shutter speed. The aim of these photographs was not to capture beautiful pictures of birds, but to take pictures that would enable identification. Of course it would be wonderful to have an excellent photo along the way!

 
See previous JBRish posts about birds HERE


**********


All original content on this blog is copyrighted by Jeffrey B. Ross with ALL Rights Reserved. While reference links back to JBRish.com are appreciated and encouraged, please acquire approval for any reproduction of original content from this website.

©Jeffrey B. Ross – 2018

My Photography, Hiking, Exploring Procedure

As I stated or implied in my YOY (Year Of Yosemite) post Introduction, we had a grand time exploring the trails and mountains of this historic national park. When it comes to photography, I am really a fairly average amateur, but I am getting better. On this particular trip, I had three cameras with me:

My steadfast Canon PowerShot A590 IS which has been to so many places over so much time and still continues to provide faithful captures.

A PowerShot SX50HS which I use for birds, wildlife and anything that needs reach or isolation. I can easily open the aperture and isolate a subject. It has its drawbacks, but it fits into my particular work flow. I usually shoot in RAW format.

A Nikon D3300 which you can read about in my Photography Conundrum series. This provides the best overall quality among my cameras and has moderate “reach.”

When I am out and about exploring (which includes hiking and photography), I carry the photography essentials:

  • A Giotto Rocket Blaster to keep the lenses dust free
  • A lens cleaning cloth in the vent my lenses get wet or need cleaning that Giotto cannot provide
  • Extra memory cards (2 with me and more packed away)
  • Extra batteries for each camera
  • A whistle in case I encounter trouble and need to get attention

All of the above is contained in a belly pack and I keep my Canon PS A590 holsetered in one of the side pockets of that belly pack.

My other cameras go around my neck and I tether them to my back pack using carabiners so they don’t go bouncing all over as I climb and boulder scramble.

I don’t keep my cameras in a backpack in the event I need them in a hurry.

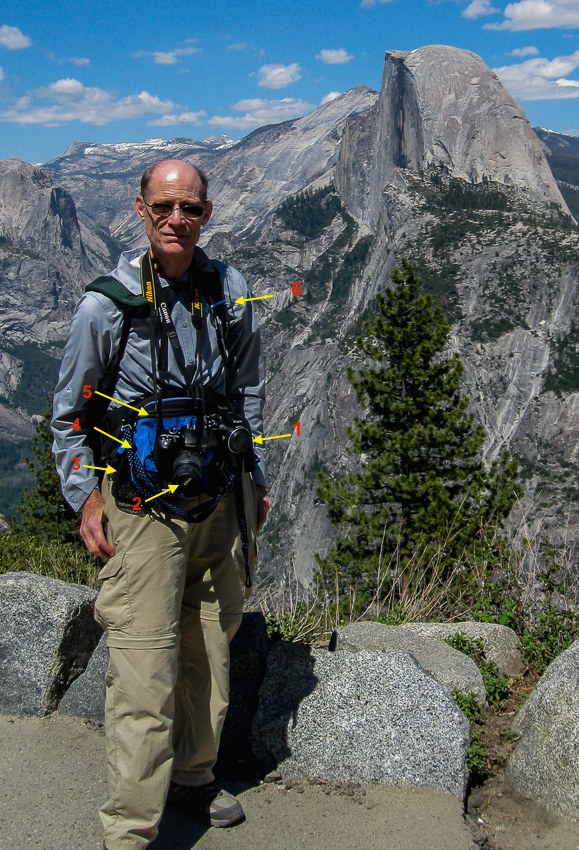
JBRish.com with his gear
So… How does this all fit together?

  1. Canon PowerShot SX50 HS that I use when I need reach, i.e. distance/wildlife
  2. New Nikon D3300 – Better quality, limited zoom
  3. Side pocket of my belly pack where I usually keep my PowerShot A590 for story telling photos
  4. Tether tied to the A590 so it doesn’t hit the ground if it falls
  5. Belly pack with numerous pockets for memory cards, Giotto Blaster, cleaning cloths, etc.
  6. Carabiner to keep cameras from jostling too much as I hike, bend, etc.


I do wear a hat when I hike, but I removed it for the photo!

Telling the Story

I take some photographs just to convey the story of where I have been and to indicate the overall “look-and-feel” of the hike. For this, I often use the jpeg only PS A590. These are not meant to be artistic photographs or pictures that are particularly significant although every once in a while I am surprised by the job this legacy camera does.

For most scenery I use the Nikon D3300 which has a nice kit lens that is fairly sharp and provides enough framing options to deliver the compositions I usually want.

The PowerShot SX50HS has some issues such as chromatic aberration and poor redndering at high ISO so I use it for wildlife and bird photography or any other picture for which I need the long reach. I sometimes use it as a substitute for binoculars if I want to see if anyone is clinging to the side of El Capitan, for example. I know I can generally deal with some of the camera’s “problems” in Lightroom and it also delivers some very good photos at ISO 200 or lower; 400 if I want to stretch it a bit.

The visit to Yosemite was a bucket list item for me so I tried something for the first time…

I brought a computer and external hard drive with me so I could back up my photographs on a daily basis. Each evening, I took time to create three folders on the external hard drive with the date, short name to indicate what we did that day and an abbreviation for the camera used. I did this so when I imported the pictures in to my photography software (Lightroom), I could apply presets for that individual camera. That is why I keep the pictures separated by date and by which camera was used.

NOTE – It is helpful to synchronize time and date on all cameras being used so pictures can be sorted according to capture time. Truth be told, I don’t always get this done and it isn’t a monumental problem although having the ability to sort by time/date is very useful.

I then systematically remove each memory card, place it into the computers hard drive and COPY the files into the specific folder (on the external hard drive) for that camera on that day. This is done for all three cameras. I am cautious so I double check how many pictures are in the new folder and how many are on the memory card for that day. When I am satisfied that I have transferred all photographs, I move on to the next memory card.

If there is a change in venue that I think I will have trouble remembering, I find a file (picture) that was taken in the place and time when the situation changed and I rename it leaving all native metadata in place. This helps me organize my photos later when I see a long name rather than just a capture number.

Now I have copied all three memory cards to the appropriate folder on the external hard drive. Before ejecting the external drive, I then copy the three new, daily folders into a parent folder on the computer itself.

This protocol gives me three copies of each file. I do not ever erase a memory card until I have copied all files to my desktop and have backed it up on at least one other device, perhaps two.

I don’t review my pictures on a daily basis except to look at a few from each camera to make sure that the camera is working properly. Is there a spot on the lens? Is there a series of pictures out of focus; why? If the cameras are working appropriately, I wait until I get home to review my images. I very seldom delete a picture during the backup process described above. Many a mediocre photo can be rescued in Lightroom or Photoshop.

I hope you have found my hiking/exploring regimen helpful and perhaps you have garnered a worthy idea or two. If you have questions, let me know in the comment section!

Lightroom for JPEG (JPG) Images

A couple of things up front

  • I have only been using Lightroom (LR) for a few months.
  • Until ten months ago or so, the only camera I used was a Canon PowerShot A590 IS point-and-shoot with 4X optical zoom
  • I now use a Canon SX50 HS with 50X optical zoom
  • Between the age of 22-30, I was very interested in photography and experimented with it as a way of artistic expression
  • For more than thirty years after that, photography only served to capture my personal historic record.
  • I am now trying to become a better photographer and learn the “art” of photography.

Now that the preliminaries are out of the way, I want to make an important point. Once I decided to try my hand at becoming a more serious student of photography, all of my readings convinced me that I should be shooting in the RAW format. There seemed to be way more advantages than disadvantages.

Since my only camera was the A590 with only 8 Megapixels to offer, I was stuck in the JPEG (JPG) zone. I wanted to experiment with the RAW format and a slightly more advanced camera and thus I purchased the 12.1 Canon SX50 HS which has served me well for the last ten months.

Having decided to shoot more in the RAW format, I then needed the appropriate software to read, catalog and process those images. Along came the Adobe subscription plan for Lightroom (LR), Photoshop (PS) and other associated software for a subscription fee of approximately $10 USD per month. My path was clear. I began to learn LR and to work with RAW images.

But wait…what about all those JPGs I shot with my A590? Could any of those pictures be improved with LR? I know JPGs don’t have as much embedded data to call on, but surely I could make some improvements. Well, I am here to show you a few results. I will be the first to admit that the differences in post processing JPGs will not be as dramatic as with RAW images, there are some significant gains to be had.

Three years ago, I took my trusty little shooter (not the best term in this day and age) to the Ringling Brothers Barnum & Bailey Circus. Conditions were far less than ideal. The artificial lights were blaring every color when lit and often the arena was dark. Not only that, but elephants, co-stars of the show, are kind of a drab gray. I love elephants, but I have to call it as I see it.

In any event, I took my camera and did the best I could. Everyone who has followed photography knows the adage: “The best camera is the one you have with you.” and thus I was using my best camera that evening.

Below are several pictures I took that evening followed by the same picture processed in LR. Now remember what I said above. I am no expert at photography or post processing. I was, in my opinion, able to improve upon the original images using LR. You can decide for yourself. Just one note. The revised/improved images have been cropped so the picture may appear larger, but it is only because the crop has enlarged the remainder of the picture so that all photos are the same general size for posting on the website (+/-).

Are you following along?

This picture (below) is of the main entrance into the arena. Notice how dark the image is with lack of much detail in the corners.

Main Side Entrance

Notice the colors in this revised pictures and how the details pop a bit more.

Main Side Entrance

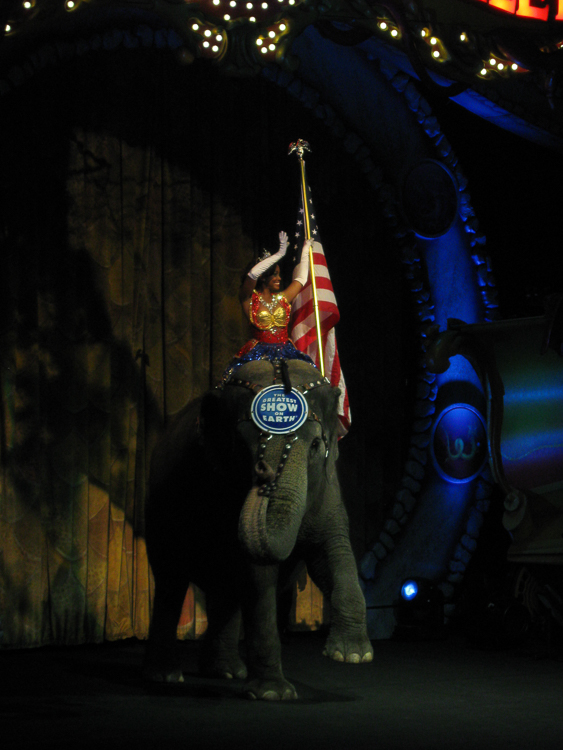
This performer riding the elephant wasn’t too bad a shot under these conditions, but that spotlight just to the right of the elephant’s foot is distracting as are those shiny lights above. There is no snap to the colors either.

Female Performer Riding Elephant

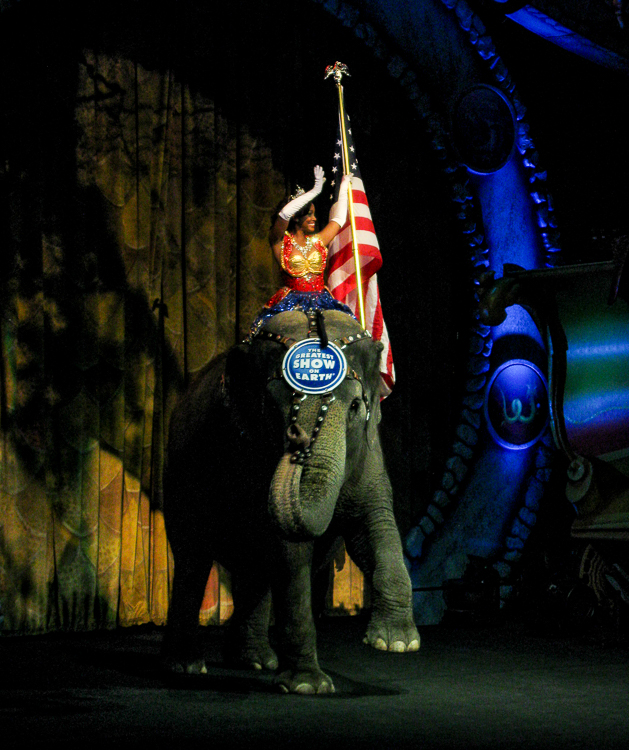
Notice how the contrast is improved. The distracting elements have been edited and the picture is much more pleasing. Now remember, nobody is claiming these are wonderful pictures. These are from my “historical record” and I am just trying to improve them using LR even with the introduction of a bit more “noise” in the scene.

Female Performer Riding Elephant

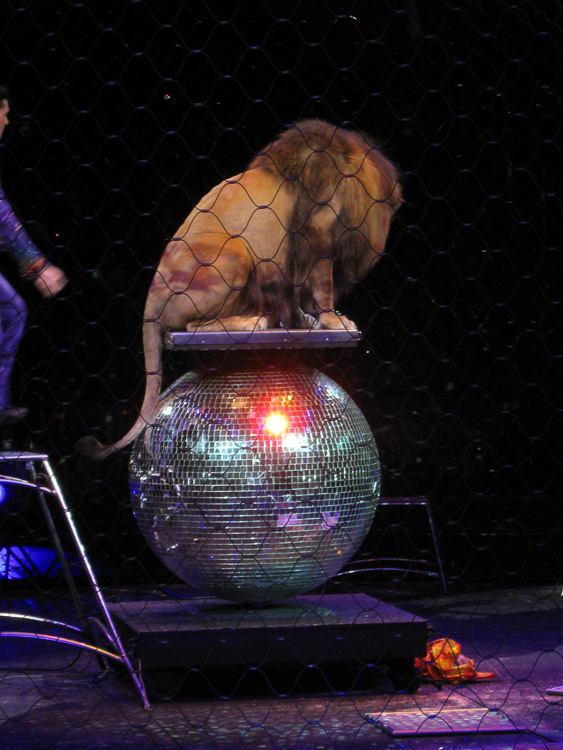
One of the problems I had in the darkened arena was shutter lag. So I often mis-timed the pictures. This picture was not framed correctly; too many distractions such as the trainer on the left and the objects in the bottom right. The overall color is dingy.

Lion on Rotating Ball

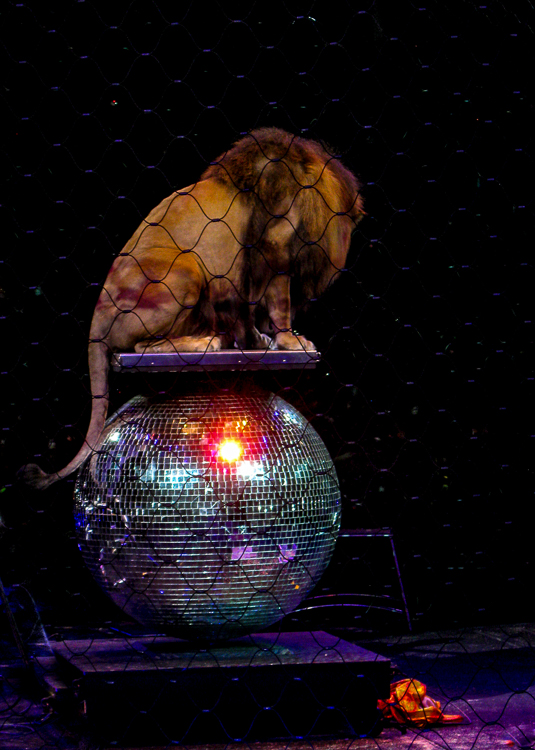
This is much improved with the crops, more appropriate color balance, etc.

Lion on Rotating Ball

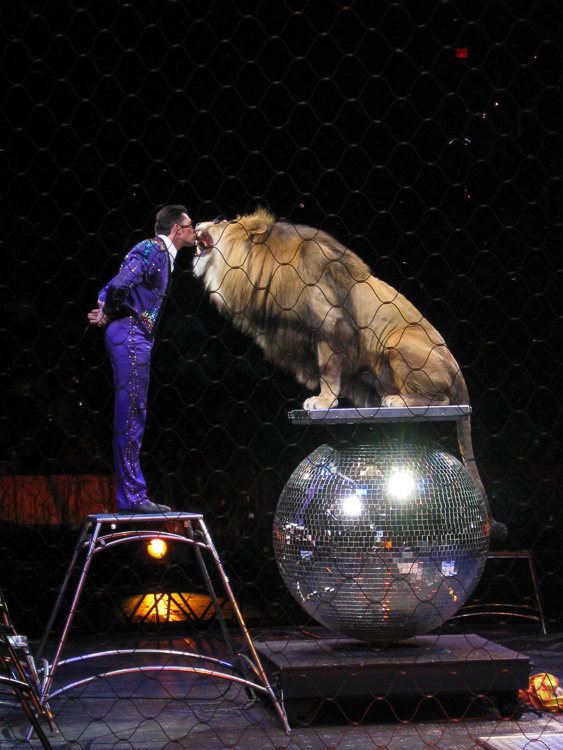
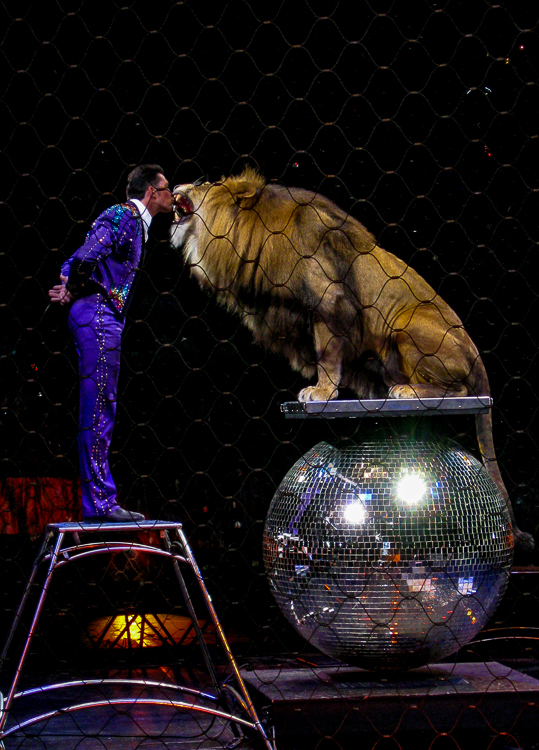
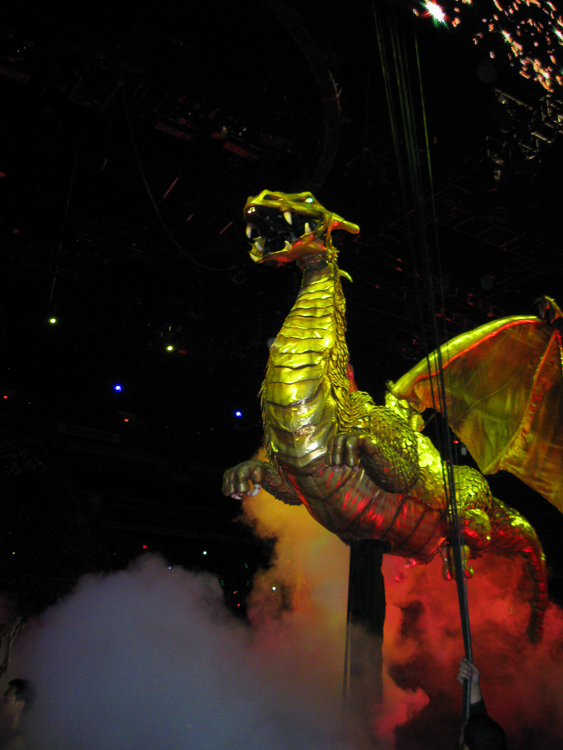
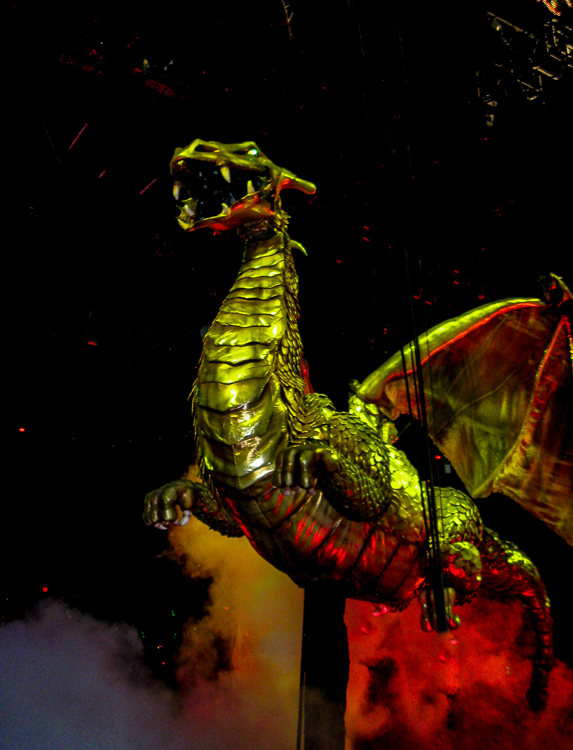
Okay so you get the idea by now. No more narration just two more sets of before and after pictures. If anyone has any questions, post a comment and I will do my best to answer.

Lion and Trainer

 
Lion and Trainer

Dragon and Fire

 
Dragon and Fire