My Fuji X T-2 experience is moving right along and I am learning new things almost on a daily basis. I haven’t had an extended shoot yet, but I will have one soon. In the meantime, I have been experimenting and becoming accustomed to all the controls and settings available to me. I can sense now that it will be difficult, with just a bit of knowledge, to take a bad picture. Naturally there will be newbie mistakes, but no more than to be expected when learning any new system.
Before I get to show you some of my first pictures, I want to discuss an issue I knew I would encounter…
I have the camera set to capture both JPEGs and RAW files. With two card slots, this is really pretty easy. I am not sure I will do this all of the time, but I thought it would be good to try this as I started on my journey to learn the X T-2.
I discovered that the JPEGs are rendering very well, but when I examined the RAW files, they didn’t show the detail that I can see in the JPEGs. I know the camera is working accurately because the JPEGs are right on.
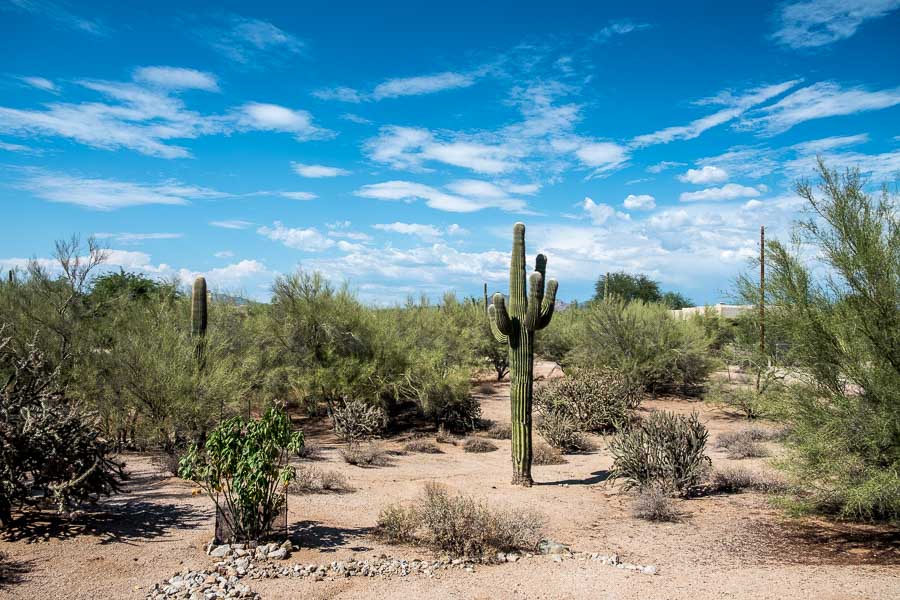
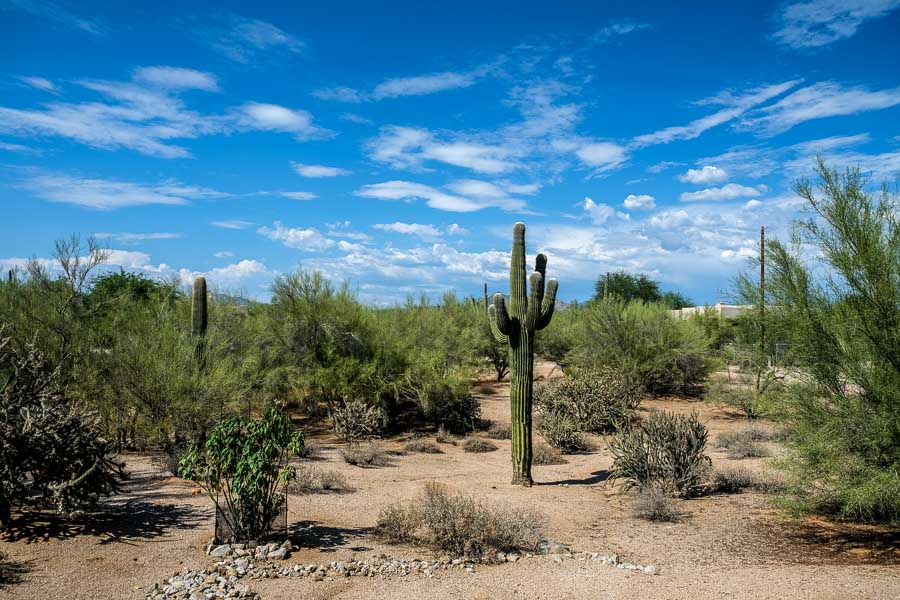
NOTE – I live in the desert so the photos are of an area near my home. This was a test run just to try out a new polarizing filter so understand that the images may be over saturated, etc. as I am learning to adjust the polarizing effect as well as how to use the camera.
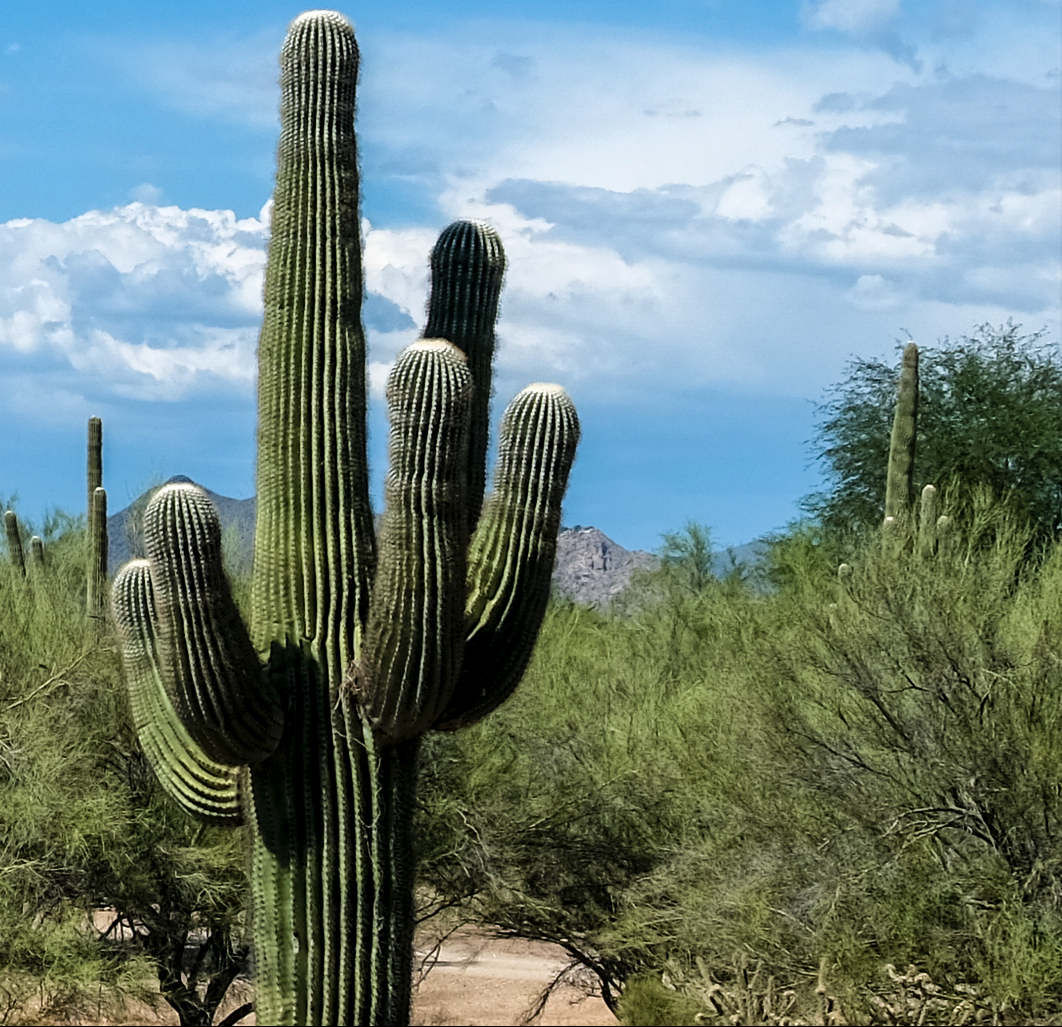
This is the JPEG straight out of camera (SOOC).
")
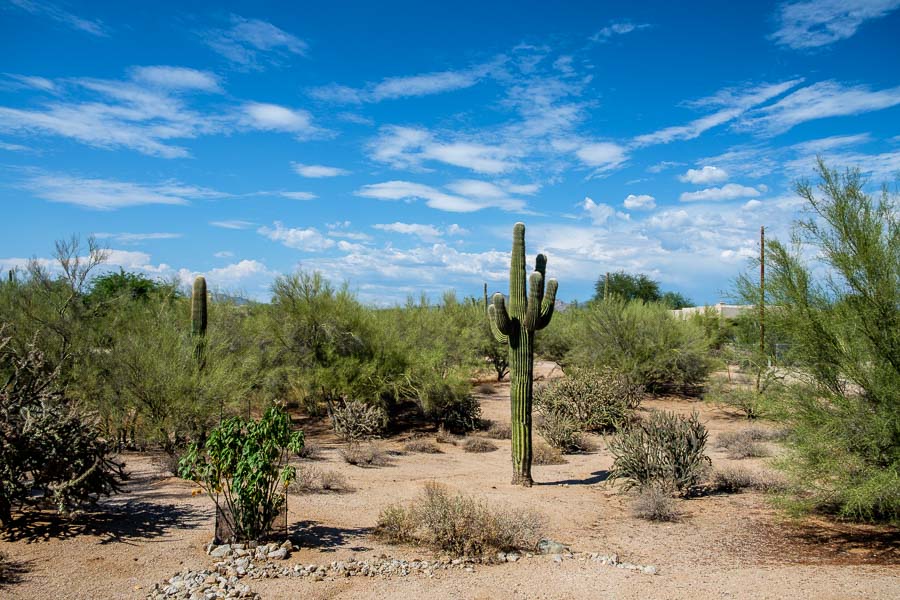
Here is the RAW image, also with the polarizing filter, straight out of camera (SOOC):
")
I don’t know if you can see a big difference between the two. On my 27″ monitor in LR, there was a noticeable difference.
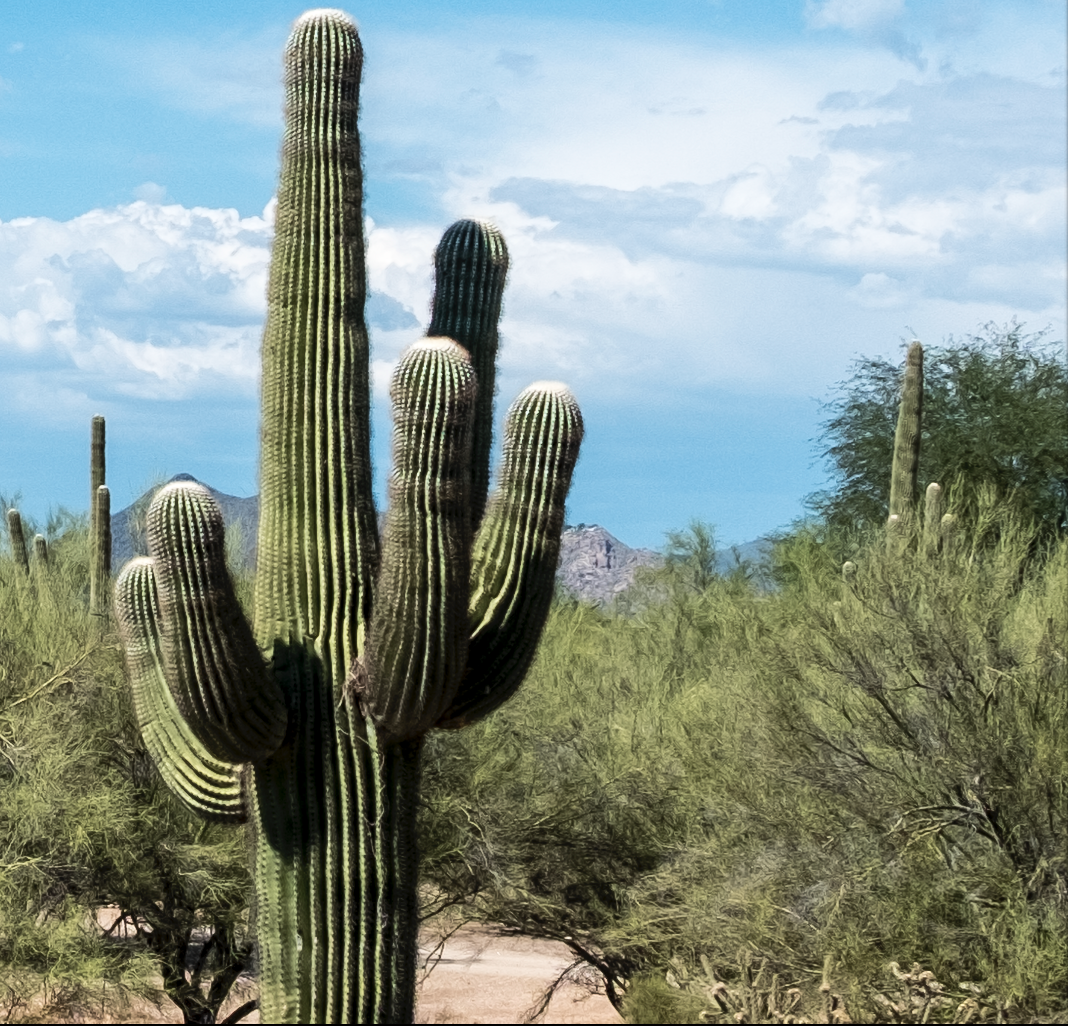
Here are the two shots after I applied my “regular” (Nikon, Canon) LR settings. JPEG first then RAW.

JPEG
RAW
They were relatively close, but on my larger screen when the images are in LR, I could tell the JPEG had more detail.
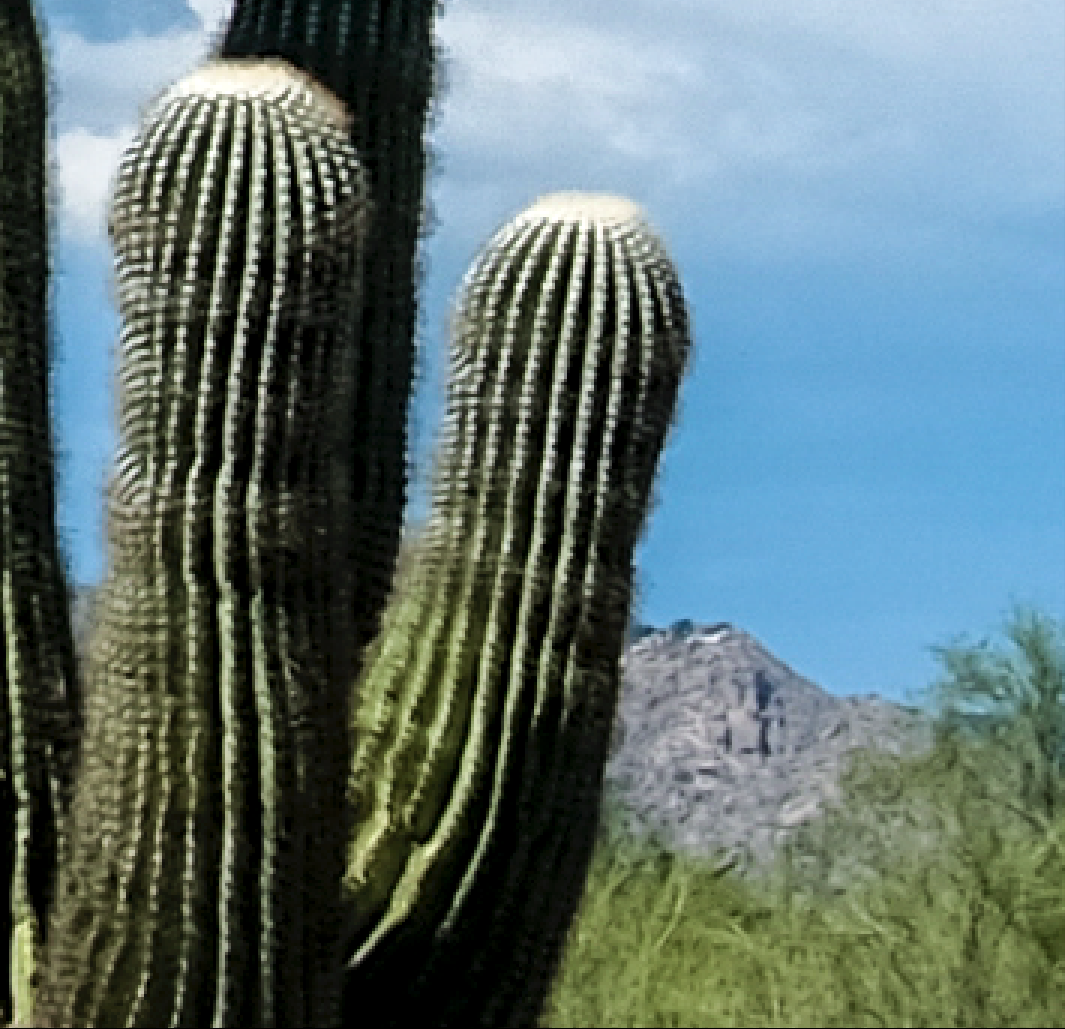
Here is a 1:1 enlargement of a section of each picture just to give you the idea. JPEG first then the RAW image (both after similar LR enhancements).
NOTE – All enlargements are screenshots taken on my legacy iMac which produces PNG files.
JPEG
RAW
If you look closely at the clouds, the spines of the large cactus (saguaro) on the left of the frame as well as the tree branches, I think you will note there is more detail in the JPEG. I wish I was better at presenting this.
Here is a similar comparison with a 3:1 enlargement. JPEG first then the RAW image (both after similar LR enhancements).
JPEG

RAW
I knew the detail from Fuji files was an issue with LR. If I hadn’t read about this prior to my purchase, I might have been panicking at this time, but I was prepared.
I wanted a Fuji because in my mind, they put the photographer first. They have demonstrated their dedication to providing the best user experience by offering, free effective firmware updates. These not only correct glitches that might arise, but historically, they have extended the usefulness of the Fuji cameras. Yes, Fuji was the system I wanted even if I had to modify my workflow.
I began to search the Internet for potential solutions to help me generate more detail that I knew were in the RAW files. There seem to be a number of good alternatives. One that I found to work for me, at least at this point, was offered by Jim Harmer of Improve Photography via a video/podcast.
Based on Jim’s suggestions, I adopted the settings below as my starting point in addressing my Fuji files.
These adjustments are made in LR’s Detail Panel as I import the files. I created a preset to do this on import [all of these are, of course, (+/-) according to personal taste ]:
Amt – 40 Radius – 1.5 Detail 80 – 84 Masking (if needed ) 45-48
I also found that using Provia Standard (Camera Calibration Panel OR Pro Neg. Hi) gives me a look I like for my photos; your mileage may vary.
NOTE – To anyone who has worked with LR, it is understandable that the above settings are not going to work with every file right out of the gate. Each file will need to be tweaked as necessary moving the sliders until the best rendering is achieved. I use the above as a starting point for my Fuji files and then I move to my other regular settings under the Basic Panel. I go back and forth between panels to achieve the desired result. This is really nothing different than I do with my other files and now that I have the preset for importing the Fuji files, it isn’t difficult.
Here is the Improve Photography video that helped me:
Thank you Jim!
Finally, below are both the JPEG and the RAW file after all of the processing in LR. I have to issue a disclaimer — I have been using LR for only a year or eighteen months and I am the first to admit that my skills are not that of an expert. I am just trying to pass along what I am learning in an effort to help others who can benefit from the information.
I am satisfied that I have increased the detail rendered in my RAW files to match or surpass the Fuji-generated JPEGs, but I am not done yet!
NOTE: If you want to delve a bit deeper into the extraction of fine detail from Fuji RAW files, I suggest you read SHARPENING X-TRANS FILES IN ADOBE LIGHTROOM. Pete Bridgwood has done a great service for the Fuji community by constructing a detailed procedure which I intend to use to help me modify the parameters set forth above. He offers a way to build several presets for landscape photography along with much background material and other ideas! It will be well worth your time if you are interested.
Read more photography posts HERE
All original content on this blog is copyrighted by Jeffrey B. Ross with ALL Rights Reserved. While reference links back to JBRish.com are appreciated and encouraged, please acquire approval for any reproduction of original content from this website.
©Jeffrey B. Ross – 2017
With amount 40, I get completely oversharpened pictures all the way through, from portrait to landscape. Usually I try not to go beyond 30, but play with radius a bit more…there are many possible combinations that lead to good results.
Each photographer has their own perspective on how their pictures should look. That is what makes photography such a wonderful, creative art form. People will find their own style and rely on that to guide them. I think it is wise to avoid over sharpening, but at which point that occurs is up to each creator to decide. Also keep in mind that there are no set rules and the degree to which the sliders in LR are moved may depend on the individual subject matter and particular settings for each capture.
Thanks for sharing your experience.
A couple of years ago I read an article on how to sharpen X-trans raw files. Moving the detail slider to 100 changes the mechanism used by Lightroom for sharpening. You might want to give that technique a try. I found it to be effective.
Once again, I think that each frame needs to be judged according to all the parameters used to capture the photograph. I am not sure a “general rule” of raising the slider to 100 percent would be effective, but it might prove beneficial under some circumstances. What I tried to present in my article is a series of potential “starting points” for those who are looking for a way to streamline their post processing of Fuji files.
Thanks for the article.
Please note thatthe sharpening for the X-Trans 16mp works very differently to the 24mp sensor when it comes to the detail sliders. From what I have read on the forums, the detail slider in LR’s Detail Panel works better at higher levels for the 24mp sensor. Therefore, I am not sure how much influence Pete Bridgwood’s article would influence my sharpening with X-T2 RAW files and may be more relevant for X-T1.
You also need to factor in the output sharpening that is done on export. There are 3 levels here.
I’m still searching for the perfect algorithm (if one exists) but there is a lot out there on the forums to give you a headstart and then you can play around.
Like you say, sharpening is a very personal thing and for my usage, it totally dependent on the subject matter. An insect or flower may be able to handle more sharpening than a landscape for example.
Please keep experimenting and post up your results 🙂
Steve:
Thank you for taking the time to share your experiences. I am new to Fuji and I am still finding my way with post processing as well as general use of the camera. Your points are well-taken. I wrote the article because at first my files looked terrible and then when I found the information about which I wrote, they looked much, much better so I wanted to share what I discovered as a starting point for others who may be in the same situation.
I do find sharpening at higher levels, in general, helps.