My Photography Conundrum – Part 1

When I was younger, much younger, I was very interested in photography. There was a magic about being able to freeze a moment in time to capture an event that will never appear in that exact juxtaposition of all the elements again. At least it seemed like magic to me.

Life progressed and my camera saw little action as I was busy trying to advance my career (which was not related to photography). I continued to take snapshots, as opposed to serious photographs, the interest in photography continued to simmer in my heart.

A few years ago, now that life is a bit more subdued, I purchased a bridge camera. Heretofore I had been using Canon point-and-shoot, jpeg only cameras such as the Canon PowerShot A75 with a whopping, for that time, 3.2 megapixels.
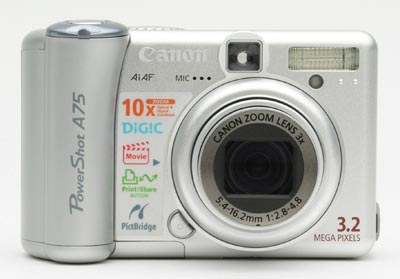
Canon PowerShot  A75
Canon PowerShot A75 picture courtesy of Imaging Resources
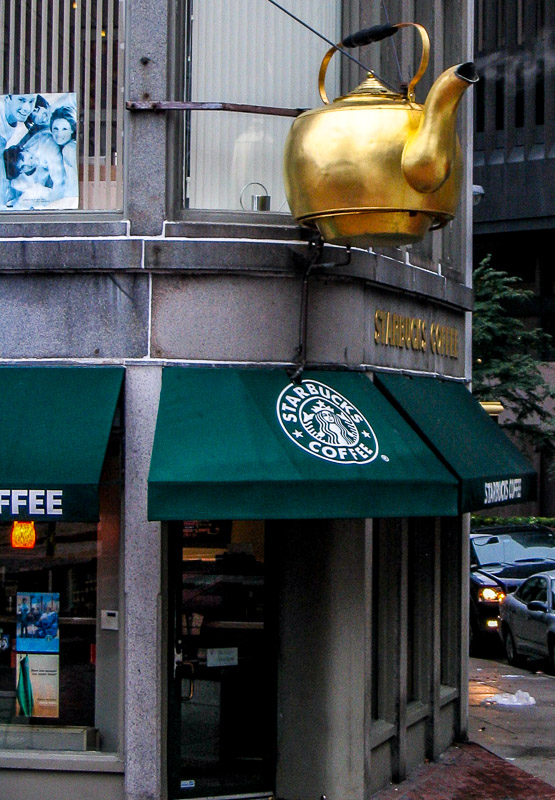
Starbucks Coffee Shop Boston Taken with the Canon  A75
Picture of Starbucks Coffee Shop in Boston taken with the Canon A75 and cropped

That little camera went all over with me and took some fairly decent pictures; not great, but good enough!

I soon had to acquire a newer camera for a trip to Peru which I didn’t want to risk by taking my older A75 which was “acting up” at that time.
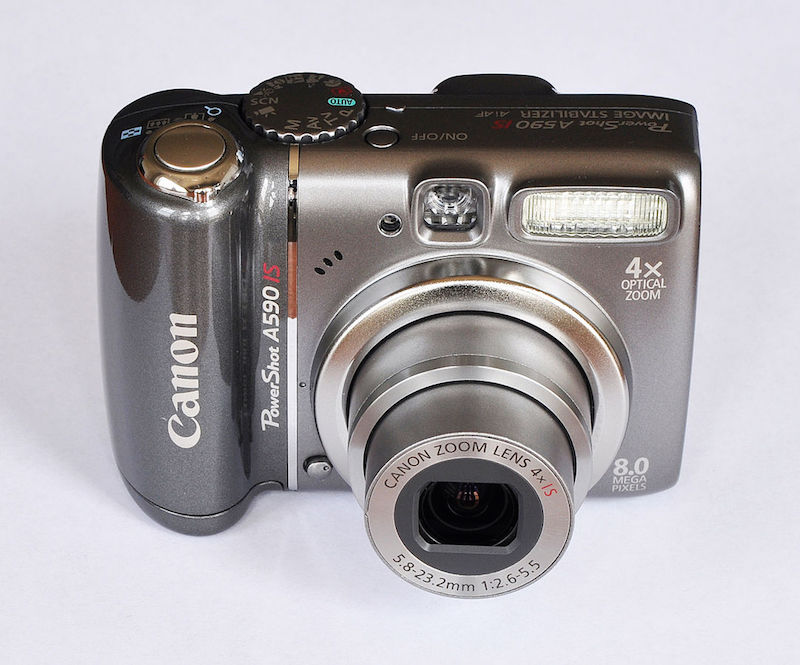
Canon PowerShot A590 IS
Canon PowerShot A590 courtesy of Wikipedia Commons
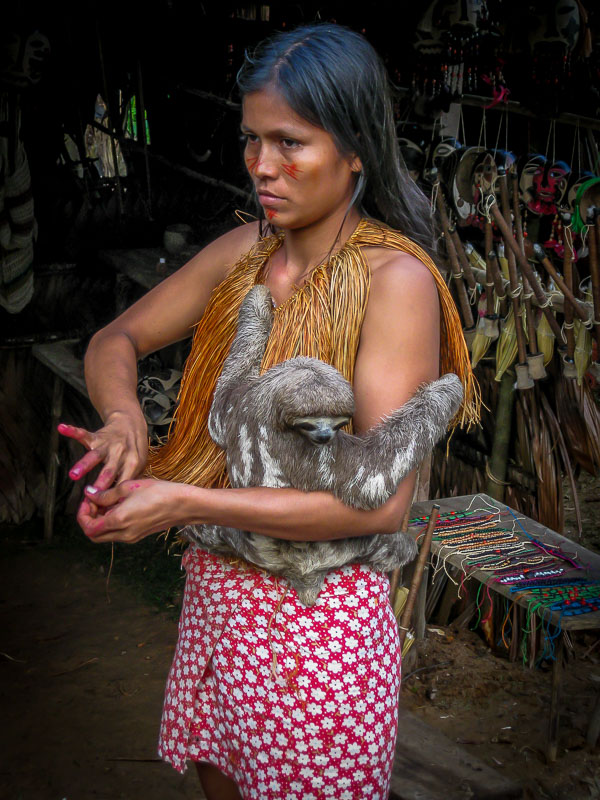
Native girl with pet sloth-Amazon
Young Amazon native girl with pet sloth taken with the PS A590
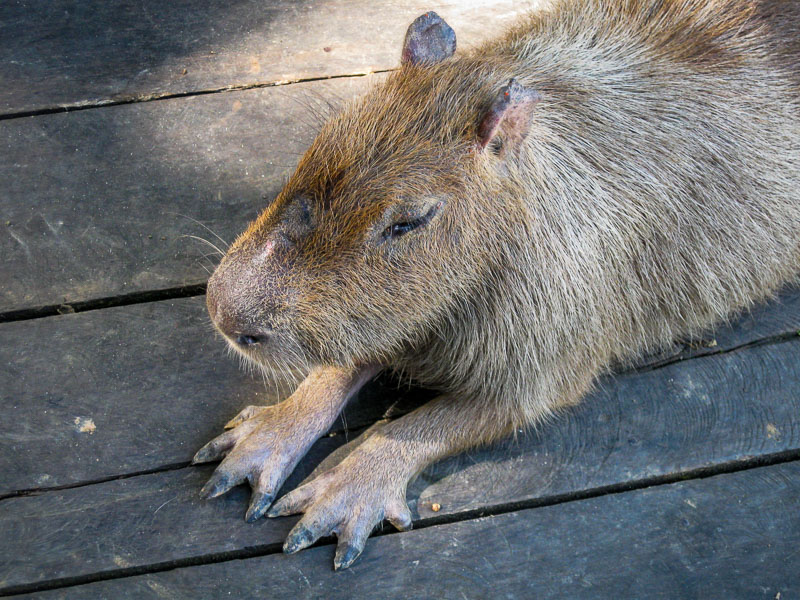
A pet Capybara in the Amazon
A pet Capybara in the Amazon taken with the PS A590
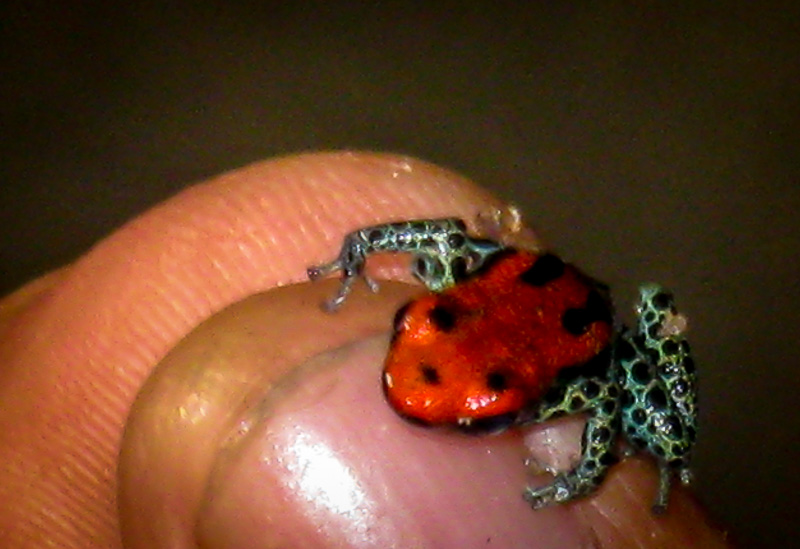
Native guide handles a poisonous frog - AmazonS
Rather closeup picture of poisonous frog in the Amazon taken with PS A590 and cropped
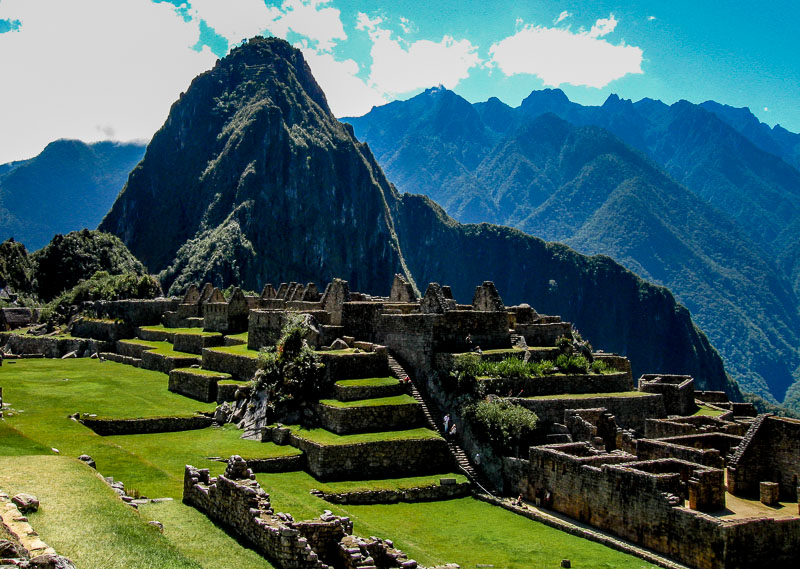
Machu Pichu taken with the PowerShot A590

Machu Pichu taken with the PowerShot A590 – Sorry, I didn’t know about blown highlights!

These cameras served me well and I still bring the A590 with me whenever I want to capture something quickly and with ease. Of course now that I have a hand-me-down iPhone 5, I can also tuck that into my pocket for the same purpose.

A couple of years ago, I became interested in bird watching. I am not a fanatic, but I do like birds and I enjoy trying to identify them. It was a short hop, skip and a jump to an interest in photographing birds. I did some research and found out that there are approximately 950 different birds in the United States and at some point in the year over half of them spend time in my newly adopted state of Arizona (although not exactly in my neighborhood!).

I began to wonder how many of those birds I could photograph and record. I wasn’t thinking of beautiful bird photographs like those of Scott Bourne and other nature photographers. I was simply thinking about pictures of record.

So…I did what most people would probably do and I signed up for a guided bird hike and I brought my Canon PowerShot with 4x zoom with me. Screech…..

Those birds are so far away! All I can see is an outline of a bird. How am I to identify that bird from such a photograph?. Of course I do exaggerate a bit. There were some birds only a short distance away that could be identified with the naked eye and/or a quick snap, but it was becoming obvious that I would need a “better” camera, i.e. with more of a zoom.

Compounding my dilemma was that I wanted to try shooting in the RAW mode which is/was recommended by most accomplished photographers I follow and it was the advice offered repeatedly. “If one wanted to take their photography to the next level, they needed to learn to shoot in RAW and to post process!” Well, my current photographic skills weren’t at any level near that goal at that time, but my ambition was to get there.

I did what I usually do nowadays and I began reading the reviews on the Internet and after many, many hours of reading and pondering, I decided to purchase a Canon PowerShot SXHS 50 with a tremendous zoom lens. It met my main two criteria, i.e. a lot of reach and it could shoot RAW.

PowerShot SXHS 50

Canon PowerShot SXHS 50 image courtesy of Imaging Resources
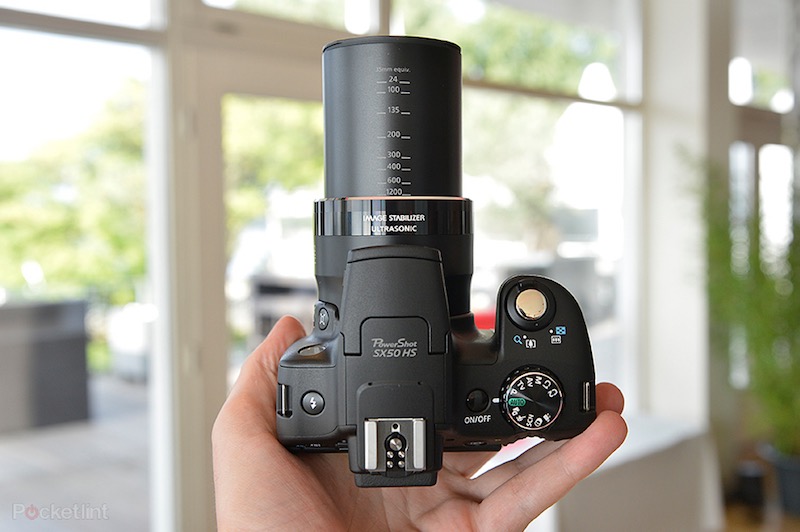
PowerShot SXHS 50 with zoom extended
Canon PowerShot SXHS 50 with lens extended image courtesy of CNET.com
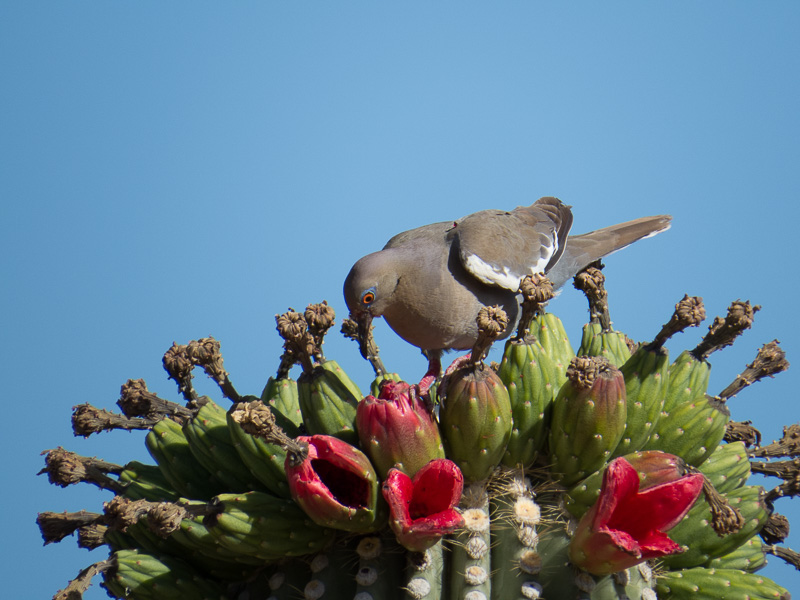
White-winged dove taken with the Canon SXHS 50

A White-winged dove atop a saguaro – One of the first bird pictures taken with the Canon PowerShot SXHS 50

There were some serious drawbacks though and I understood that going in. The camera did not do well at high ISOs as a matter of fact, most accomplished shooters using this camera advised to stay at 200 ISO or lower so that was going to be one limitation. I did set the auto ISO not to exceed 400 to give myself some leeway.

This camera did not disappoint me. It could take some really nice photos and I was able to get up close and personal to a lot of birds and other animals which I really liked. It did provide some challenges along the way. There was some chromatic aberration and noise in tricky situations. Of course I took them into an editing program and modified them to reduce these issues as much as possible and I could live with that.

For more than a year, I was pretty happy with my choice and then…and then

Read additional posts in My Photography Conundrum series:

My Photography Conundrum – Part 2

My Photography Conundrum – Part 3

My Photography Conundrum – Part 4


JBRish.com originally published this post

See previous Photography posts HERE
Lightroom for JPEG (JPG) Images

A couple of things up front

  • I have only been using Lightroom (LR) for a few months.
  • Until ten months ago or so, the only camera I used was a Canon PowerShot A590 IS point-and-shoot with 4X optical zoom
  • I now use a Canon SX50 HS with 50X optical zoom
  • Between the age of 22-30, I was very interested in photography and experimented with it as a way of artistic expression
  • For more than thirty years after that, photography only served to capture my personal historic record.
  • I am now trying to become a better photographer and learn the “art” of photography.

Now that the preliminaries are out of the way, I want to make an important point. Once I decided to try my hand at becoming a more serious student of photography, all of my readings convinced me that I should be shooting in the RAW format. There seemed to be way more advantages than disadvantages.

Since my only camera was the A590 with only 8 Megapixels to offer, I was stuck in the JPEG (JPG) zone. I wanted to experiment with the RAW format and a slightly more advanced camera and thus I purchased the 12.1 Canon SX50 HS which has served me well for the last ten months.

Having decided to shoot more in the RAW format, I then needed the appropriate software to read, catalog and process those images. Along came the Adobe subscription plan for Lightroom (LR), Photoshop (PS) and other associated software for a subscription fee of approximately $10 USD per month. My path was clear. I began to learn LR and to work with RAW images.

But wait…what about all those JPGs I shot with my A590? Could any of those pictures be improved with LR? I know JPGs don’t have as much embedded data to call on, but surely I could make some improvements. Well, I am here to show you a few results. I will be the first to admit that the differences in post processing JPGs will not be as dramatic as with RAW images, there are some significant gains to be had.

Three years ago, I took my trusty little shooter (not the best term in this day and age) to the Ringling Brothers Barnum & Bailey Circus. Conditions were far less than ideal. The artificial lights were blaring every color when lit and often the arena was dark. Not only that, but elephants, co-stars of the show, are kind of a drab gray. I love elephants, but I have to call it as I see it.

In any event, I took my camera and did the best I could. Everyone who has followed photography knows the adage: “The best camera is the one you have with you.” and thus I was using my best camera that evening.

Below are several pictures I took that evening followed by the same picture processed in LR. Now remember what I said above. I am no expert at photography or post processing. I was, in my opinion, able to improve upon the original images using LR. You can decide for yourself. Just one note. The revised/improved images have been cropped so the picture may appear larger, but it is only because the crop has enlarged the remainder of the picture so that all photos are the same general size for posting on the website (+/-).

Are you following along?

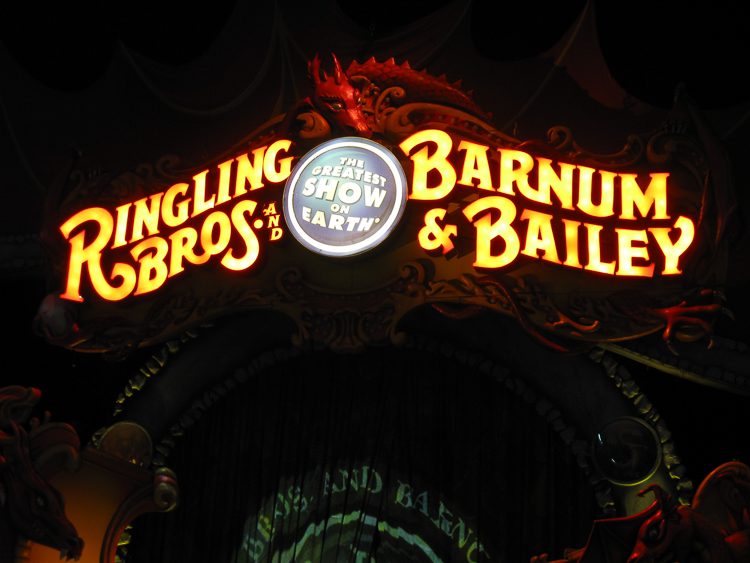
This picture (below) is of the main entrance into the arena. Notice how dark the image is with lack of much detail in the corners.

Main Side Entrance

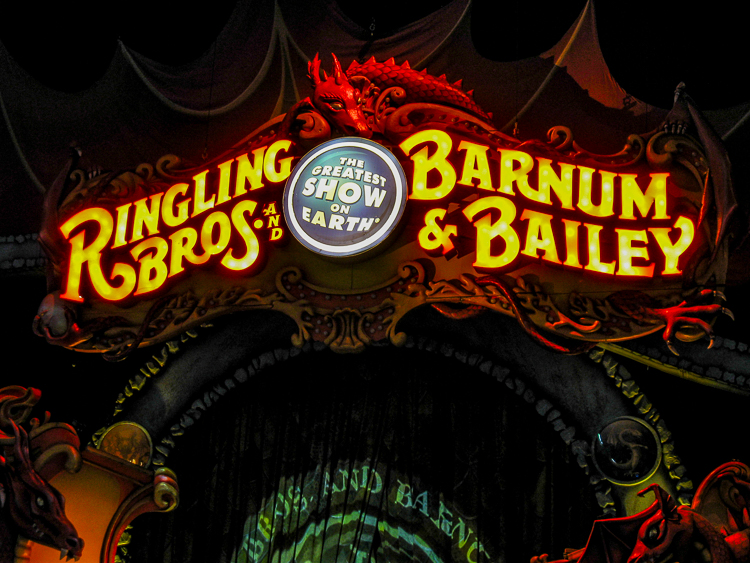
Notice the colors in this revised pictures and how the details pop a bit more.

Main Side Entrance

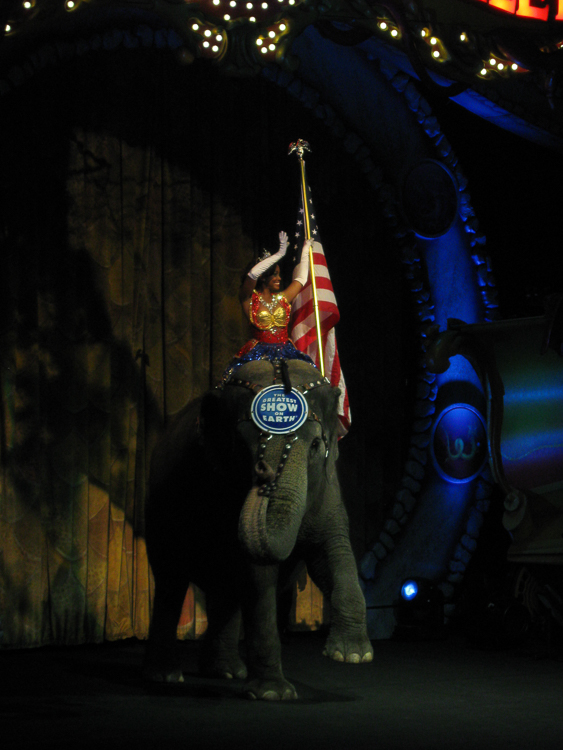
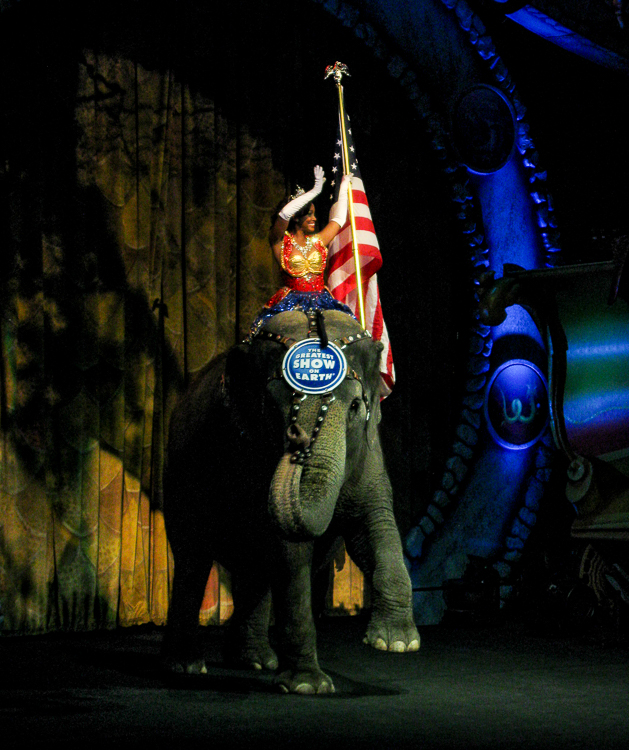
This performer riding the elephant wasn’t too bad a shot under these conditions, but that spotlight just to the right of the elephant’s foot is distracting as are those shiny lights above. There is no snap to the colors either.

Female Performer Riding Elephant

Notice how the contrast is improved. The distracting elements have been edited and the picture is much more pleasing. Now remember, nobody is claiming these are wonderful pictures. These are from my “historical record” and I am just trying to improve them using LR even with the introduction of a bit more “noise” in the scene.

Female Performer Riding Elephant

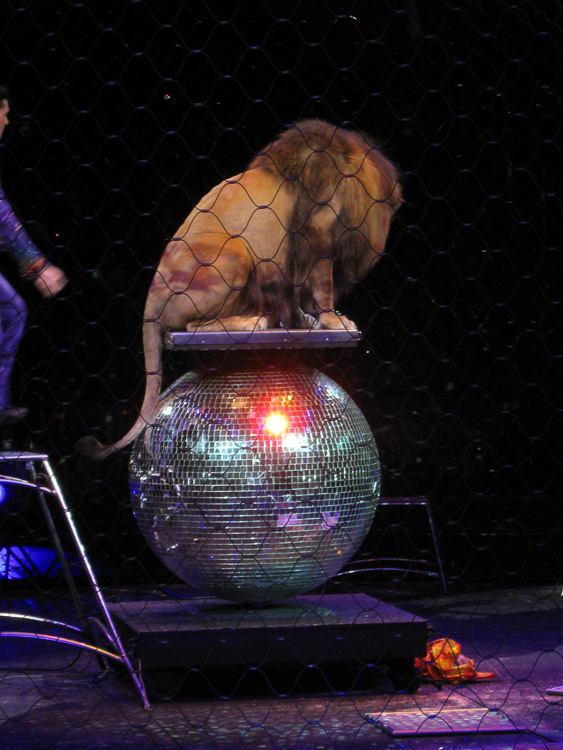
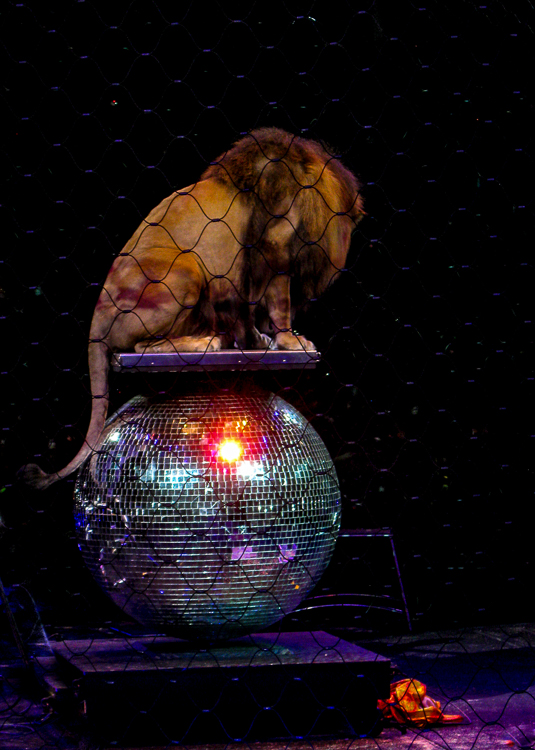
One of the problems I had in the darkened arena was shutter lag. So I often mis-timed the pictures. This picture was not framed correctly; too many distractions such as the trainer on the left and the objects in the bottom right. The overall color is dingy.

Lion on Rotating Ball

This is much improved with the crops, more appropriate color balance, etc.

Lion on Rotating Ball

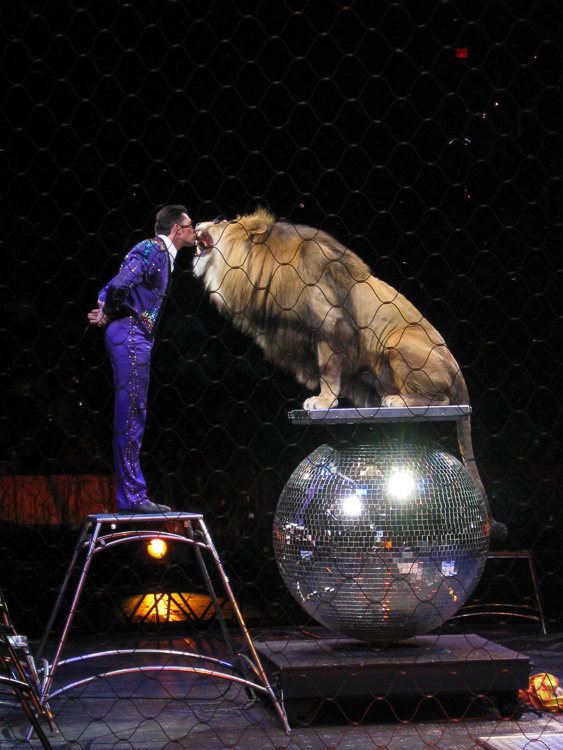
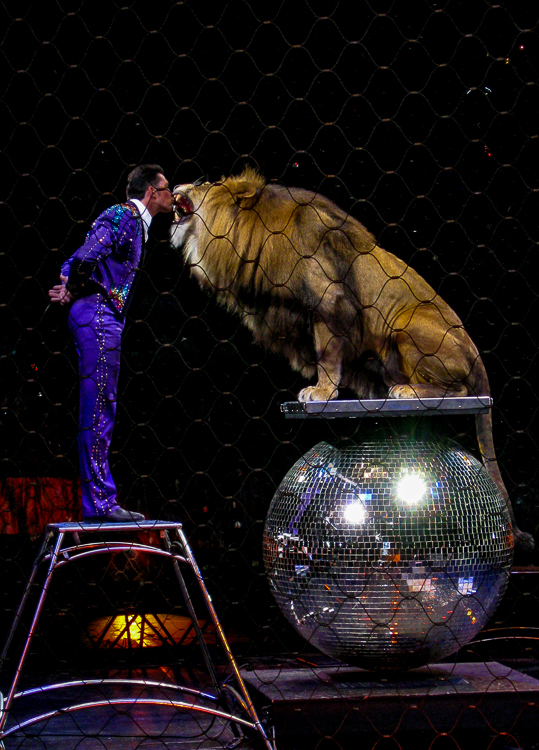
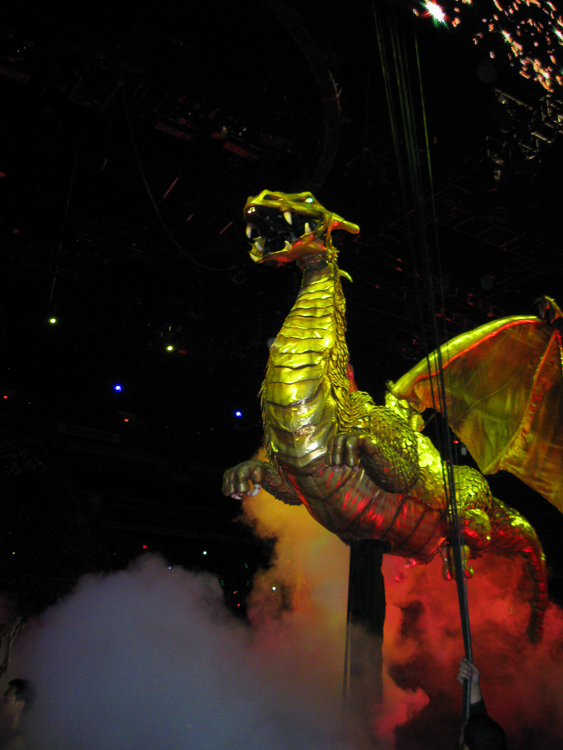
Okay so you get the idea by now. No more narration just two more sets of before and after pictures. If anyone has any questions, post a comment and I will do my best to answer.

Lion and Trainer

 
Lion and Trainer

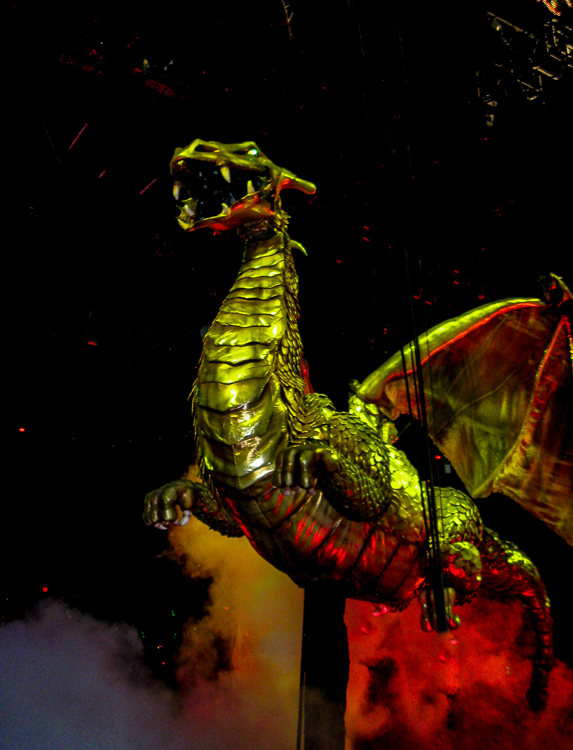
Dragon and Fire

 
Dragon and Fire