Prior to moving to the Valley of the Sun, north of Phoenix, Arizona, we lived in northwestern New Jersey; Hunterdon County. We normally gardened from May through October and there were times when we started seeds indoor in early April. We could stretch our gardening into the fall and early winter by including Chrysanthemums.
Mums were part of the Halloween-Thanksgiving trimmings in our area. We usually had them placed on our front steps often with thin netting over them to keep the deer from nibbling. There were years when we were able to winter over a mum or two, but much of the time our efforts fell short or the variety we purchased was not as hardy as we thought.

We were surprised to find that mums are available for purchase in our area of Arizona during the same season as in the northeast. It was only natural then that we began to fold some of them into our Halloween-Thanksgiving floral displays.
Because our experience with Chrysanthemums was anchored in the northeast, we figured that once the real hot weather of sustained ninety to one-hundred and above came along, that these familiar plants would wither and die.
Imagine our surprise to find that they, given enough shade and water, fight off the heat to usher forth extended blooms during the late spring and summer and into the following fall. To give these plants the best chance possible for surviving in this less than hospitable climate, we have a routine we follow in the early spring.
This is the mum we selected for what we call revitalizing.
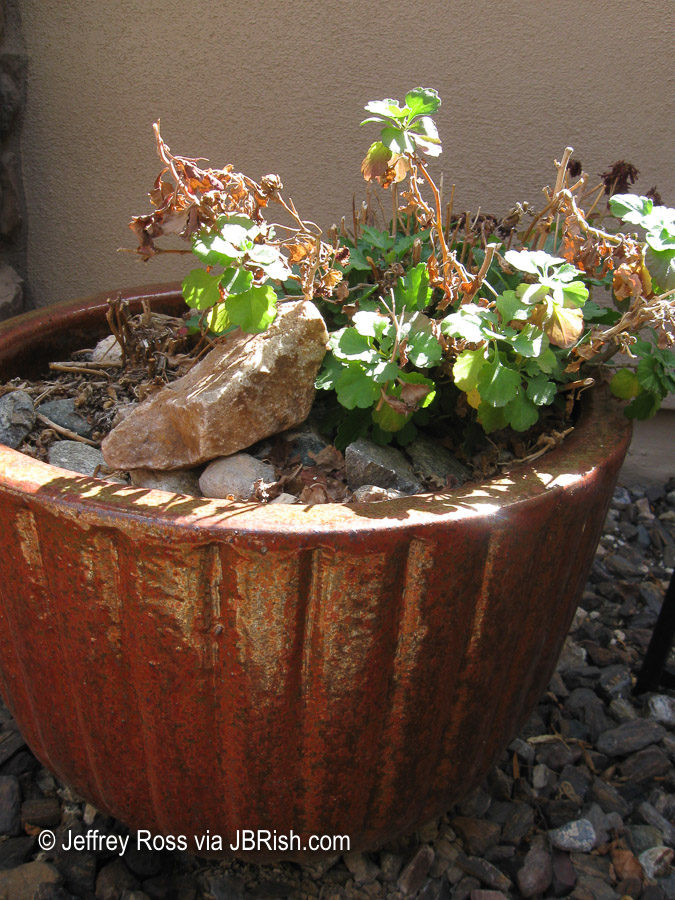
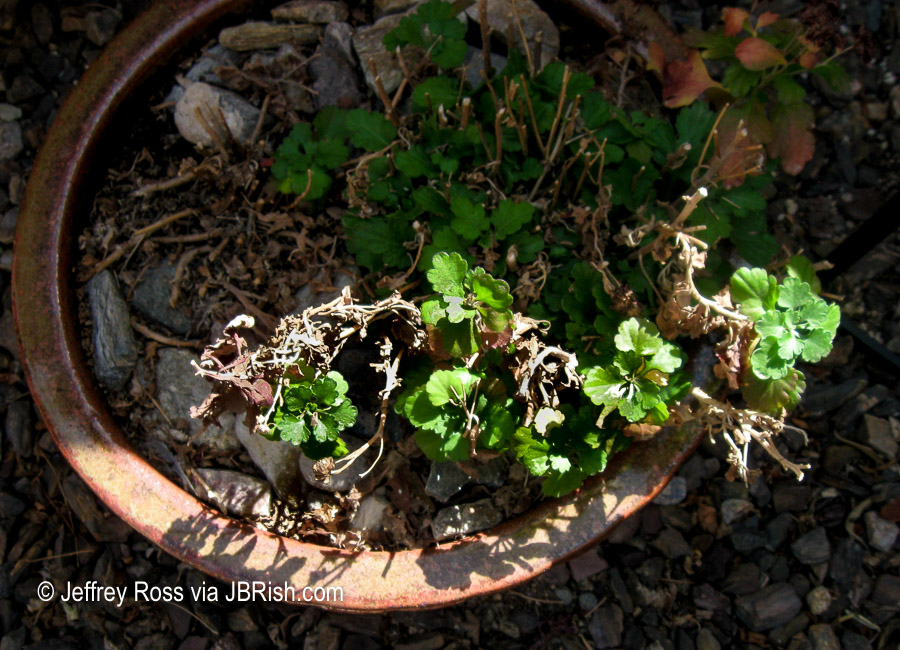
As readers can see, the green leaves make up only about one-half to two-thirds of the plant and there are a lot of brown, dead leaves and stems.
What we normally do if it is warm and the sun is in full flare is bring the plant into the shade of one of the garage bays and work there. We move the plant into the garage and remove the rock mulch that we use in almost every planter.
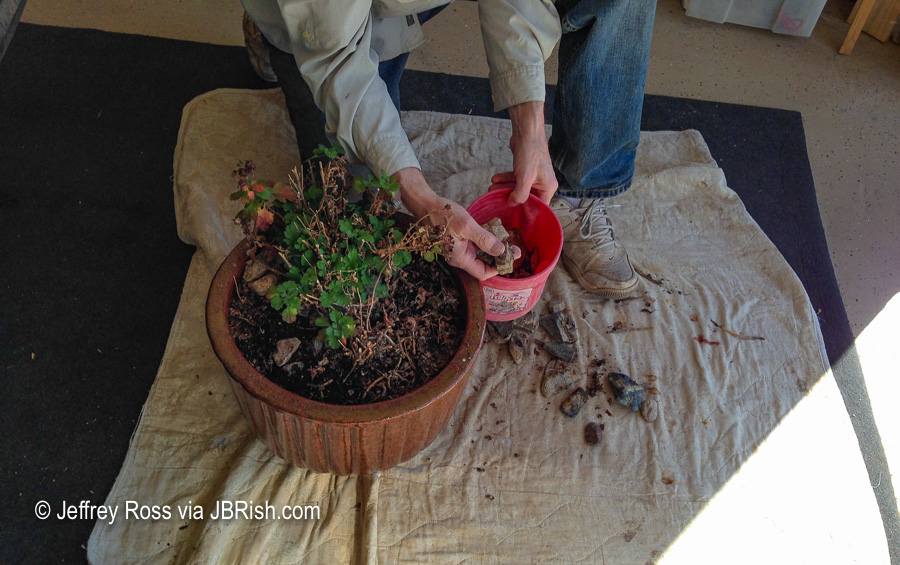
Once the rock mulch is removed, much of the dead parts of the plant are trimmed.
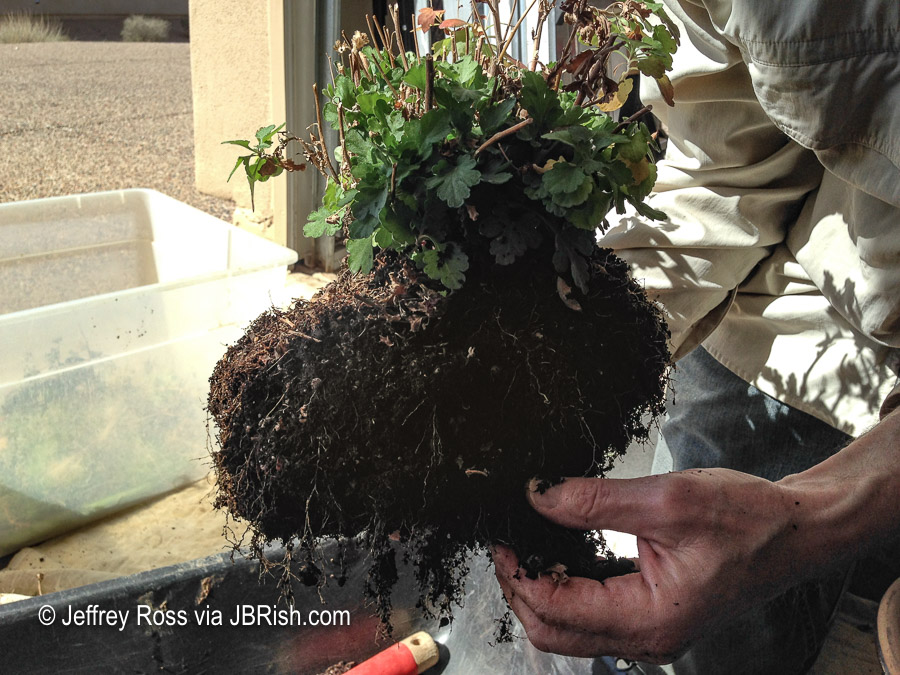
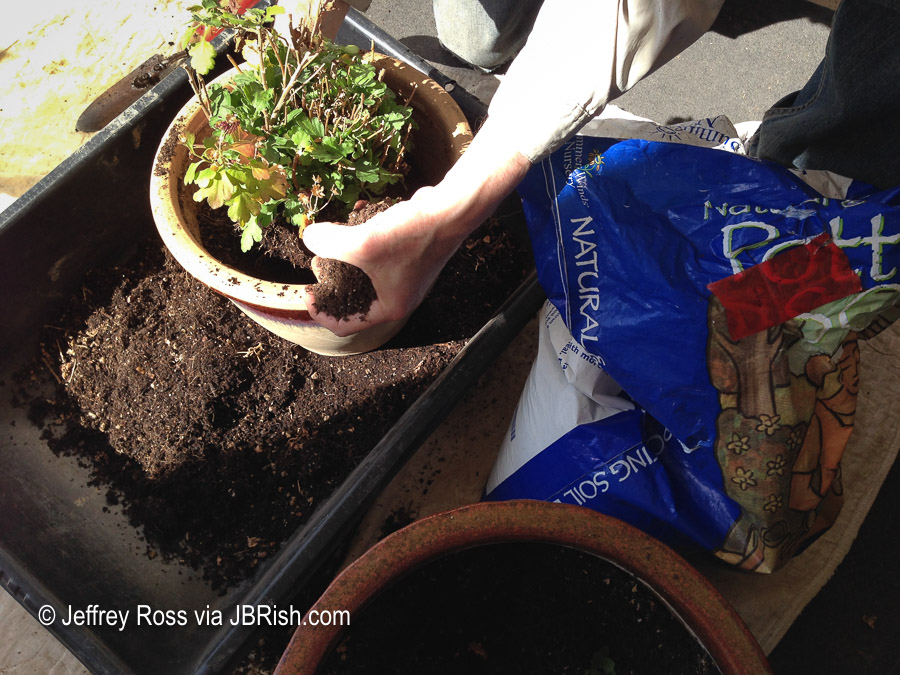
After the initial trimming, we begin to excavate the root ball.
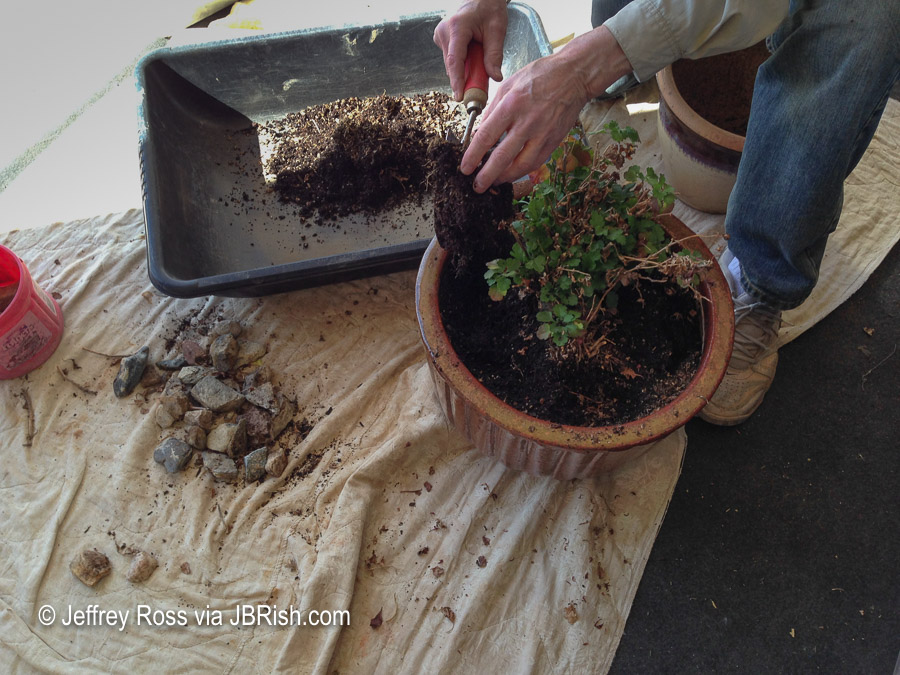
NOTE – Notice that we work mostly on a drop cloth to catch errant dirt, stones and debris. The old dirt is offloaded to a cement mixing bin to dry and save for use in a future rejuvenated mix.
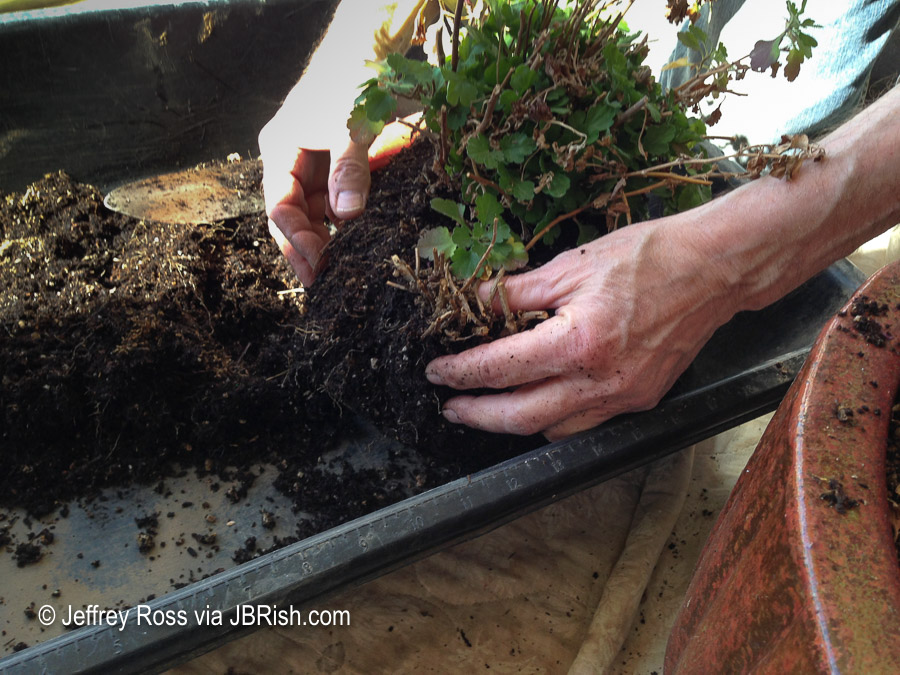
Once the root ball is excavated, it is examined to make sure the roots are white and in good condition and there are no grubs hiding. Then I gently remove more of the dead, hard stems and any dead roots.
NOTE – Be careful to leave most of the rootball intact as the plant will need to recover even from a mild root trimming and tickling.
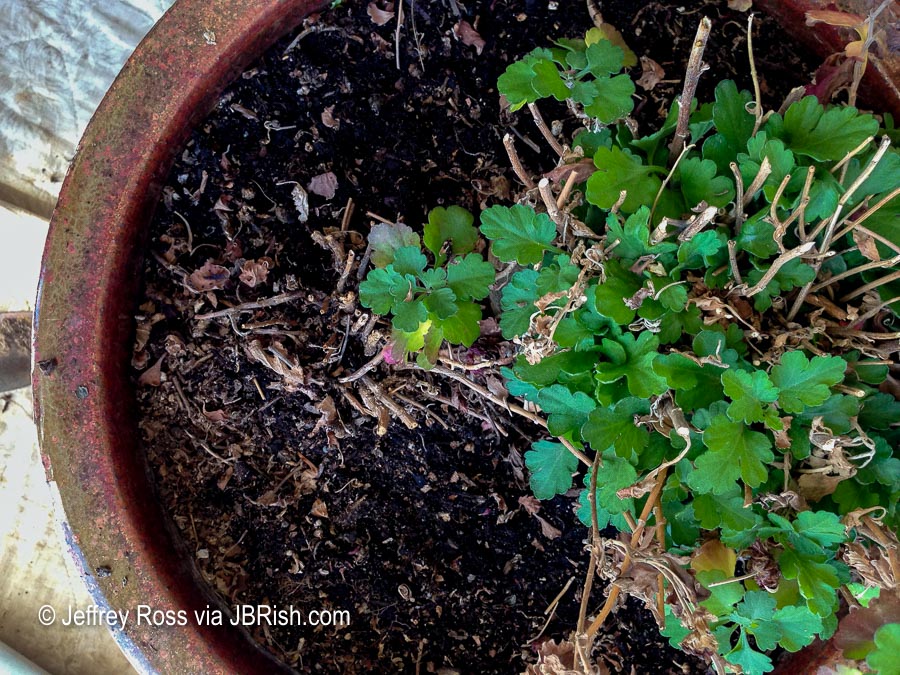
Here is a closer look:
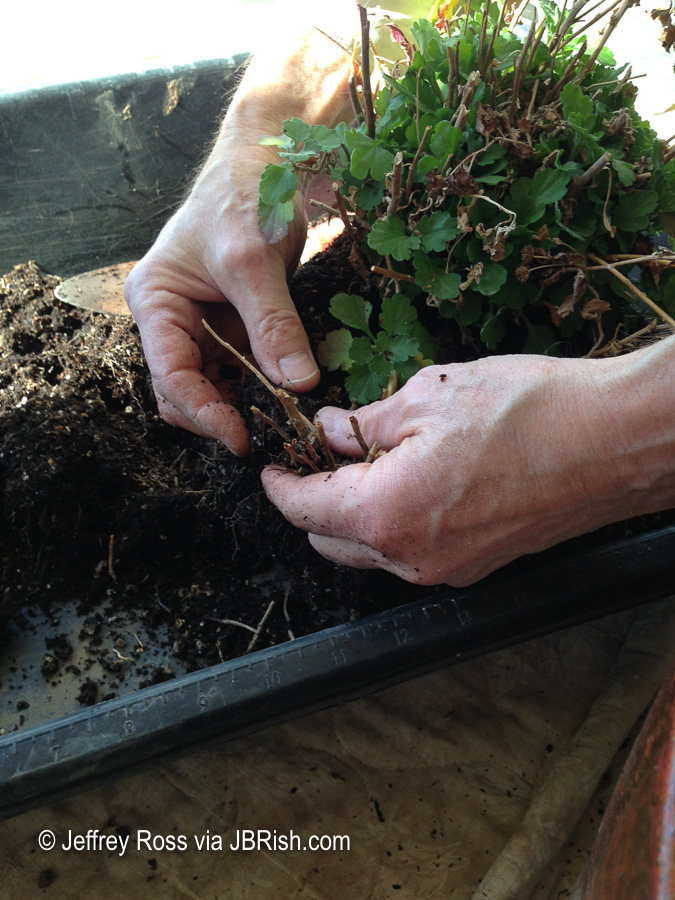
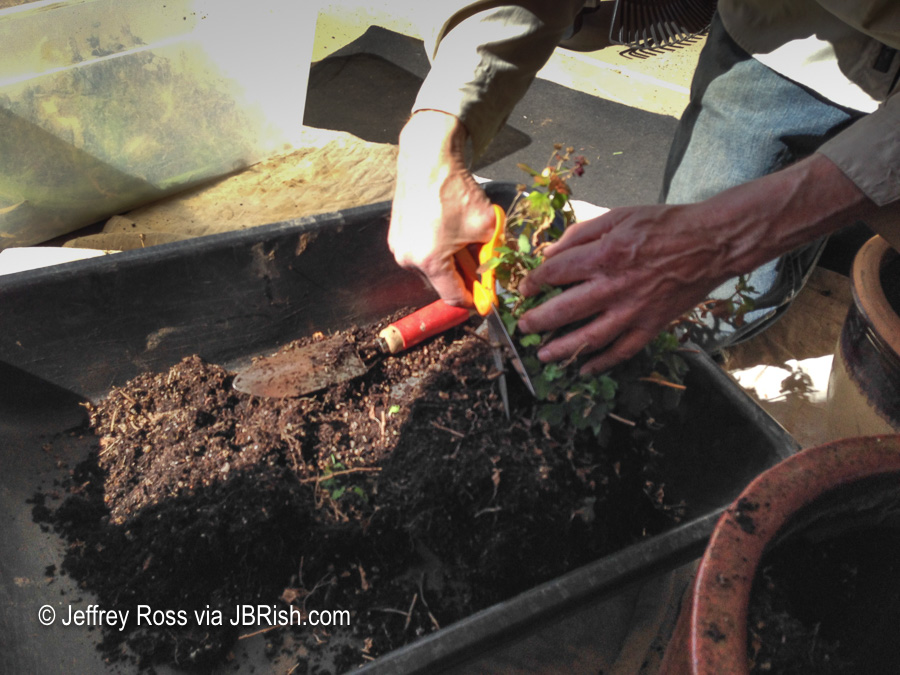
There are some stems so low to the base of the root ball that they have to be cut away with a scissors or garden shear which reduces the chance of disturbing too much of the root ball.
I make one final inspection of the root ball and very gently loosen some of the compacted roots so they are able to spread when they grow anew.
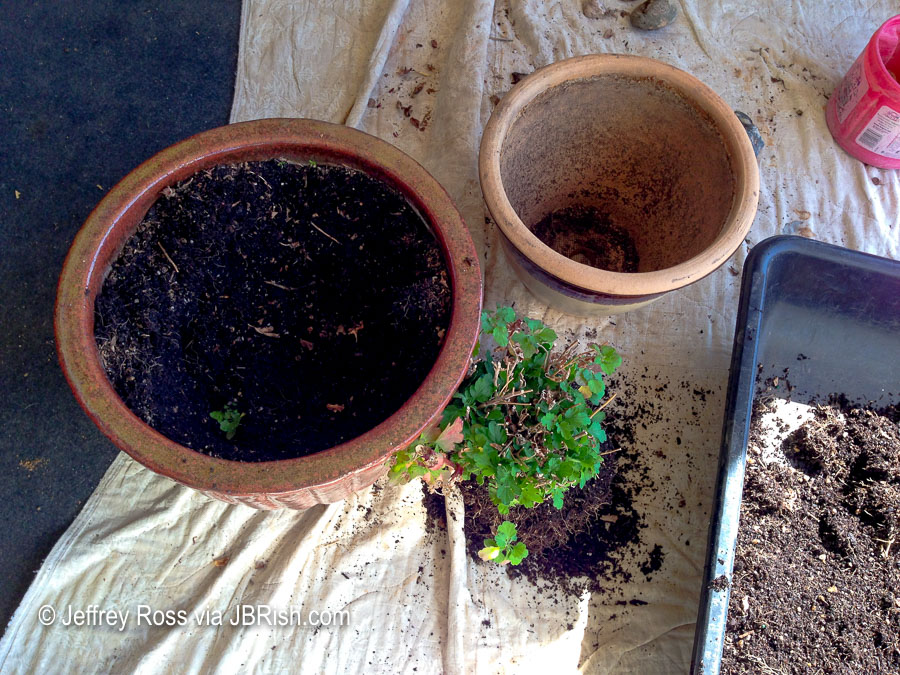
On the left is the old pot with the remaining old dirt. In the upper middle area of the picture is the new, smaller pot that is lighter in color. The new plant will spend much of the summer in this pot, but may need to be transplanted in to a larger pot later.
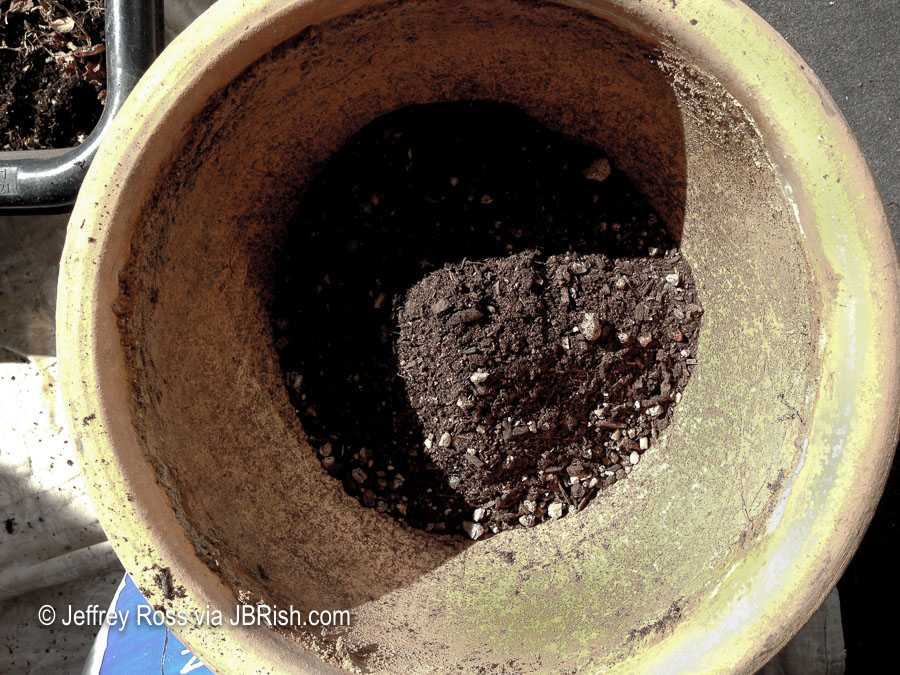
Enough new planting mix is placed in the pot to take up approximately one third. This is the bottom third of the planter.
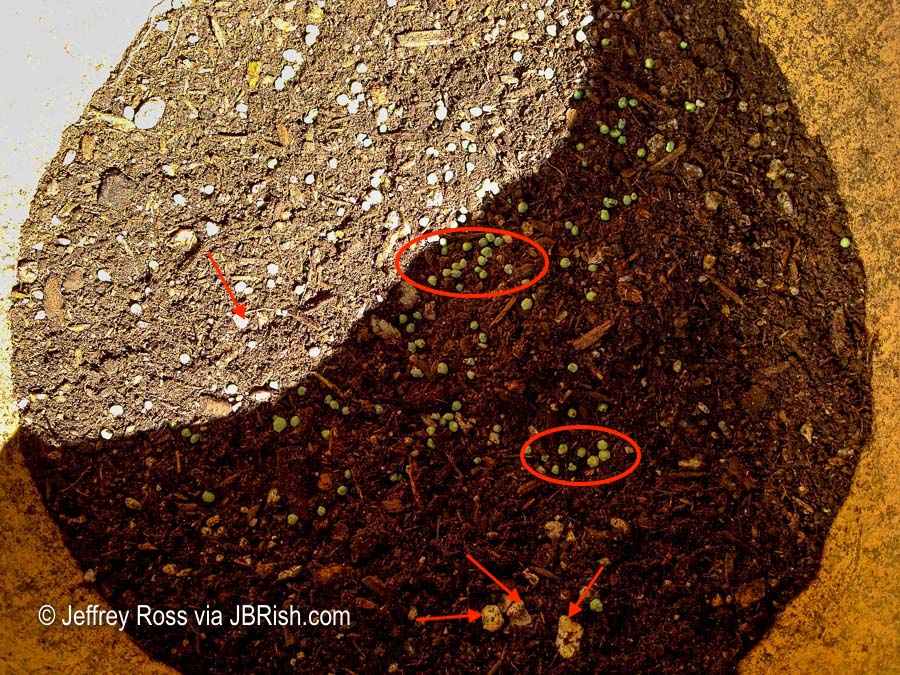
To encourage downward root growth, I place a small amount of fertilizer in the bottom of the pot (notice the green dots in the ovals- BELOW) and then mix them into the top part of the bottom mix. The green dots are hard to discern in this photo and may be confused with gravel which is used in the planting mix. The arrows show the gravel which is much less uniform in shape.
The new planter is placed inside a bin to catch any stray dirt. Dirt is added to the correct depth to bring the crown of the plant to about three-quarters of an inch below the rim of the pot. I usually create a cone in the center and put the newly trimmed rootball in the center. The dirt is then filled in around the rootball as shown above.
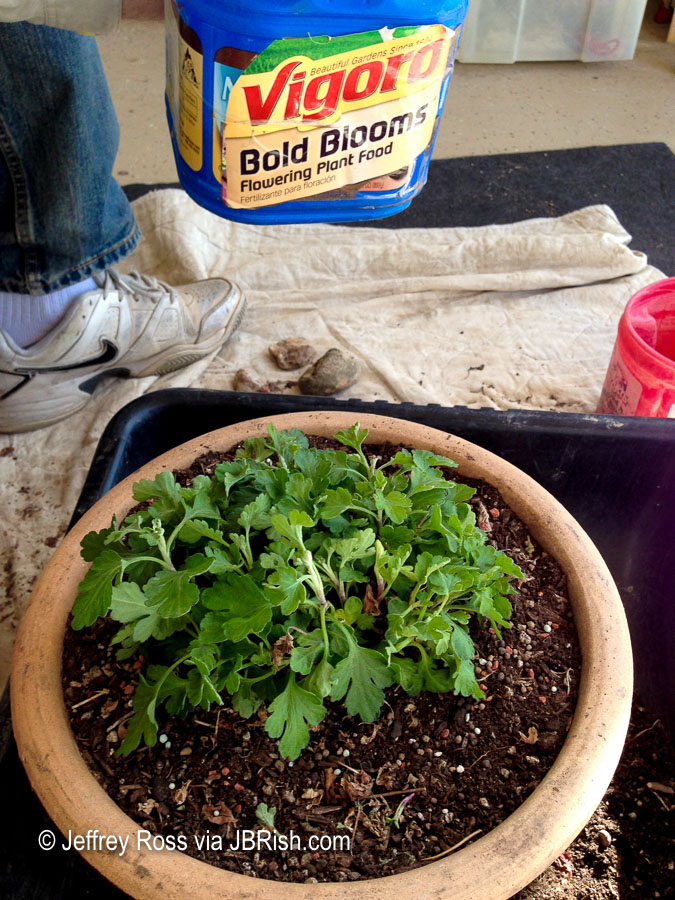
Here is the plant with the dirt filled in and new, different fertilizer added (see the Vigoro in the background).
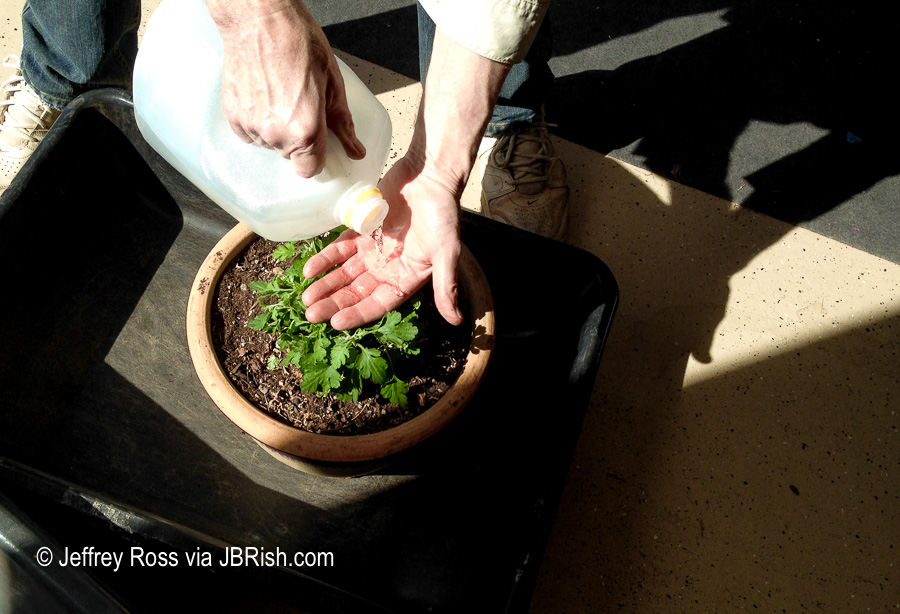
After the planting is complete, water is gently added. I use my hand to break the flow and spread the water around the rootball of the plant. Once the plant has been watered so that water runs freely through the bottom of the pot, I gently press the dirt down to remove any potential air pockets.
NOTE – Don’t press down too hard which may compact the roots; just gently.
Now it is time to move the plant to its place in the courtyard. We picked an area that will receive mostly shade with a bit of sun during the day. This will protect the mum from the blazing heat. Notice that a two gallon per-hour emitter (red) has been anchored to the side of the plant.
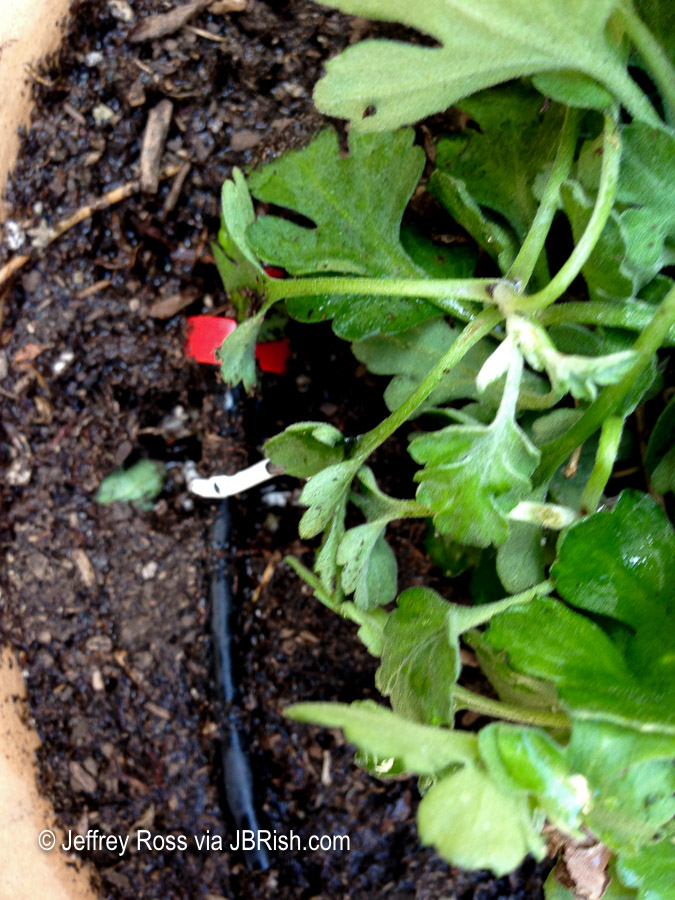
Another emitter is added to the other side of the plant to provide even coverage when watered.
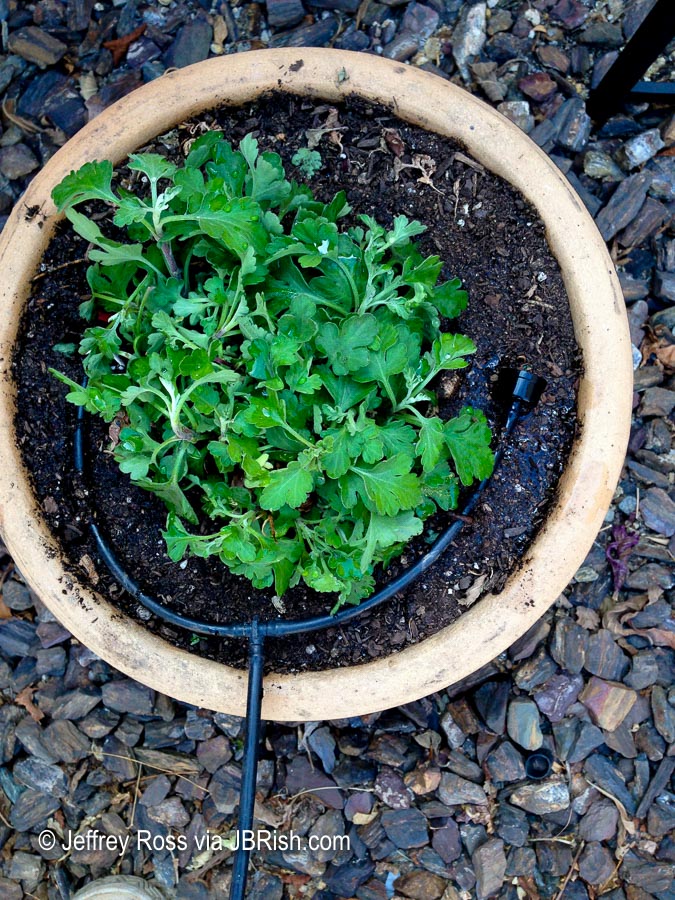
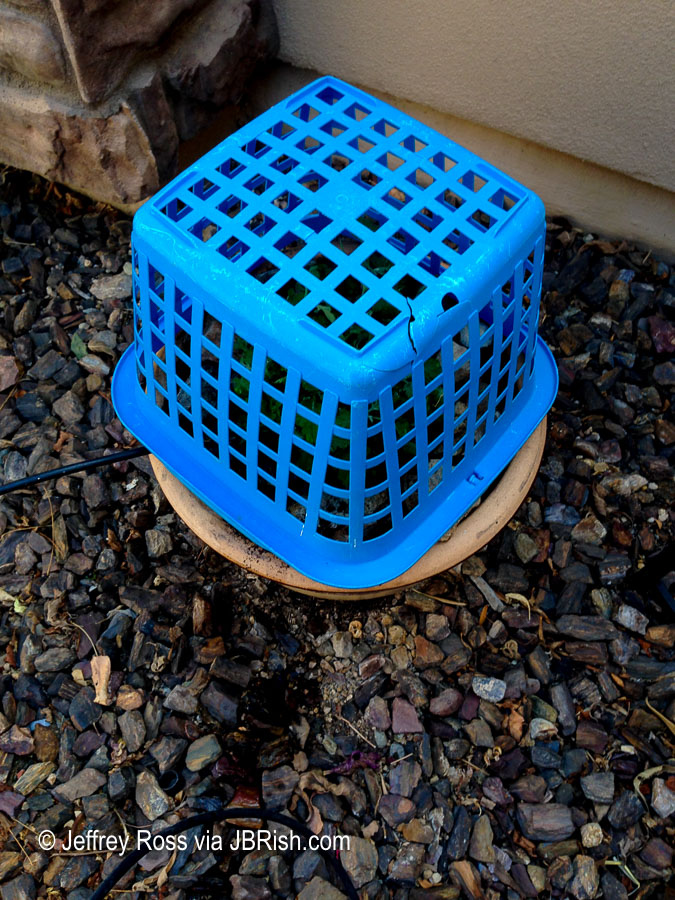
We place the rock mulch on top of the plant, which also helps to hold the emitters in place and give one final watering. A protective cover is placed over the pot for a couple of days to provide bit of shade. The Dollar Store or Target sells laundry baskets, crates, etc. that serve this purpose. Sometimes we need to drill more holes depending on the configuration.
NOTE – We often put a weight on top of the “covers” to keep them from blowing off in the wind.
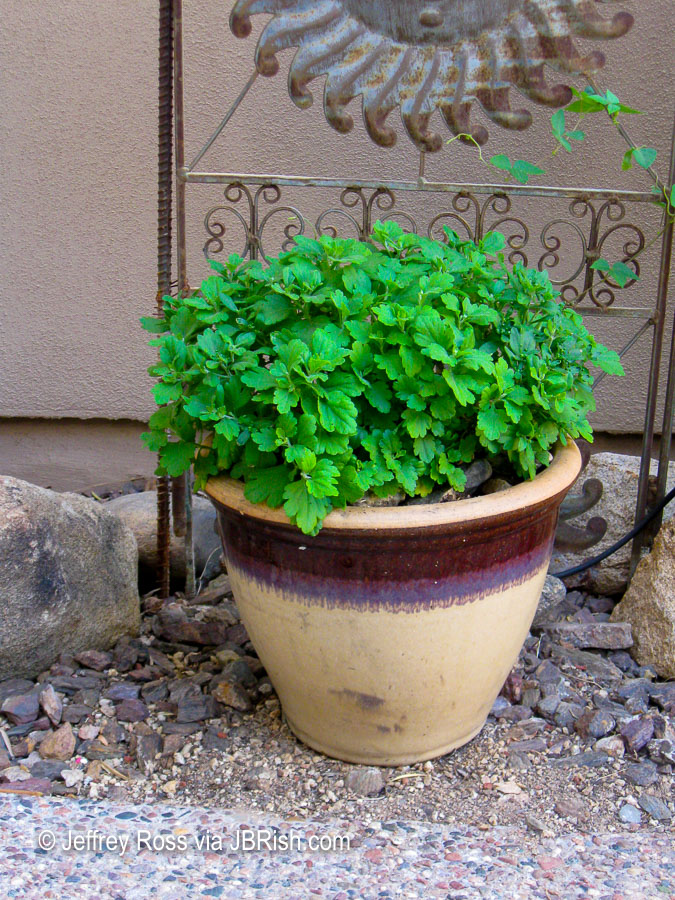
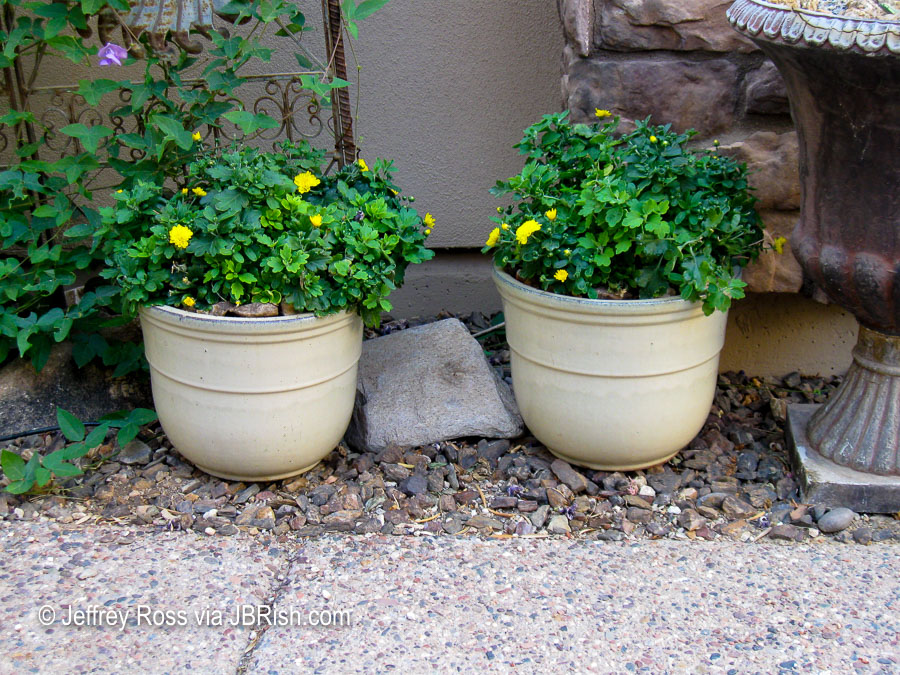
The plant is carefully checked over the next couple of days and after that, the basket or crate used to shield the sun is removed. The plant then needs time to grow and in a few months this is how it looks.
You can see it here (BELOW) on the left. As the summer progresses, the snail vine will grow to cover the sun trellis and offer enough shade to provide an appropriate environment for the plant during the hottest summer days.
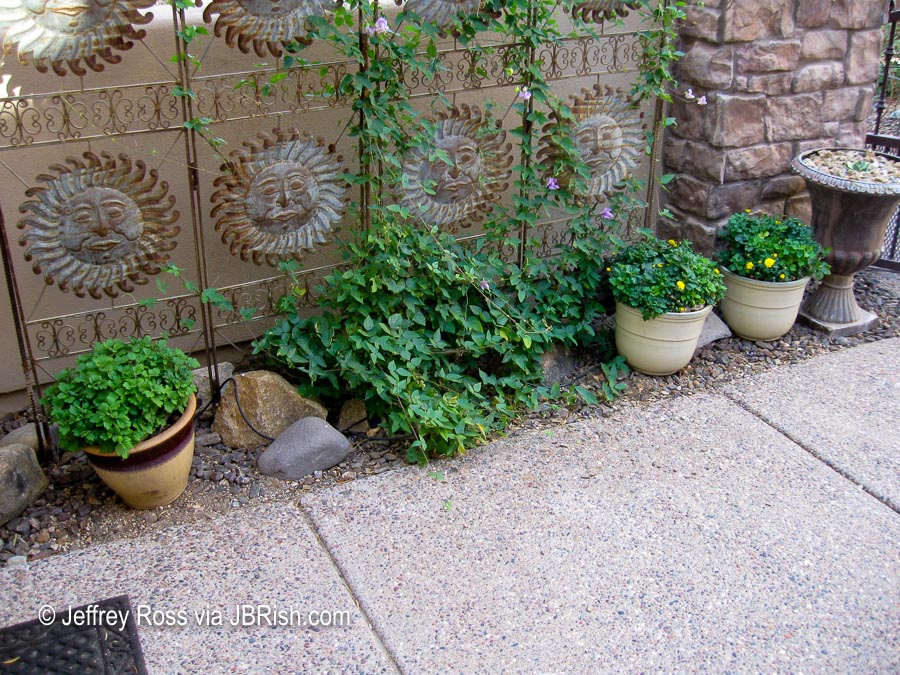
You may also note two other mums on the right that we transplanted in the same fashion .
We have followed this procedure for a couple of years now and it has served us well. I wouldn’t have guessed that we would be able to winter-over or perhaps more appropriately, summer-over the mums in our Sonoran Desert environment.
Read more gardening posts HERE
**********
All original content on this blog is copyrighted by Jeffrey B. Ross with ALL Rights Reserved. While reference links back to JBRish.com are appreciated and encouraged, please acquire approval for any reproduction of original content from this website.
©Jeffrey B. Ross – 2018 – JBRish.com

